This past November, you probably saw the launch of Knit With Attitude’s 10th anniversary book of knitted and crocheted designs. If you have not, I will give you a little background information first. Knit With Attitude is a yarn shop based in Stoke Newington, London, that specialize in ethical and eco-friendly yarn. Owner, Maya Bing, started the business over ten years ago and wanted to mark the occasion with a special collection.
Read moreThe Arrival of Alvar - Laine's 52 Weeks of Socks
So for my first blog post, now that I am officially back in business, I thought I would share my first pattern released as a Helsinki based entrepreneur. I think it was October of 2018 when Laine first approached me about collaborating on a sock publication. I was in, instantly. My own collection of sock designs has been slowly growing and I also love seeing knitwear magazines grow and expand into book publishing.
Read moreLace Trim Tutorial for Lunenburg Harbour
If you've already completed sewing down the picot trim then you're ready for this post where I'll be detailing how to pick up the stitches around the cuff of the sock to start the lace trim. You can find my post about the picot trim here. At this point, I still have the lace yarn (Yarn B) threaded around the circumference of the cuff. You'll need your knitting needles again. I'll be picking up the stitches with the same circular needle I used to knit this pair. You'll also need a darning needle and scissors.
1. Start by giving the cuff a little stretch. This should make Yarn B fairly easy to see.

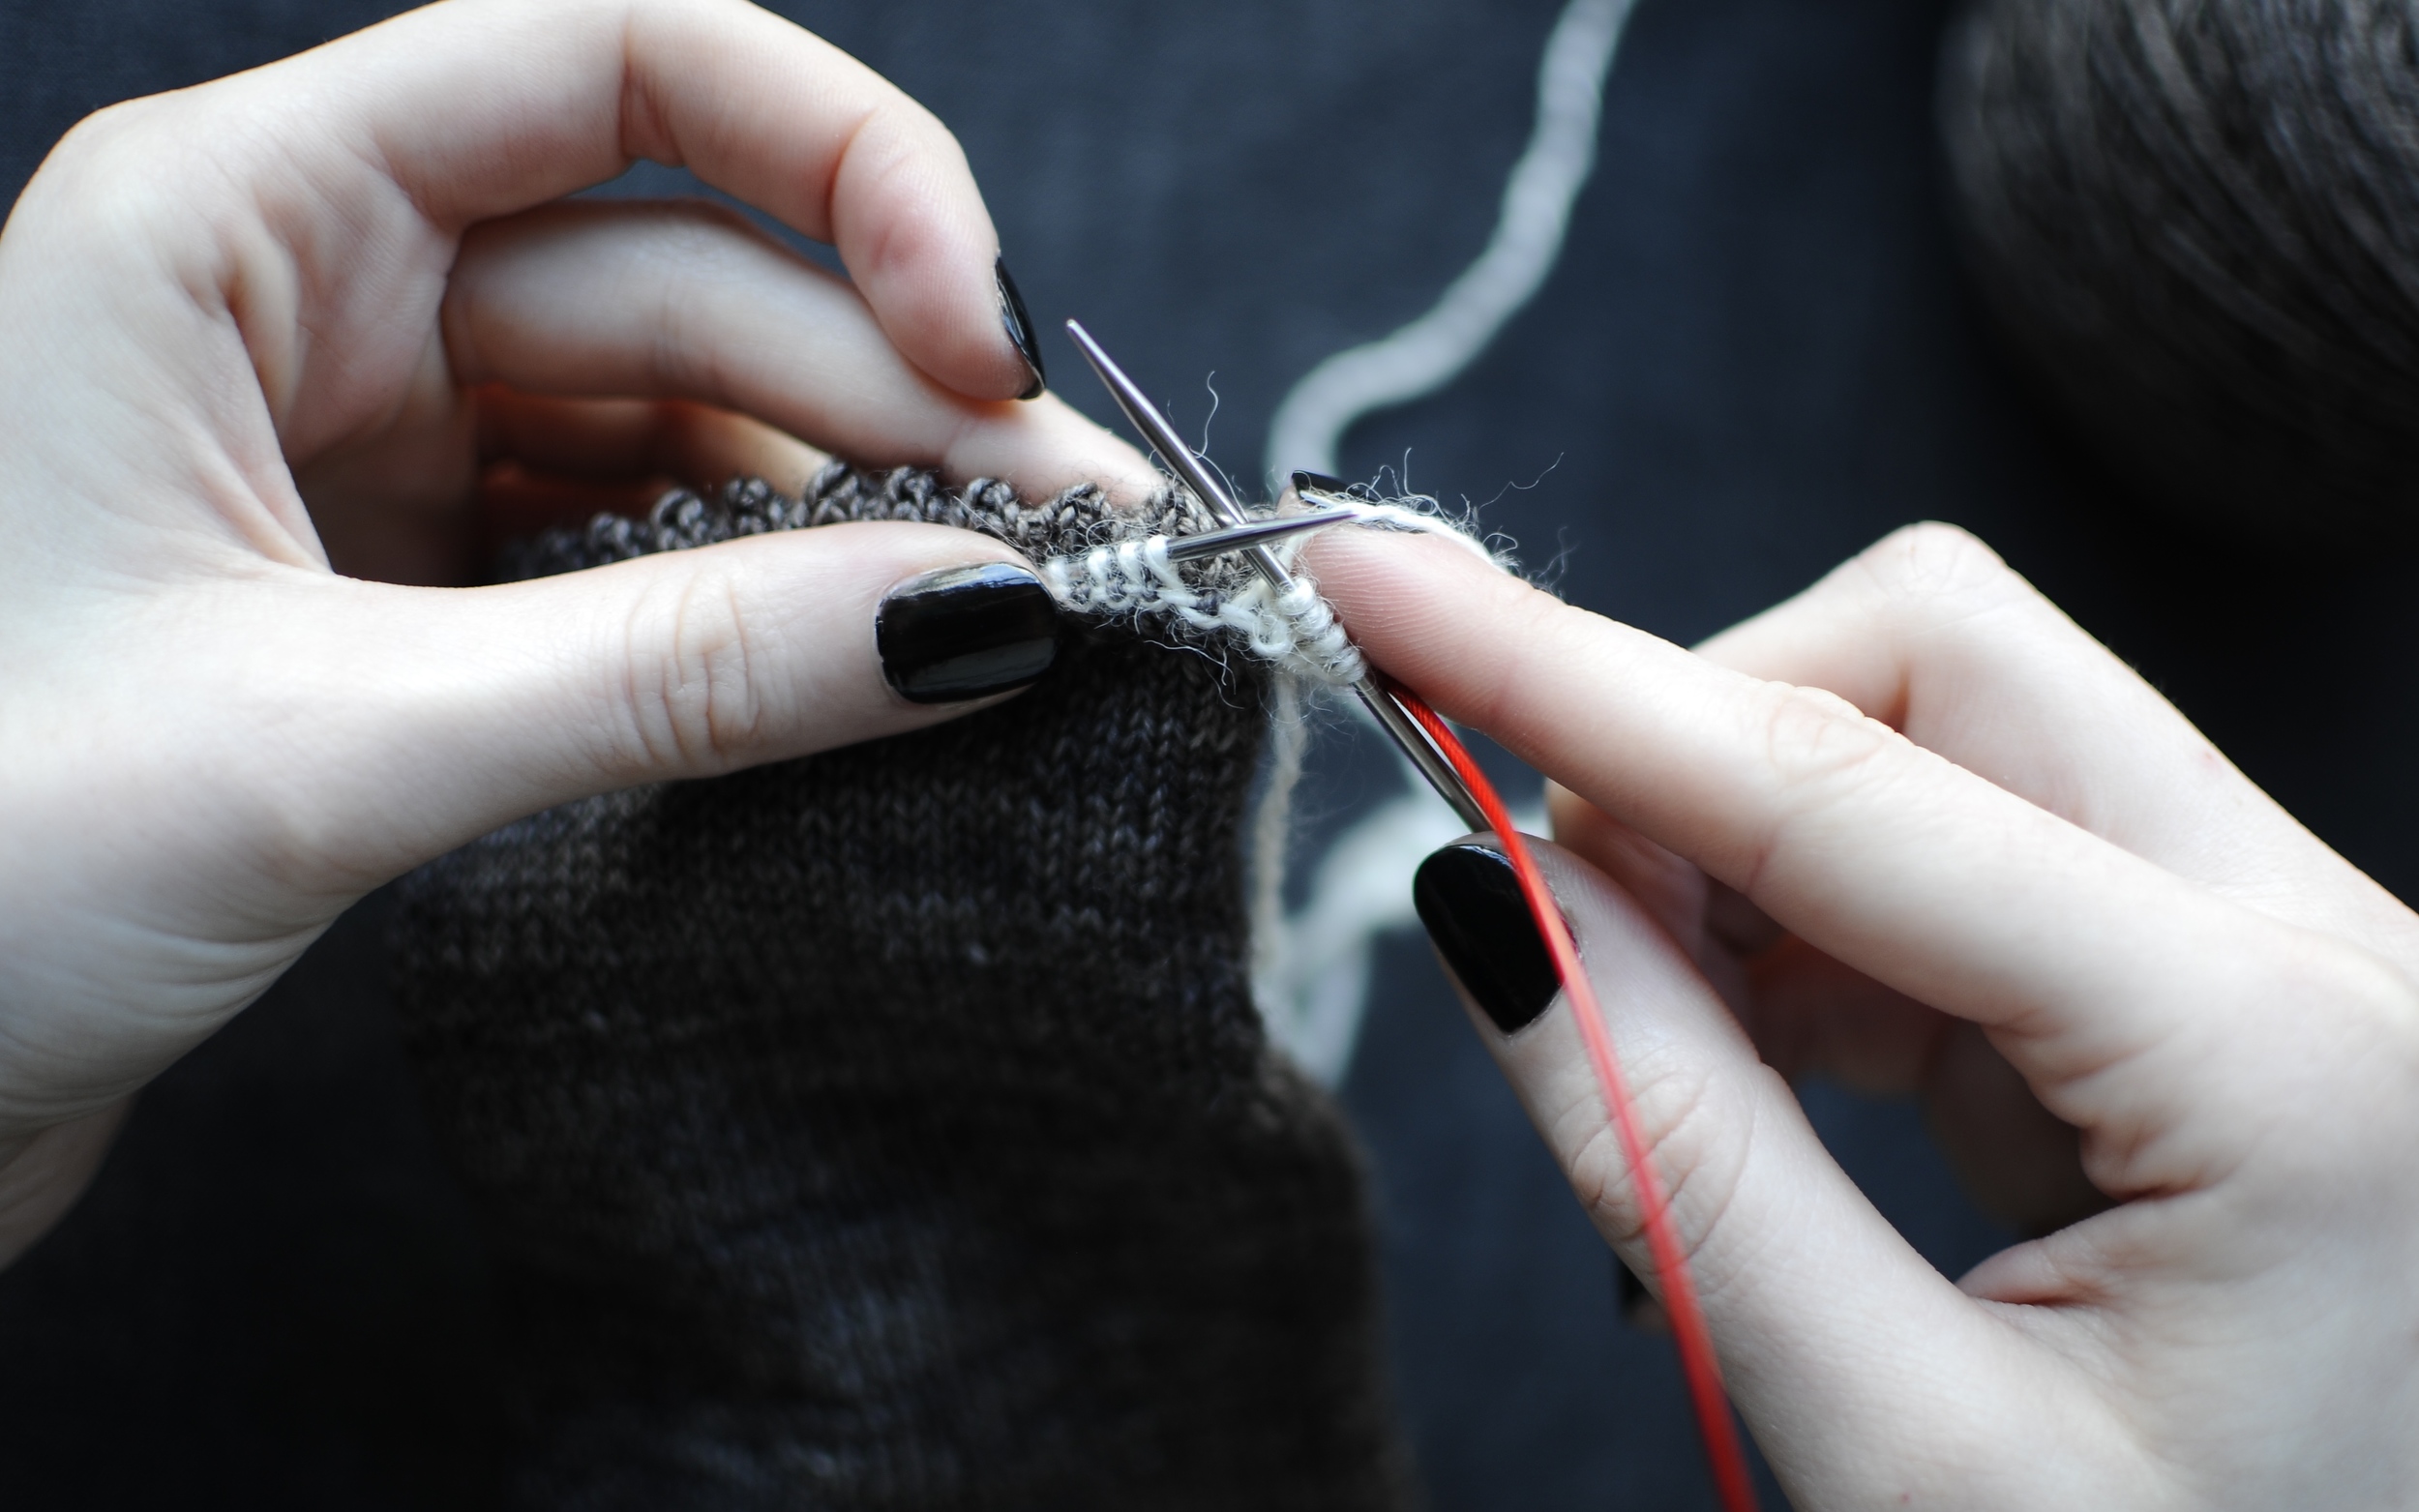
2. Start at the seam where you left Yarn B. Pick up the working yarn and begin to work in an anticlockwise direction. Insert the needle under Yarn B, as if to knit (in-between the stitches you used to sew down the picot hem).

3. Wrap yarn around the knitting needle to knit that first stitch onto the needle.

4. Insert knitting needle underneath Yarn B in the next section. Wrap yarn around needle again and knit that stitch.

5. Continue to repeat Steps 3 - 4 to pick up all the stitches around the circumference of the cuff.


6. Once you've worked all the way around, there should be 64 (72) stitches on your needles.

7. Using the Backwards Loop Method, cast on 4 stitches onto Left Hand needle. This is the third errata in the pattern. It should read LH needle instead of RH needle.

8. Ignore 'turn work'. You should already be set up to start Row 1 of the lace repeat.

9. Now begin Row 1 of lace repeat.
10. Once you finish Row 1, turn work.

12. Now you'll be ready to start Row 2 of lace repeat.

13. Continue to work Rows 1 - 4 until there is one cuff stitch remaining. Work Rows 1 - 3 once more.
14. Cast off the remaining 6 stitches.

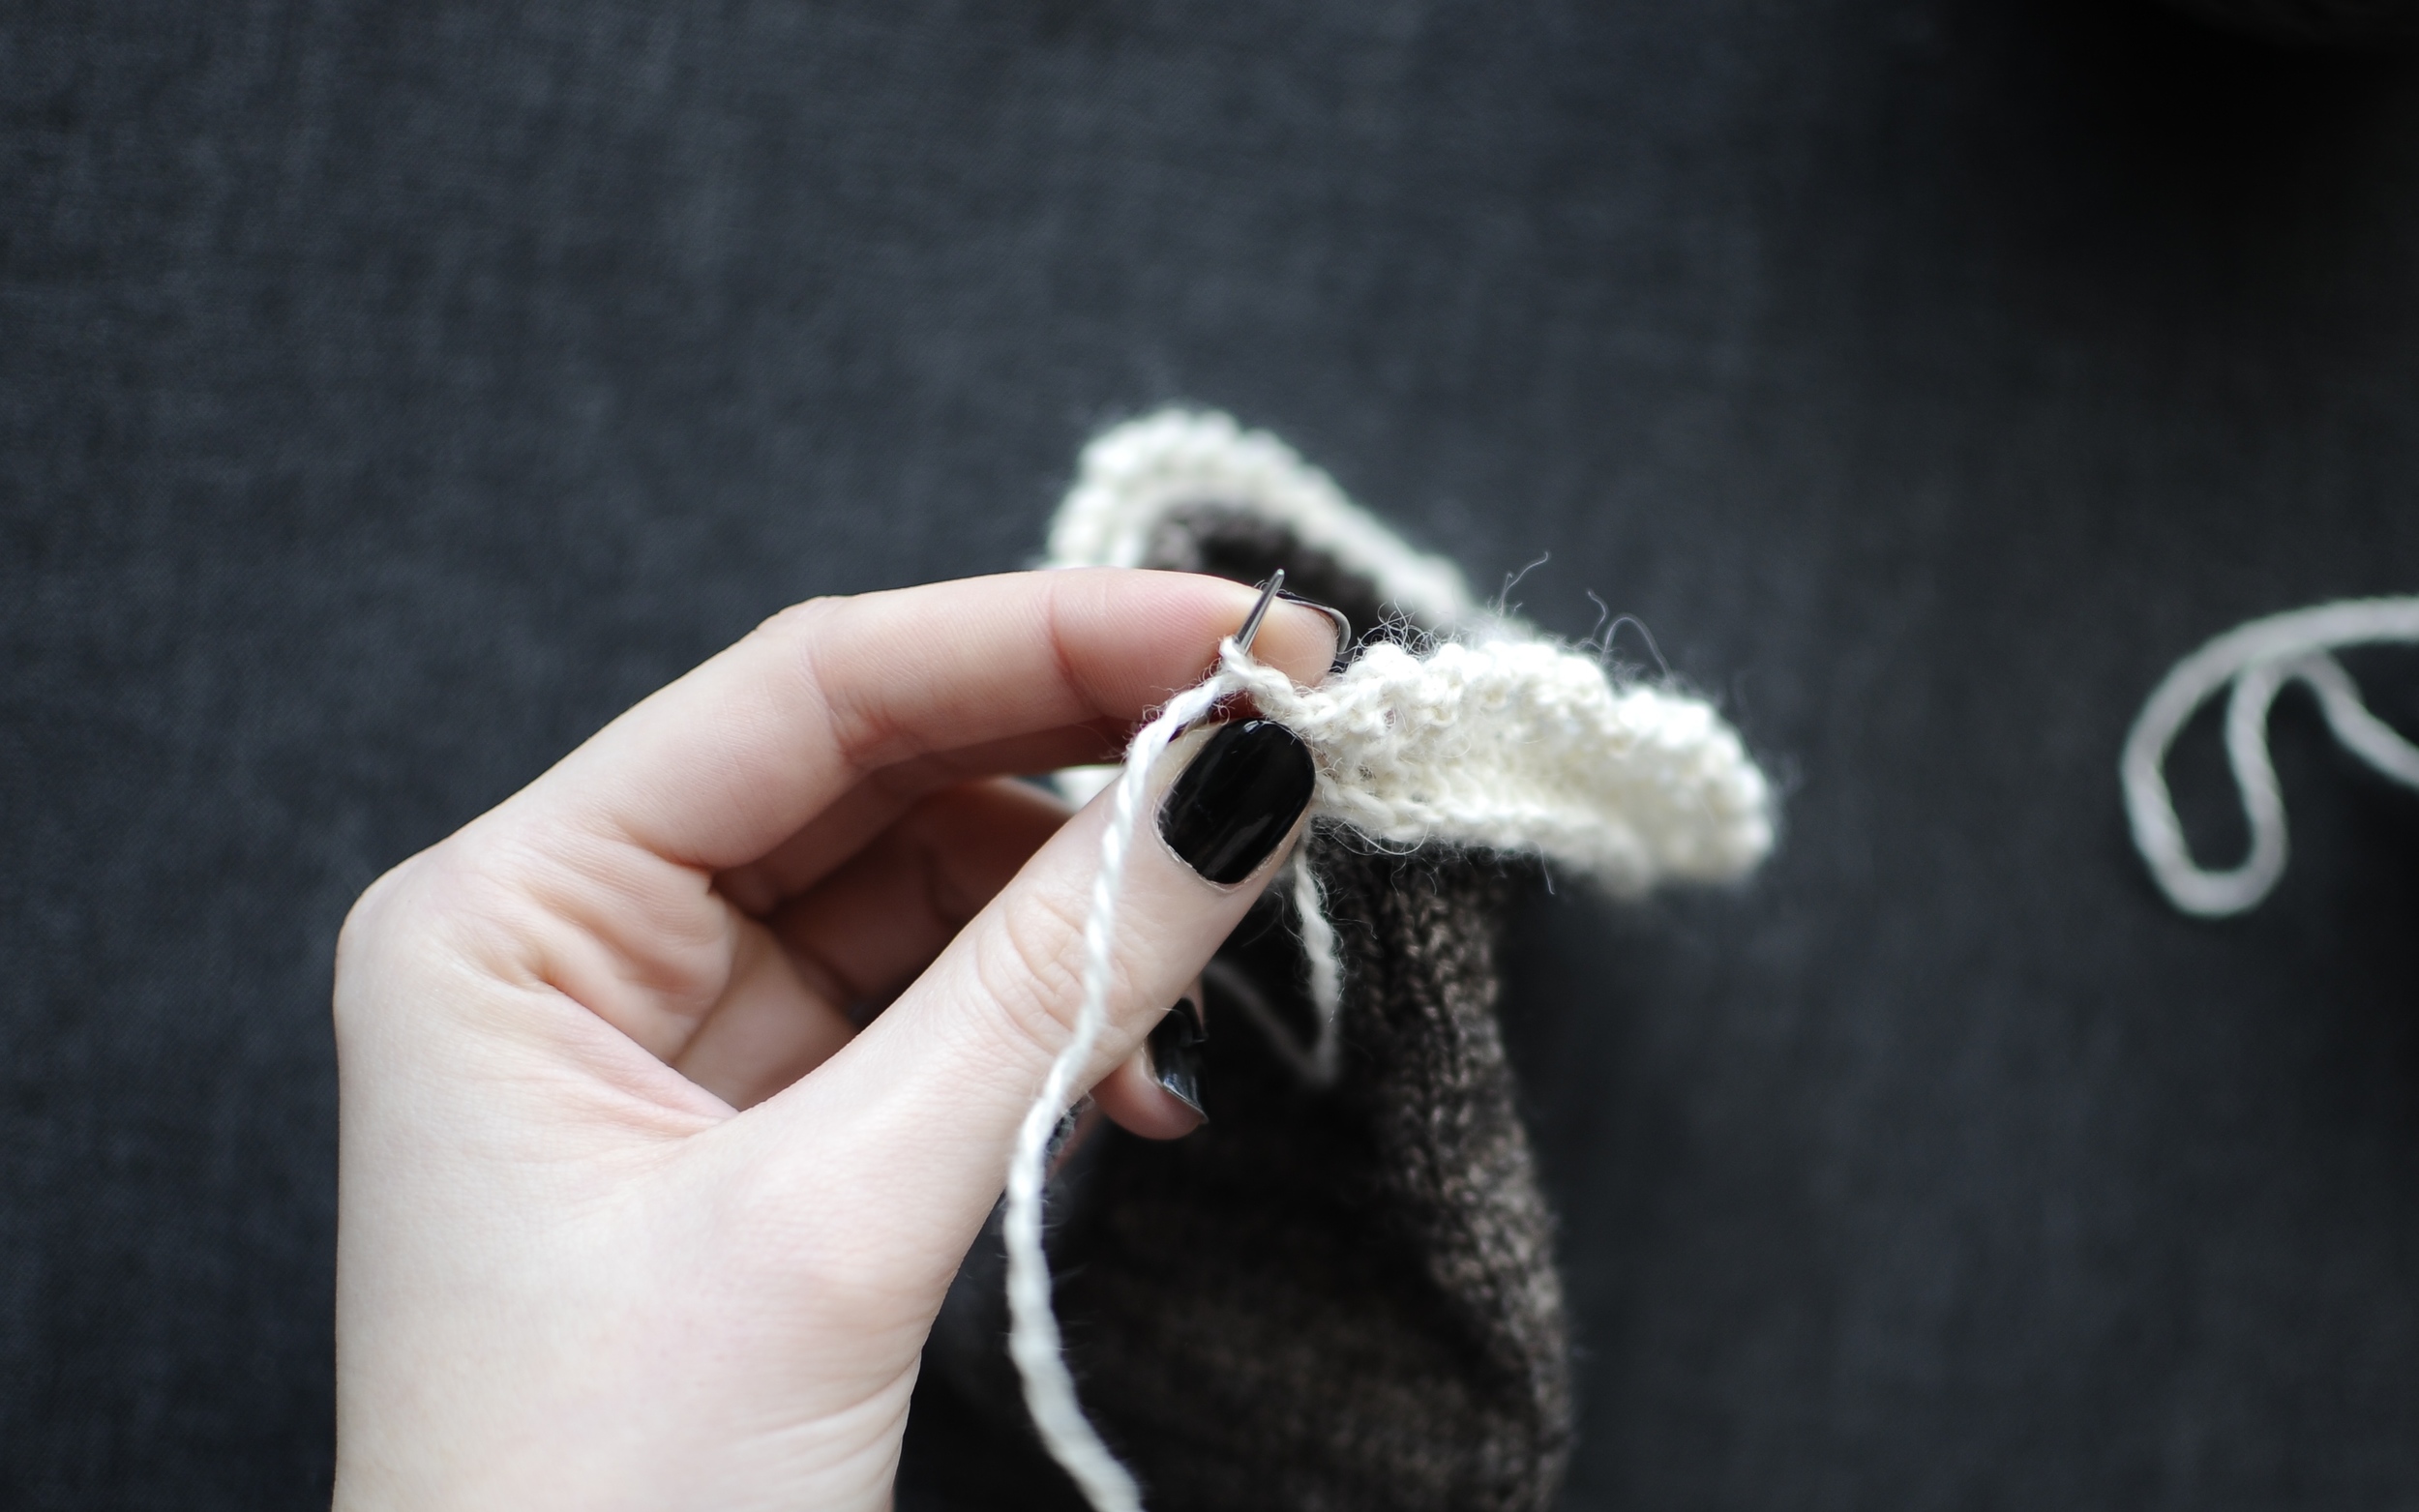
15. With the end of Yarn B, sew up the beginning and end of the lace trim for a nearly seamless finish.

16. Finish by weaving in the rest of your ends.
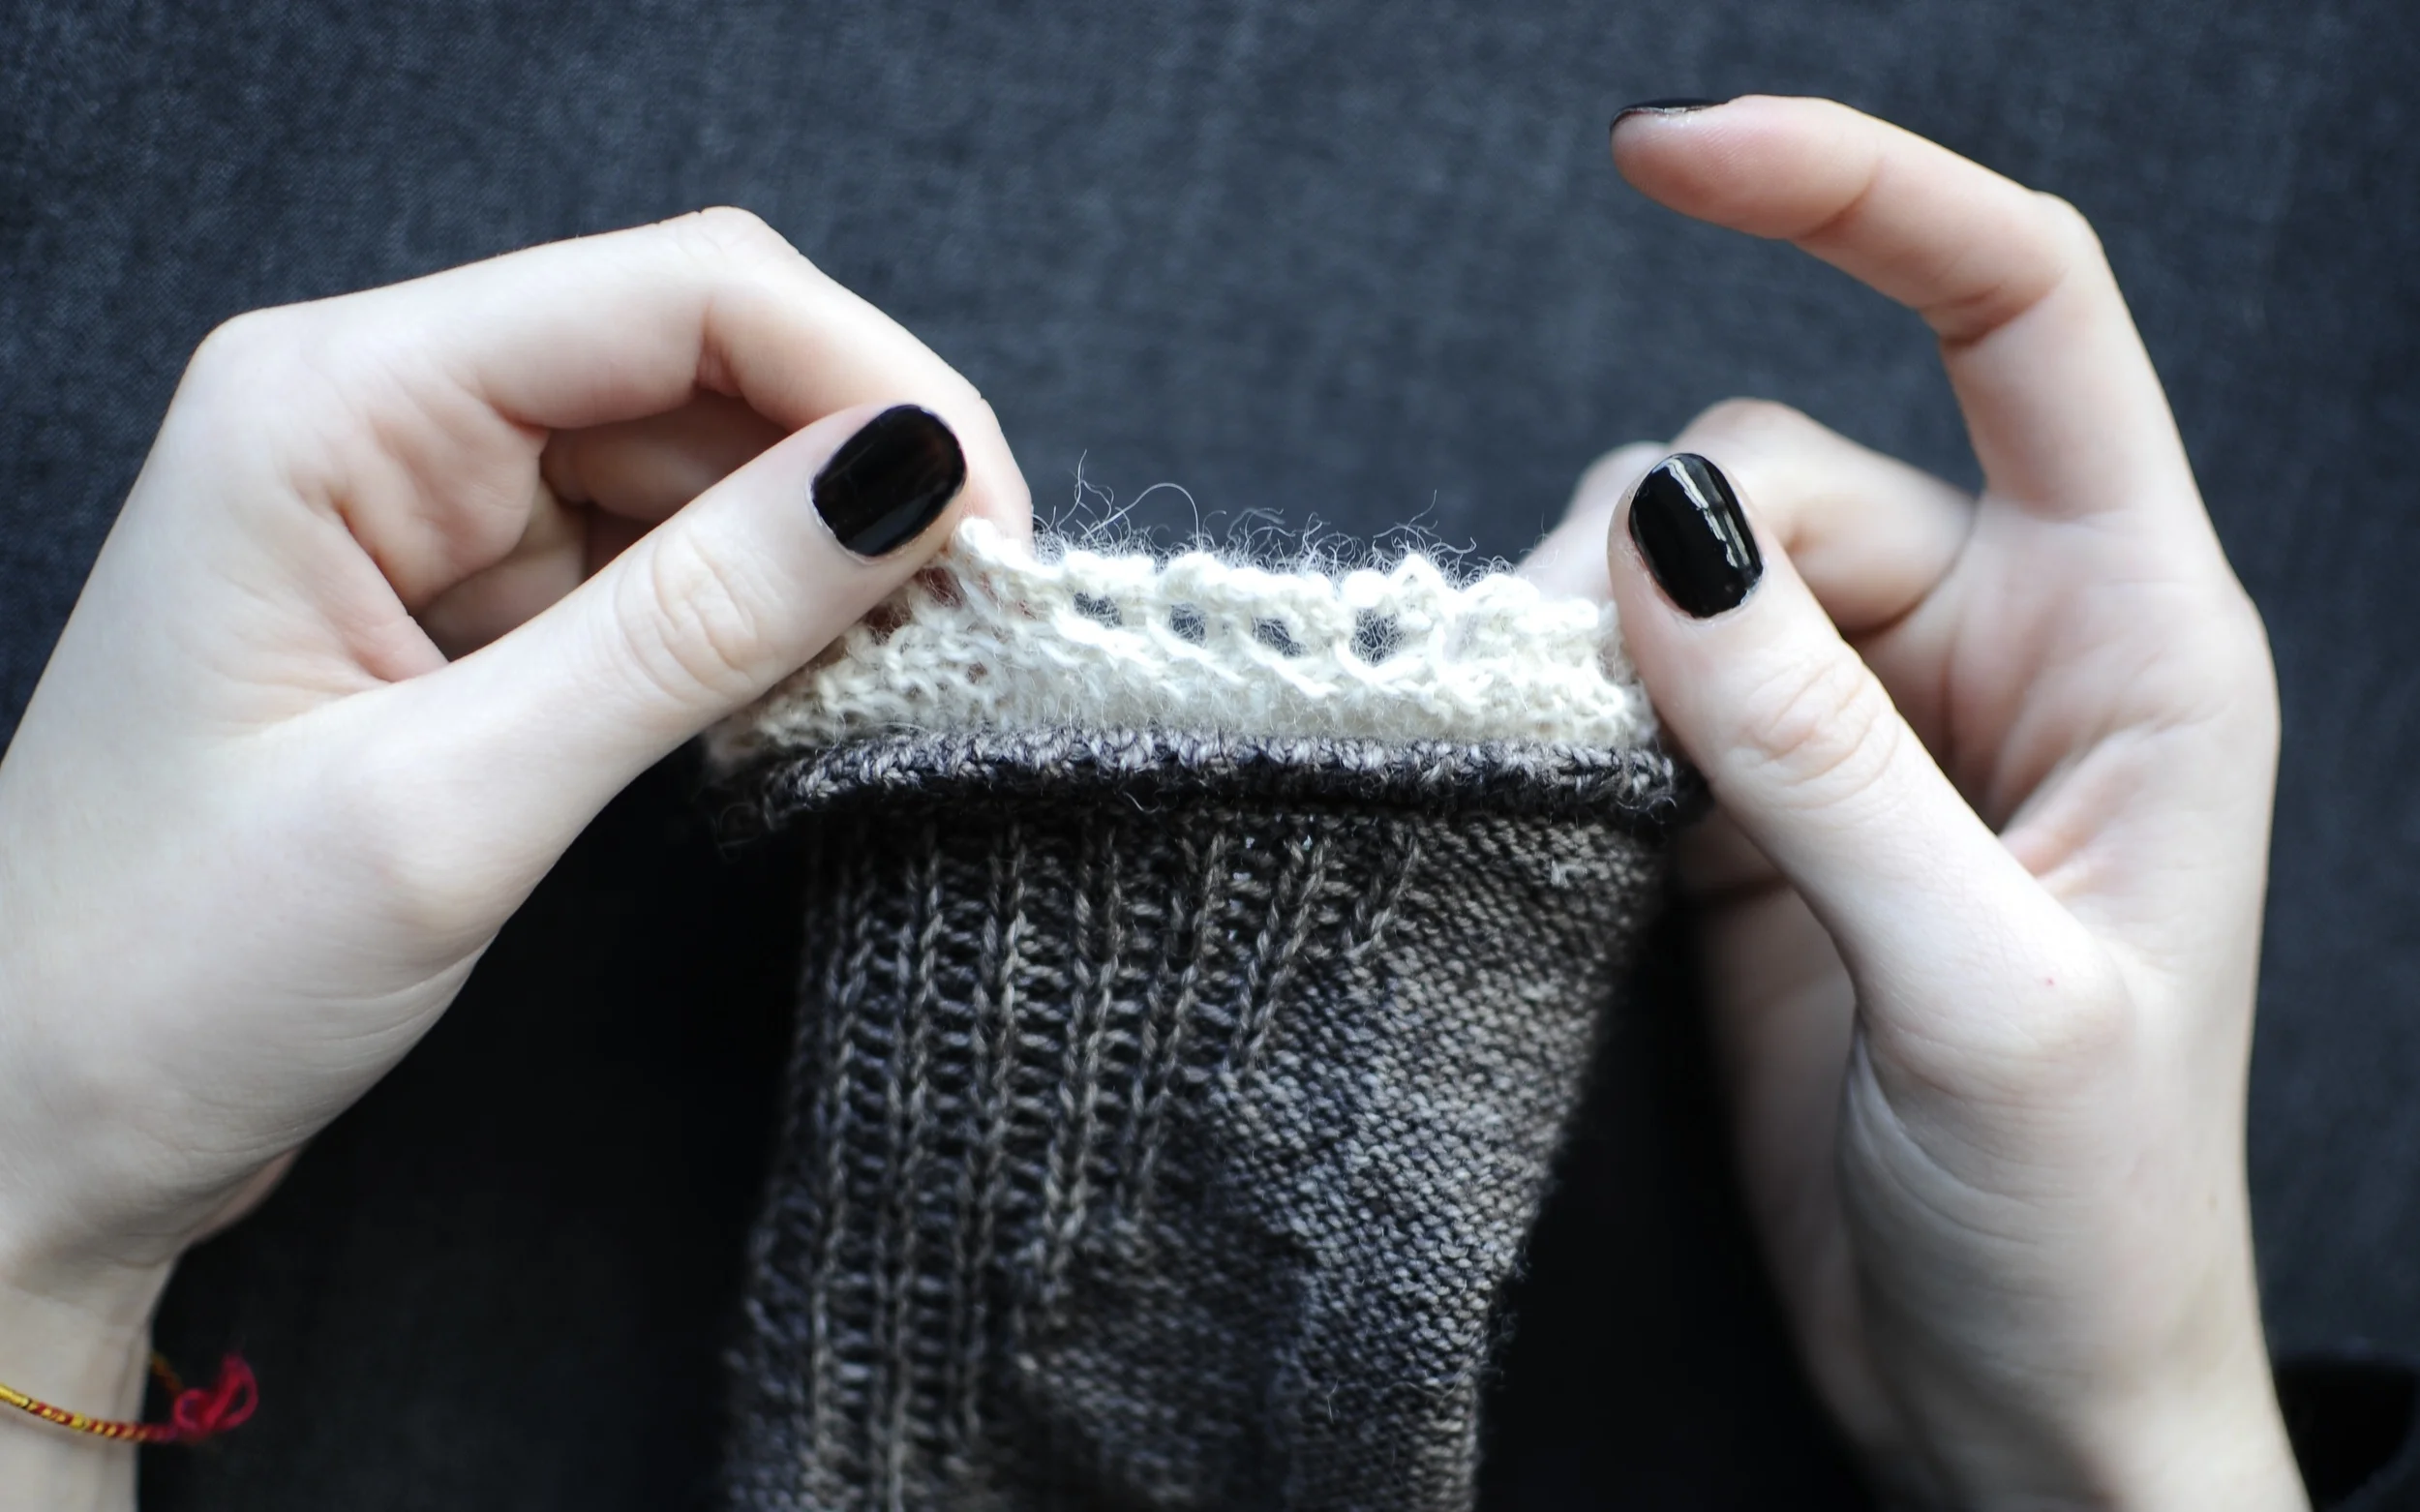
17. Turn sock right side out again and voila! You should have a double layer of picot and lace trim.
Now the lace trim should be finished! Move on to completing your sock with an after-thought heel. Repeat pattern for second sock. If desired, once after washing the socks, the lace trim can be slightly stretched out and pinned to block as the sock dries.
Once again the erratas for the rest of this sock can be found in my first tutorial here, or on the Pom Pom's Errata page. Also many thanks to Otto Django Masters for the photography help!
Picot Hem Tutorial for Lunenburg Harbour
When I traveled to Iceland a few weeks ago, I was in need of a small portable project to take with me and what's more perfect than a pair of socks on the go. It was an excuse to reknit the Lunenburg Harbour socks from my book, Take Heart. They were originally one of the first pieces I started to design and knit for the book. It was a pleasure to revisit them again. In doing so, I unfortunately regret to mention that I did come across a few mistakes in this pattern.

I will post the erratas here. You can also find them on Pom Pom's Errata page. The first one is in the very beginning of the Foot Section.
Foot: Round 1: K10 (12), [sl1, k2] 5 times, k8 (k10), k to end.
Knit to end, instead of purl to end, only for this first round. This insures a seamless joining of the two contrasting colours.
Leg: The round numbering is out of sync after Round 16 and currently reads from Round 11-39. All pattern text is correct but the rounds should be numbered from Round 17-49.
Cuff: Using the backwards loop method, cast 4 sts onto LH needle. Ignore turn work.
This should be Leaf Hand needle instead of RH. I'll revisit this again in the Lace Trim Tutorial.
The rest of this post is a tutorial on how to finish your sock with the picot trim. How to pick up for the lace trim will be in this second blog post. You'll need the lace yarn (Yarn B), a darning needle and scissors. So far, I have finished knitting the sock (excluding the heel). The last round of stitches is still on my knitting needles.
This pattern does call for double pointed needles. However, this time I knit this pair on a long circular needle using the Magic Loop Method. I used one 80 cm / 2mm Chiaogoo circular needle. I prefer to do one sock at a time. I also did knit the majority of this pair inside out. I cast on and did the toe as directed in the book.
I added a short-row to change direction once I joined my main colour (Yarn A). This allows me to kint my sock inside out. Follow the directions but knit instead of purl, purl instead of knit and slip stitches with yarn in front instead of yarn in back. I used some yarn I already had in my stash (shocking I know). I had plenty left over from Toft's Alpaca Fine Sock yarn from the original pair. You'll also recognize The Uncommon Thread's BFL, colour Attic Room, used in the Pennard Castle leg warmers from the book.

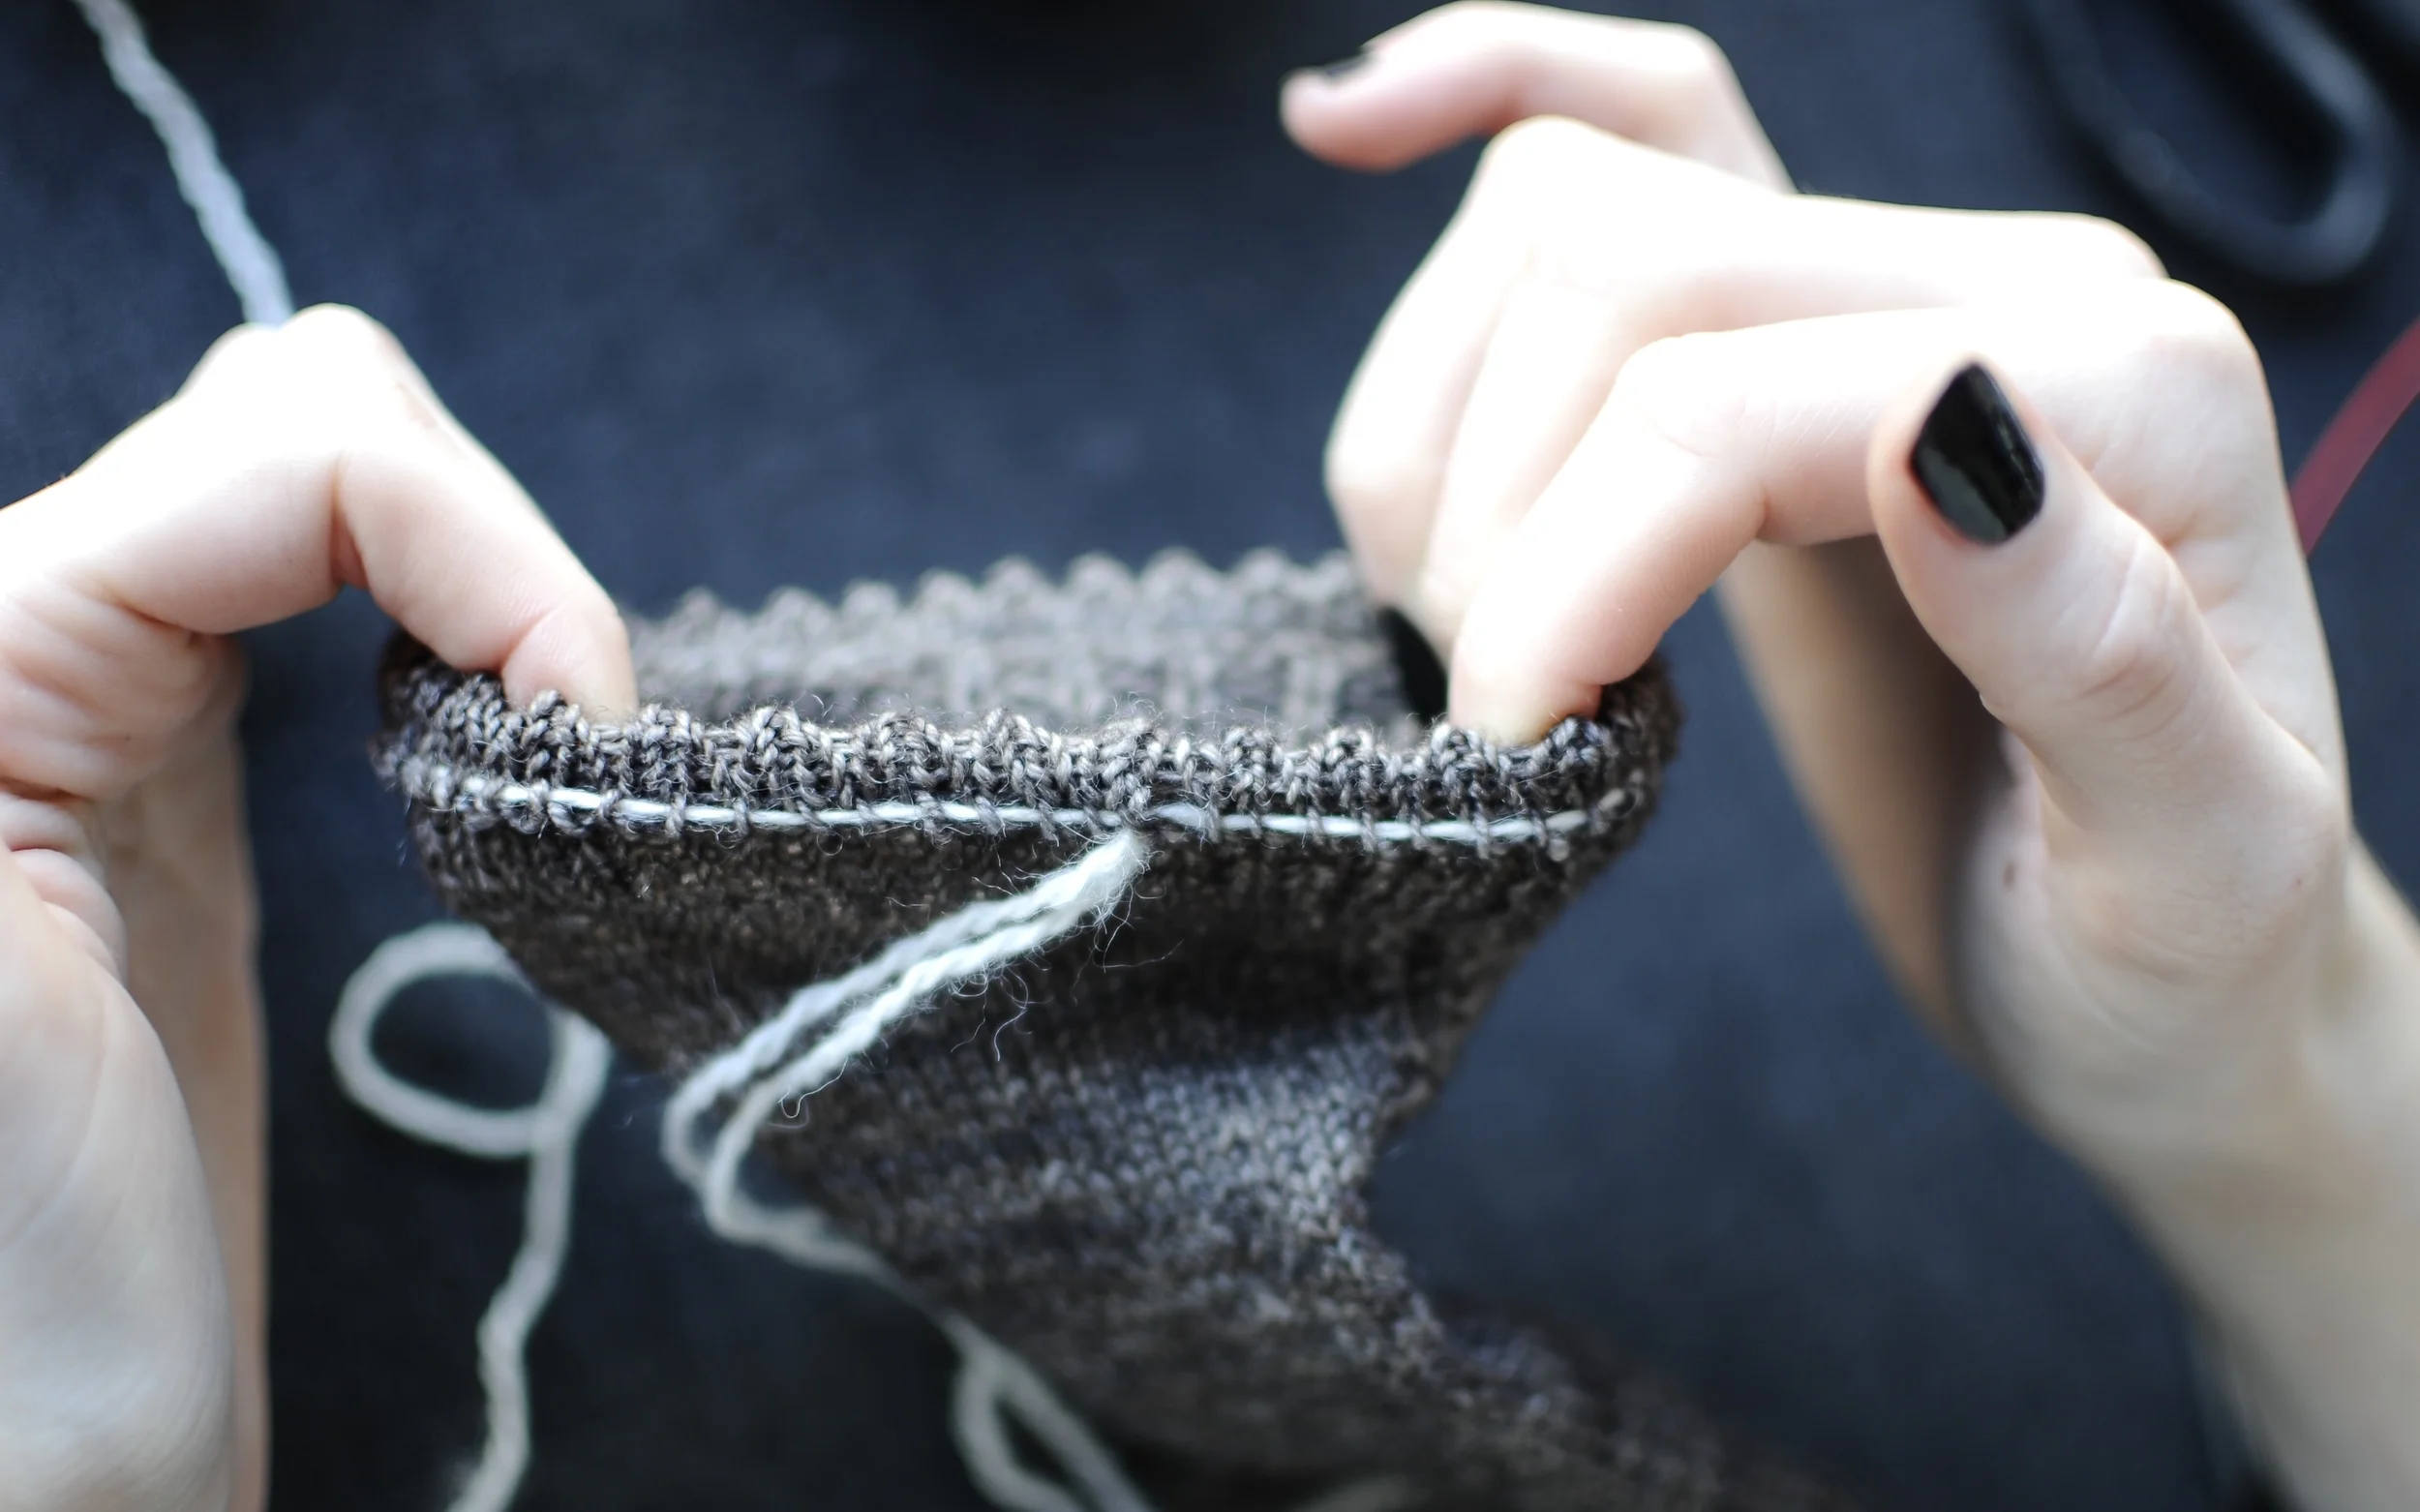
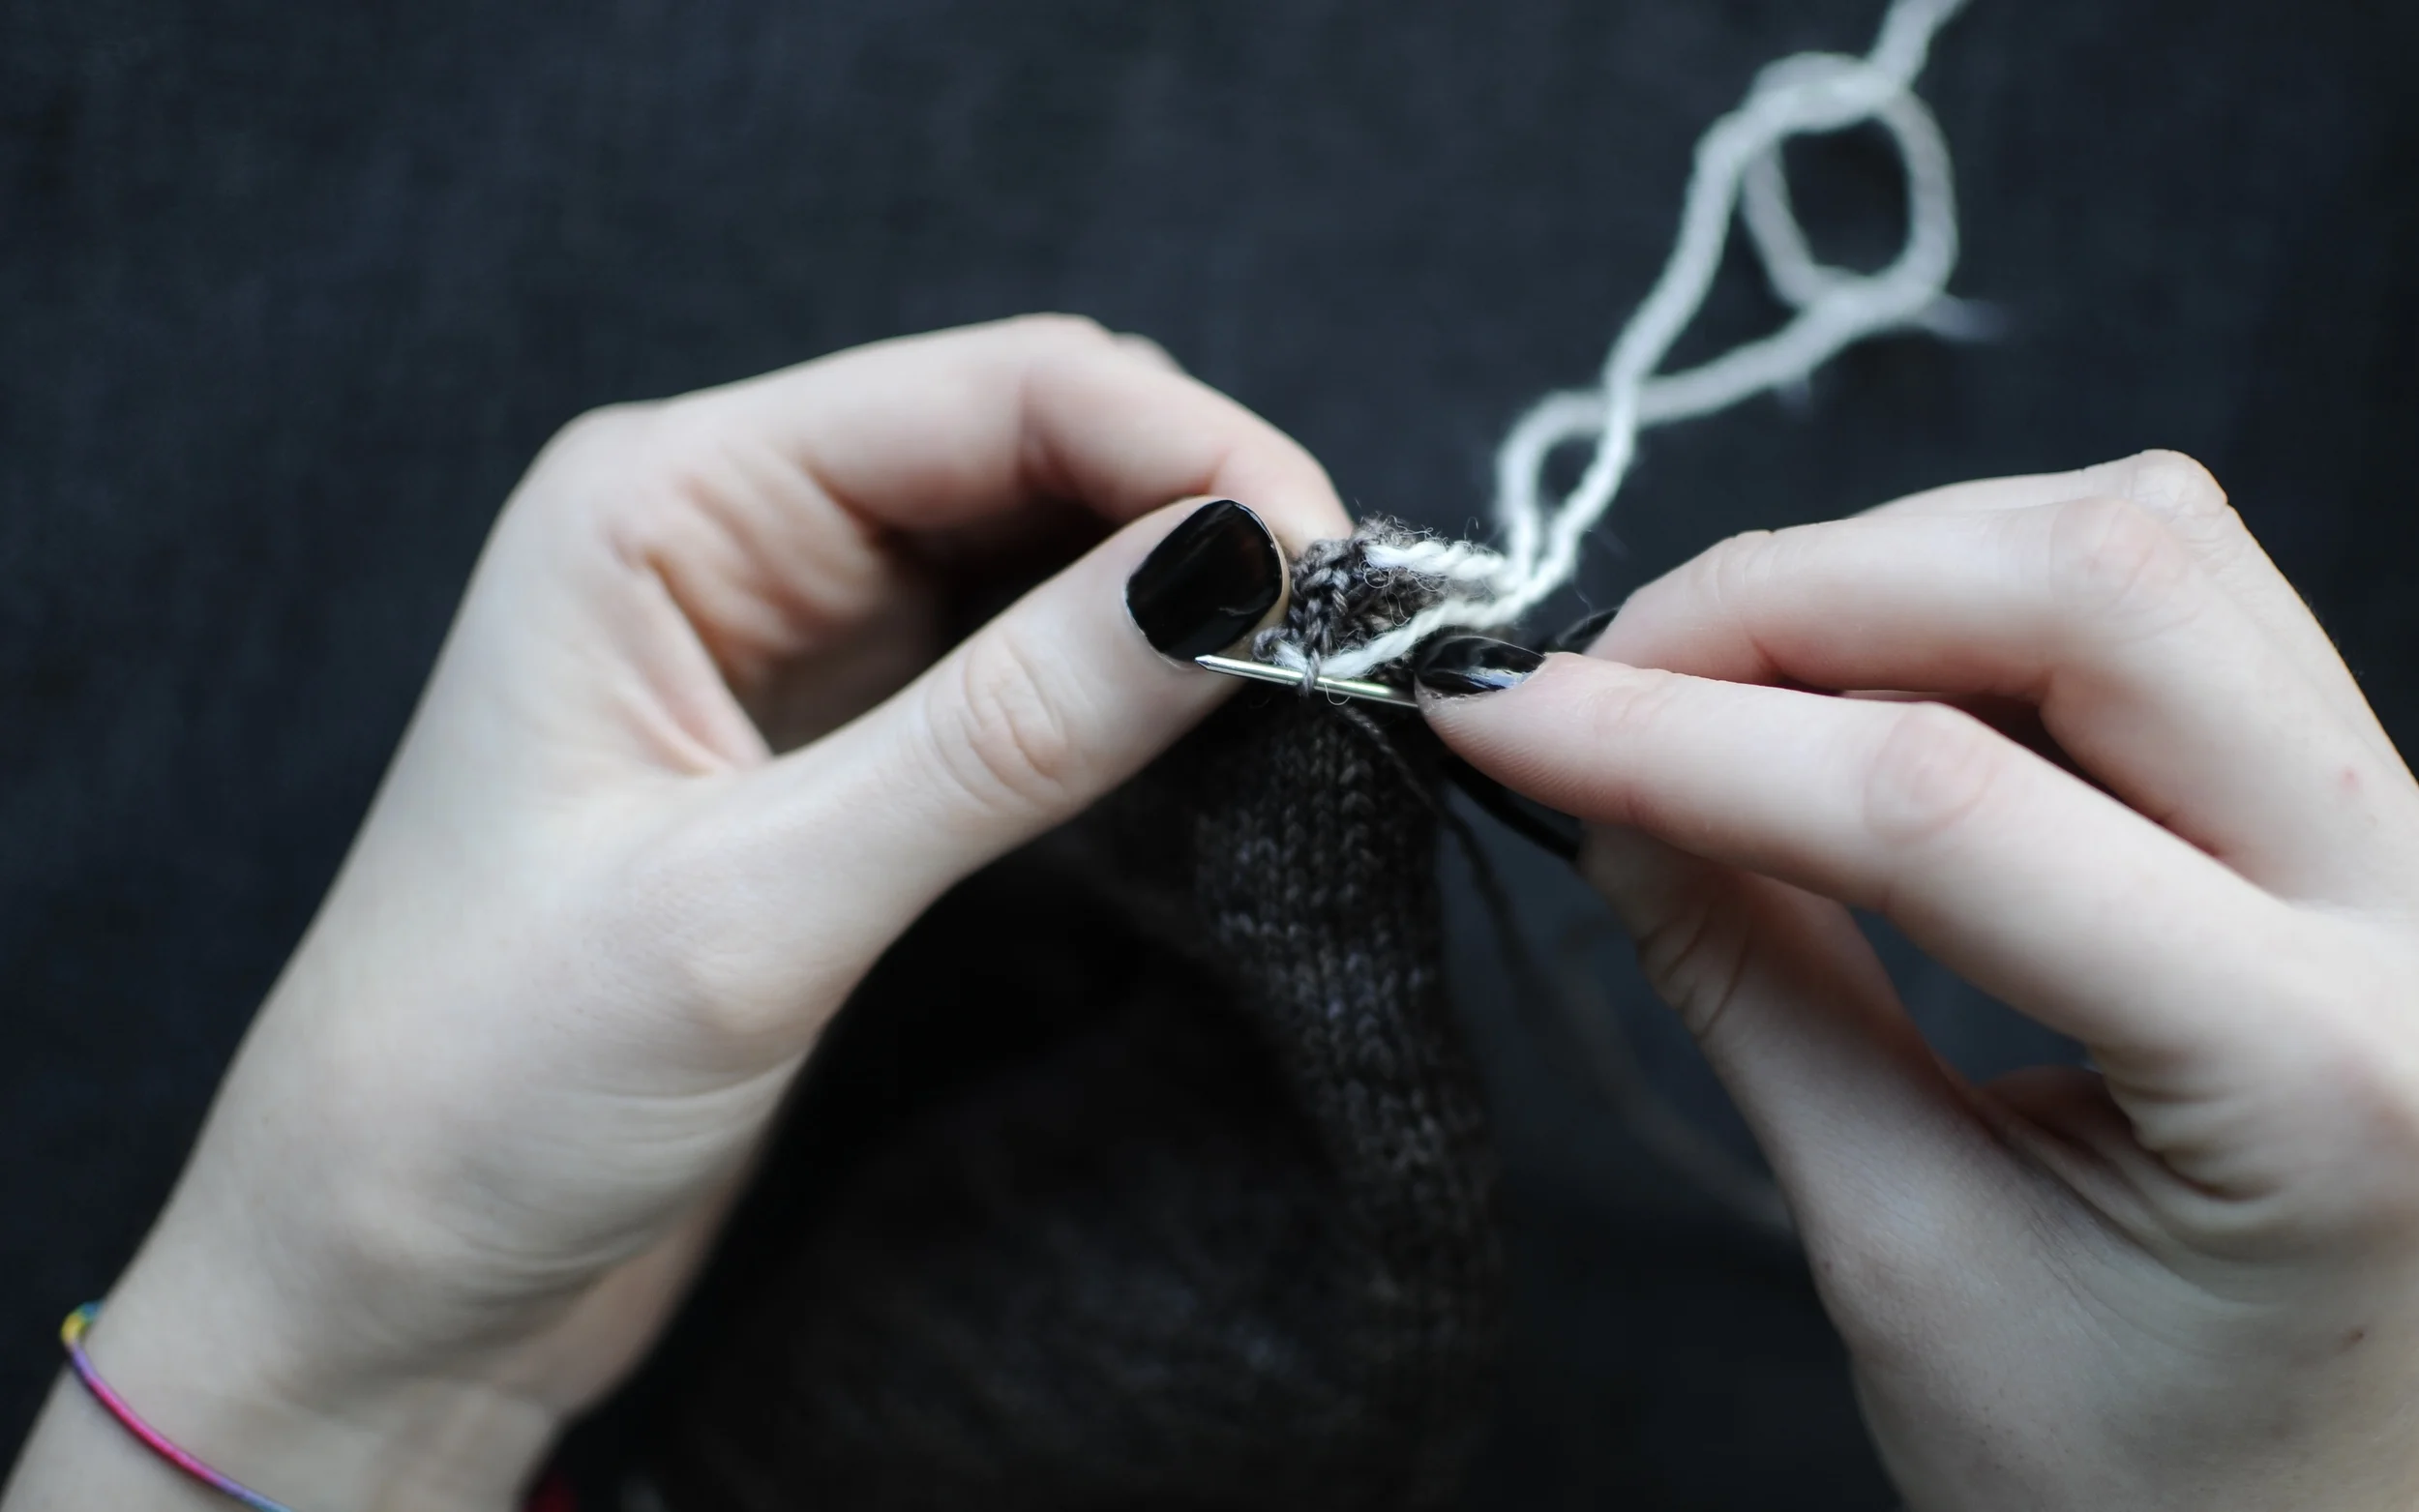
1. Break Yarn A and leave a long tail, approximately three times the circumference of your sock, for sewing down the picot hem. Thread the darning needle with Yarn B. Slowly thread the stitches from your needle onto the darning needle and Yarn B. Work in a clockwise direction.
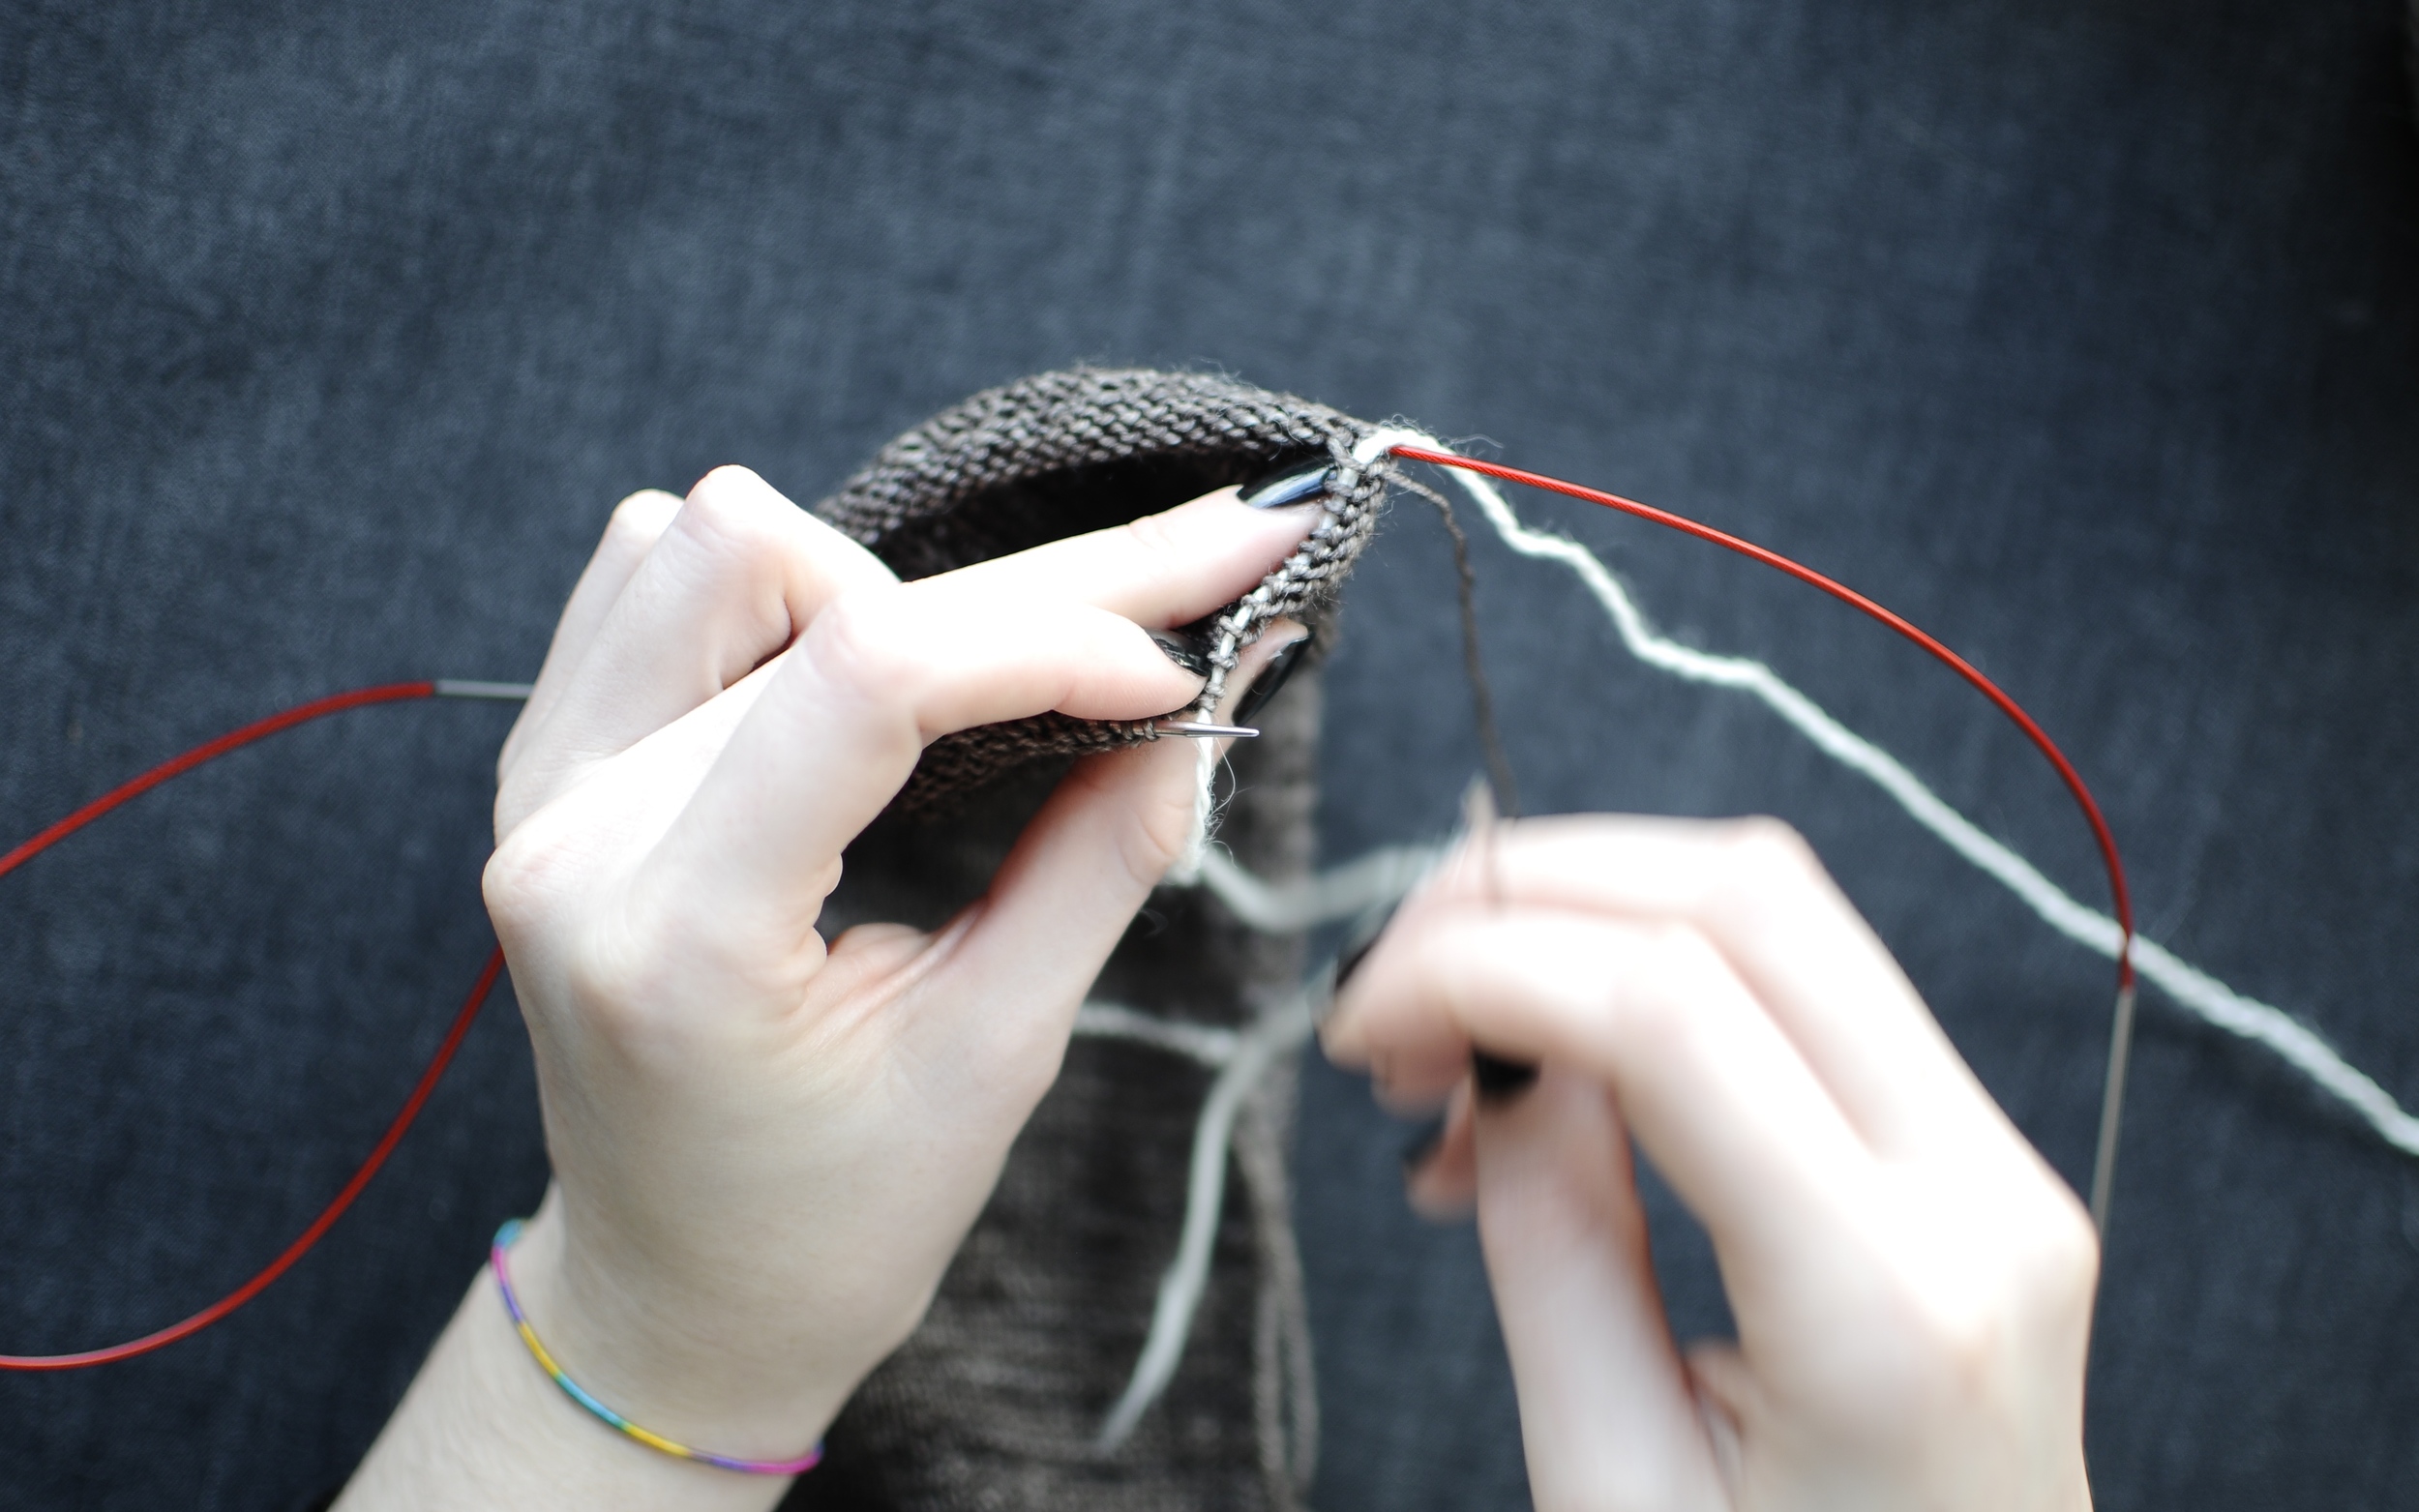

2. Continue to transfer all of the stitches and remove your knitting needles. Unthread darning needle and leave Yarn B still attached and off to the side. Yarn B will be used to knit the lace trim later.

3. Fold down hem to see the picot edging. Thread darning needle with your main yarn (Yarn A).
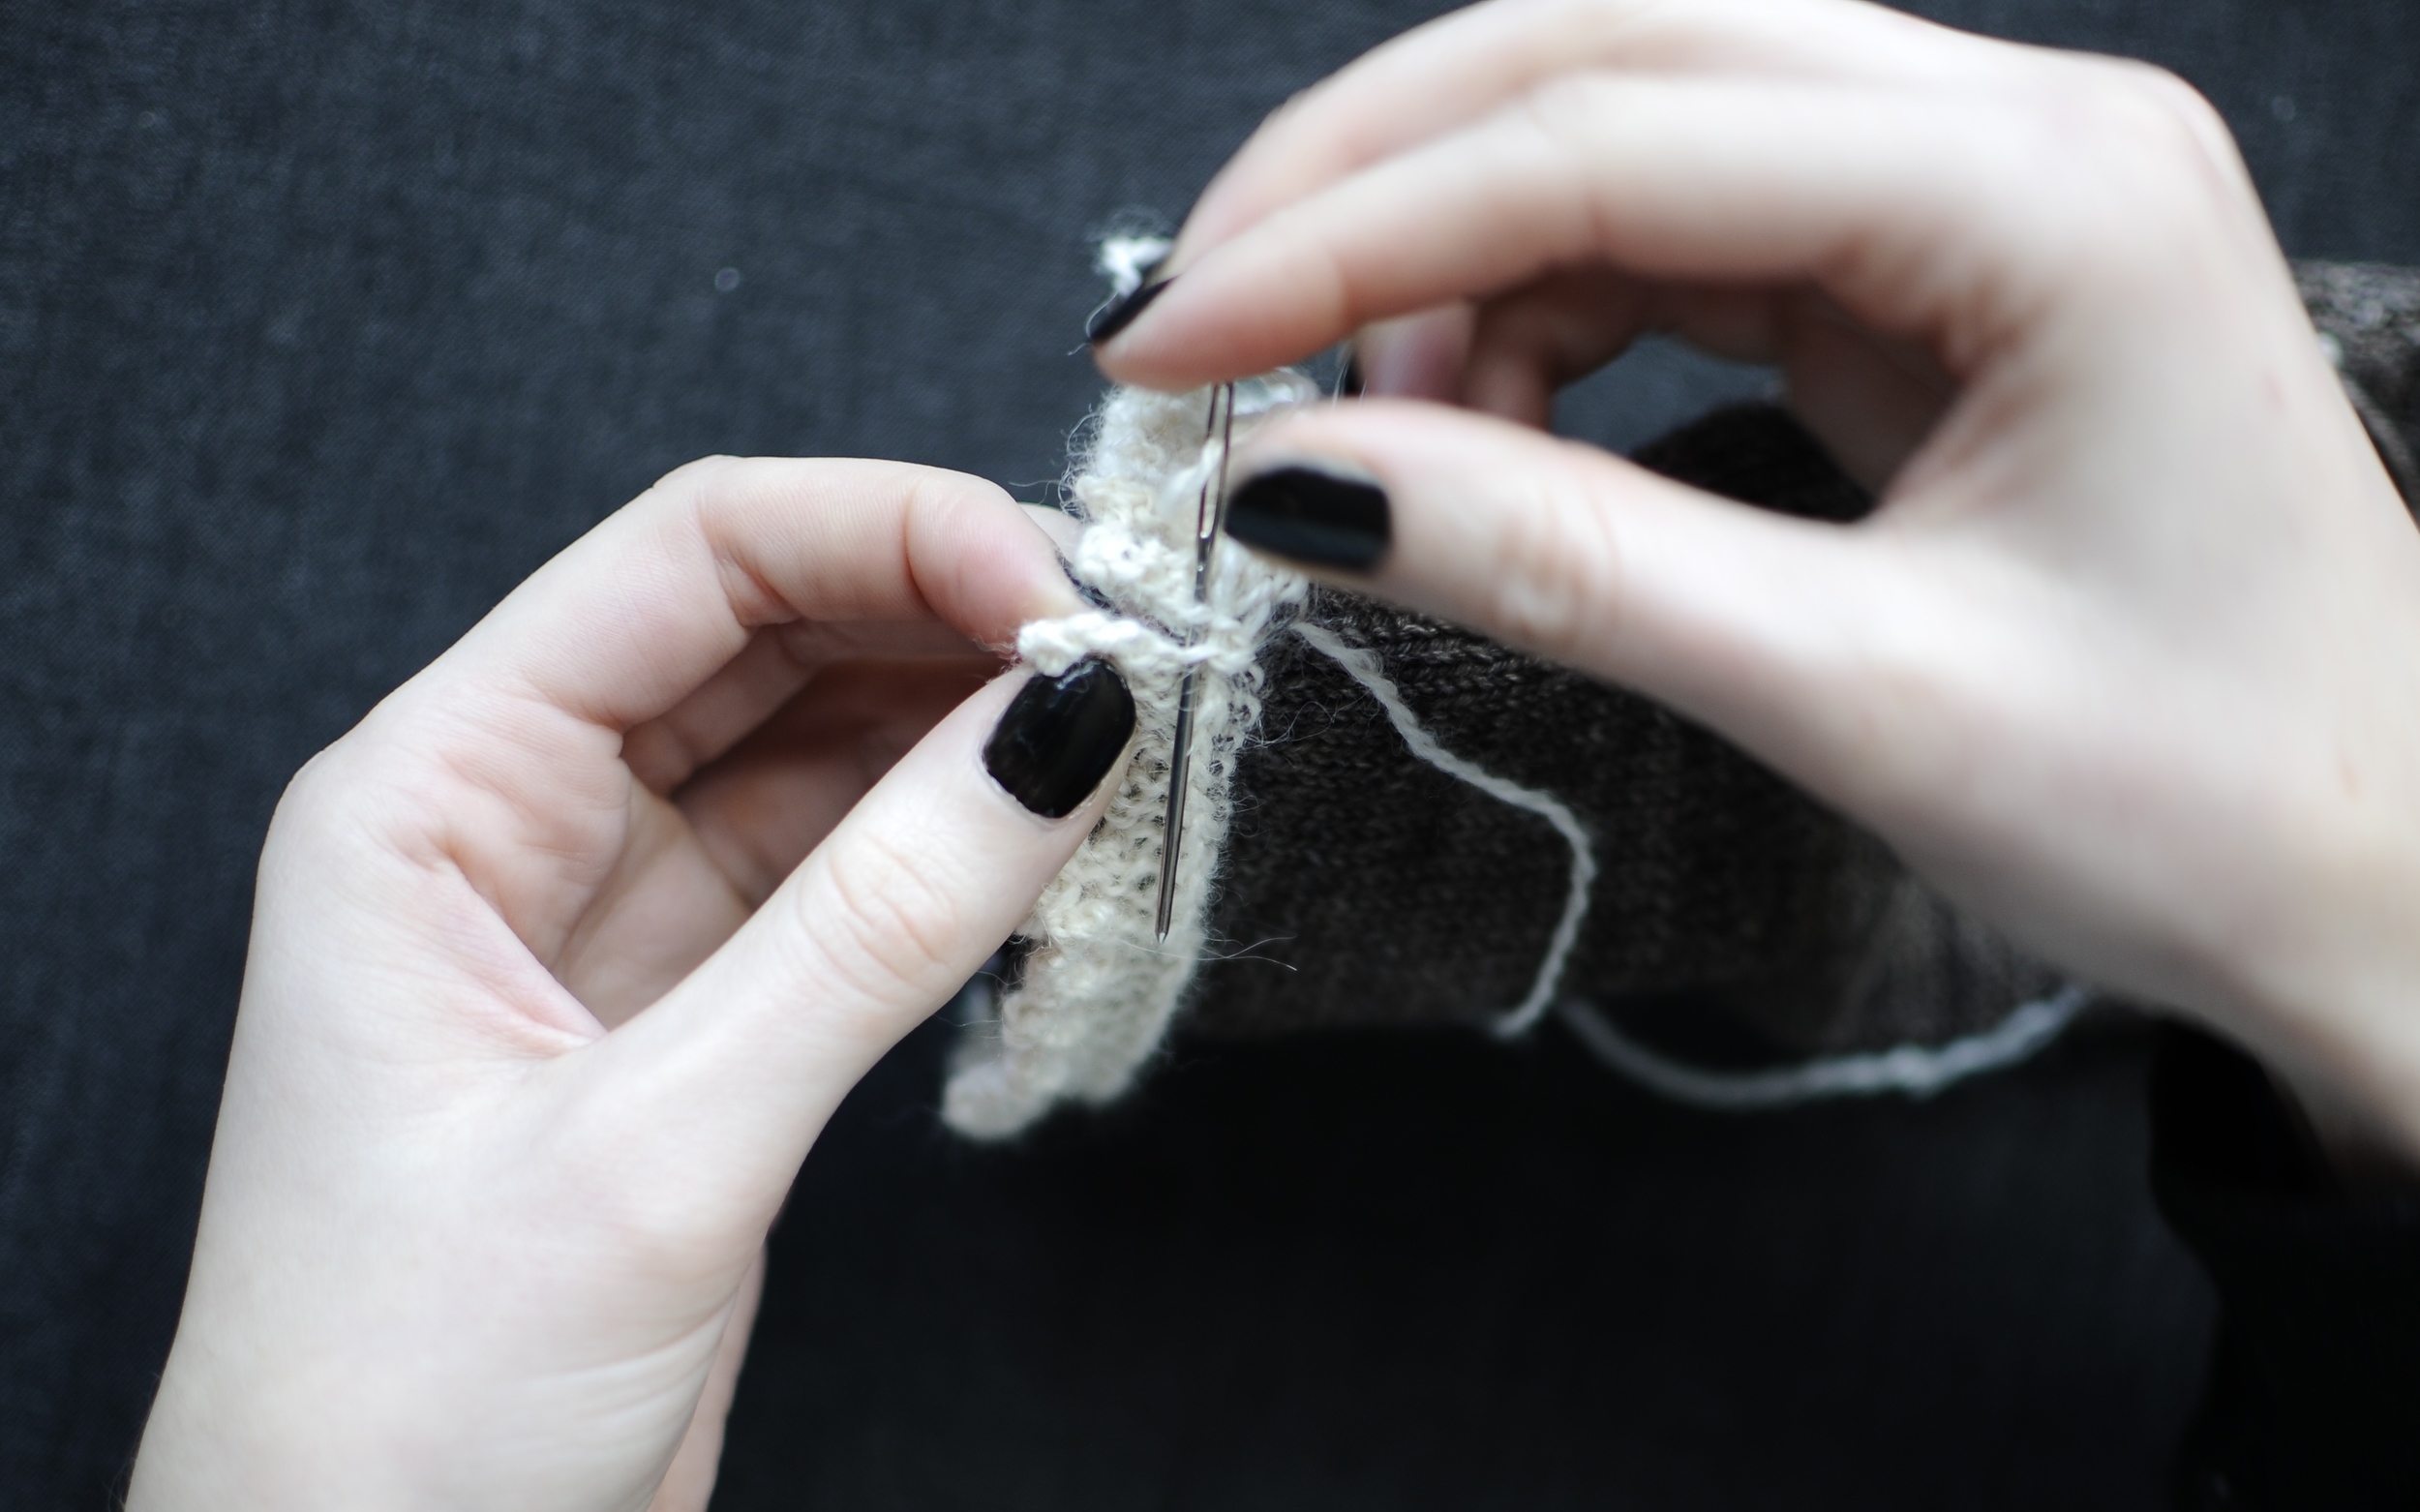
4. To sew the hem down, start by inserting the needle into the first live stitch, as if to purl. Draw yarn through but do not pull it too snug. If the hem is sewn down too tightly, the cuff of the sock will be difficult to pull on.
5. Lift hem up to find the corresponding stitch directly below. Insert the darning needle into the first purl bump several rows below, from top to bottom.
6. Pull the yarn through to close up the hem.

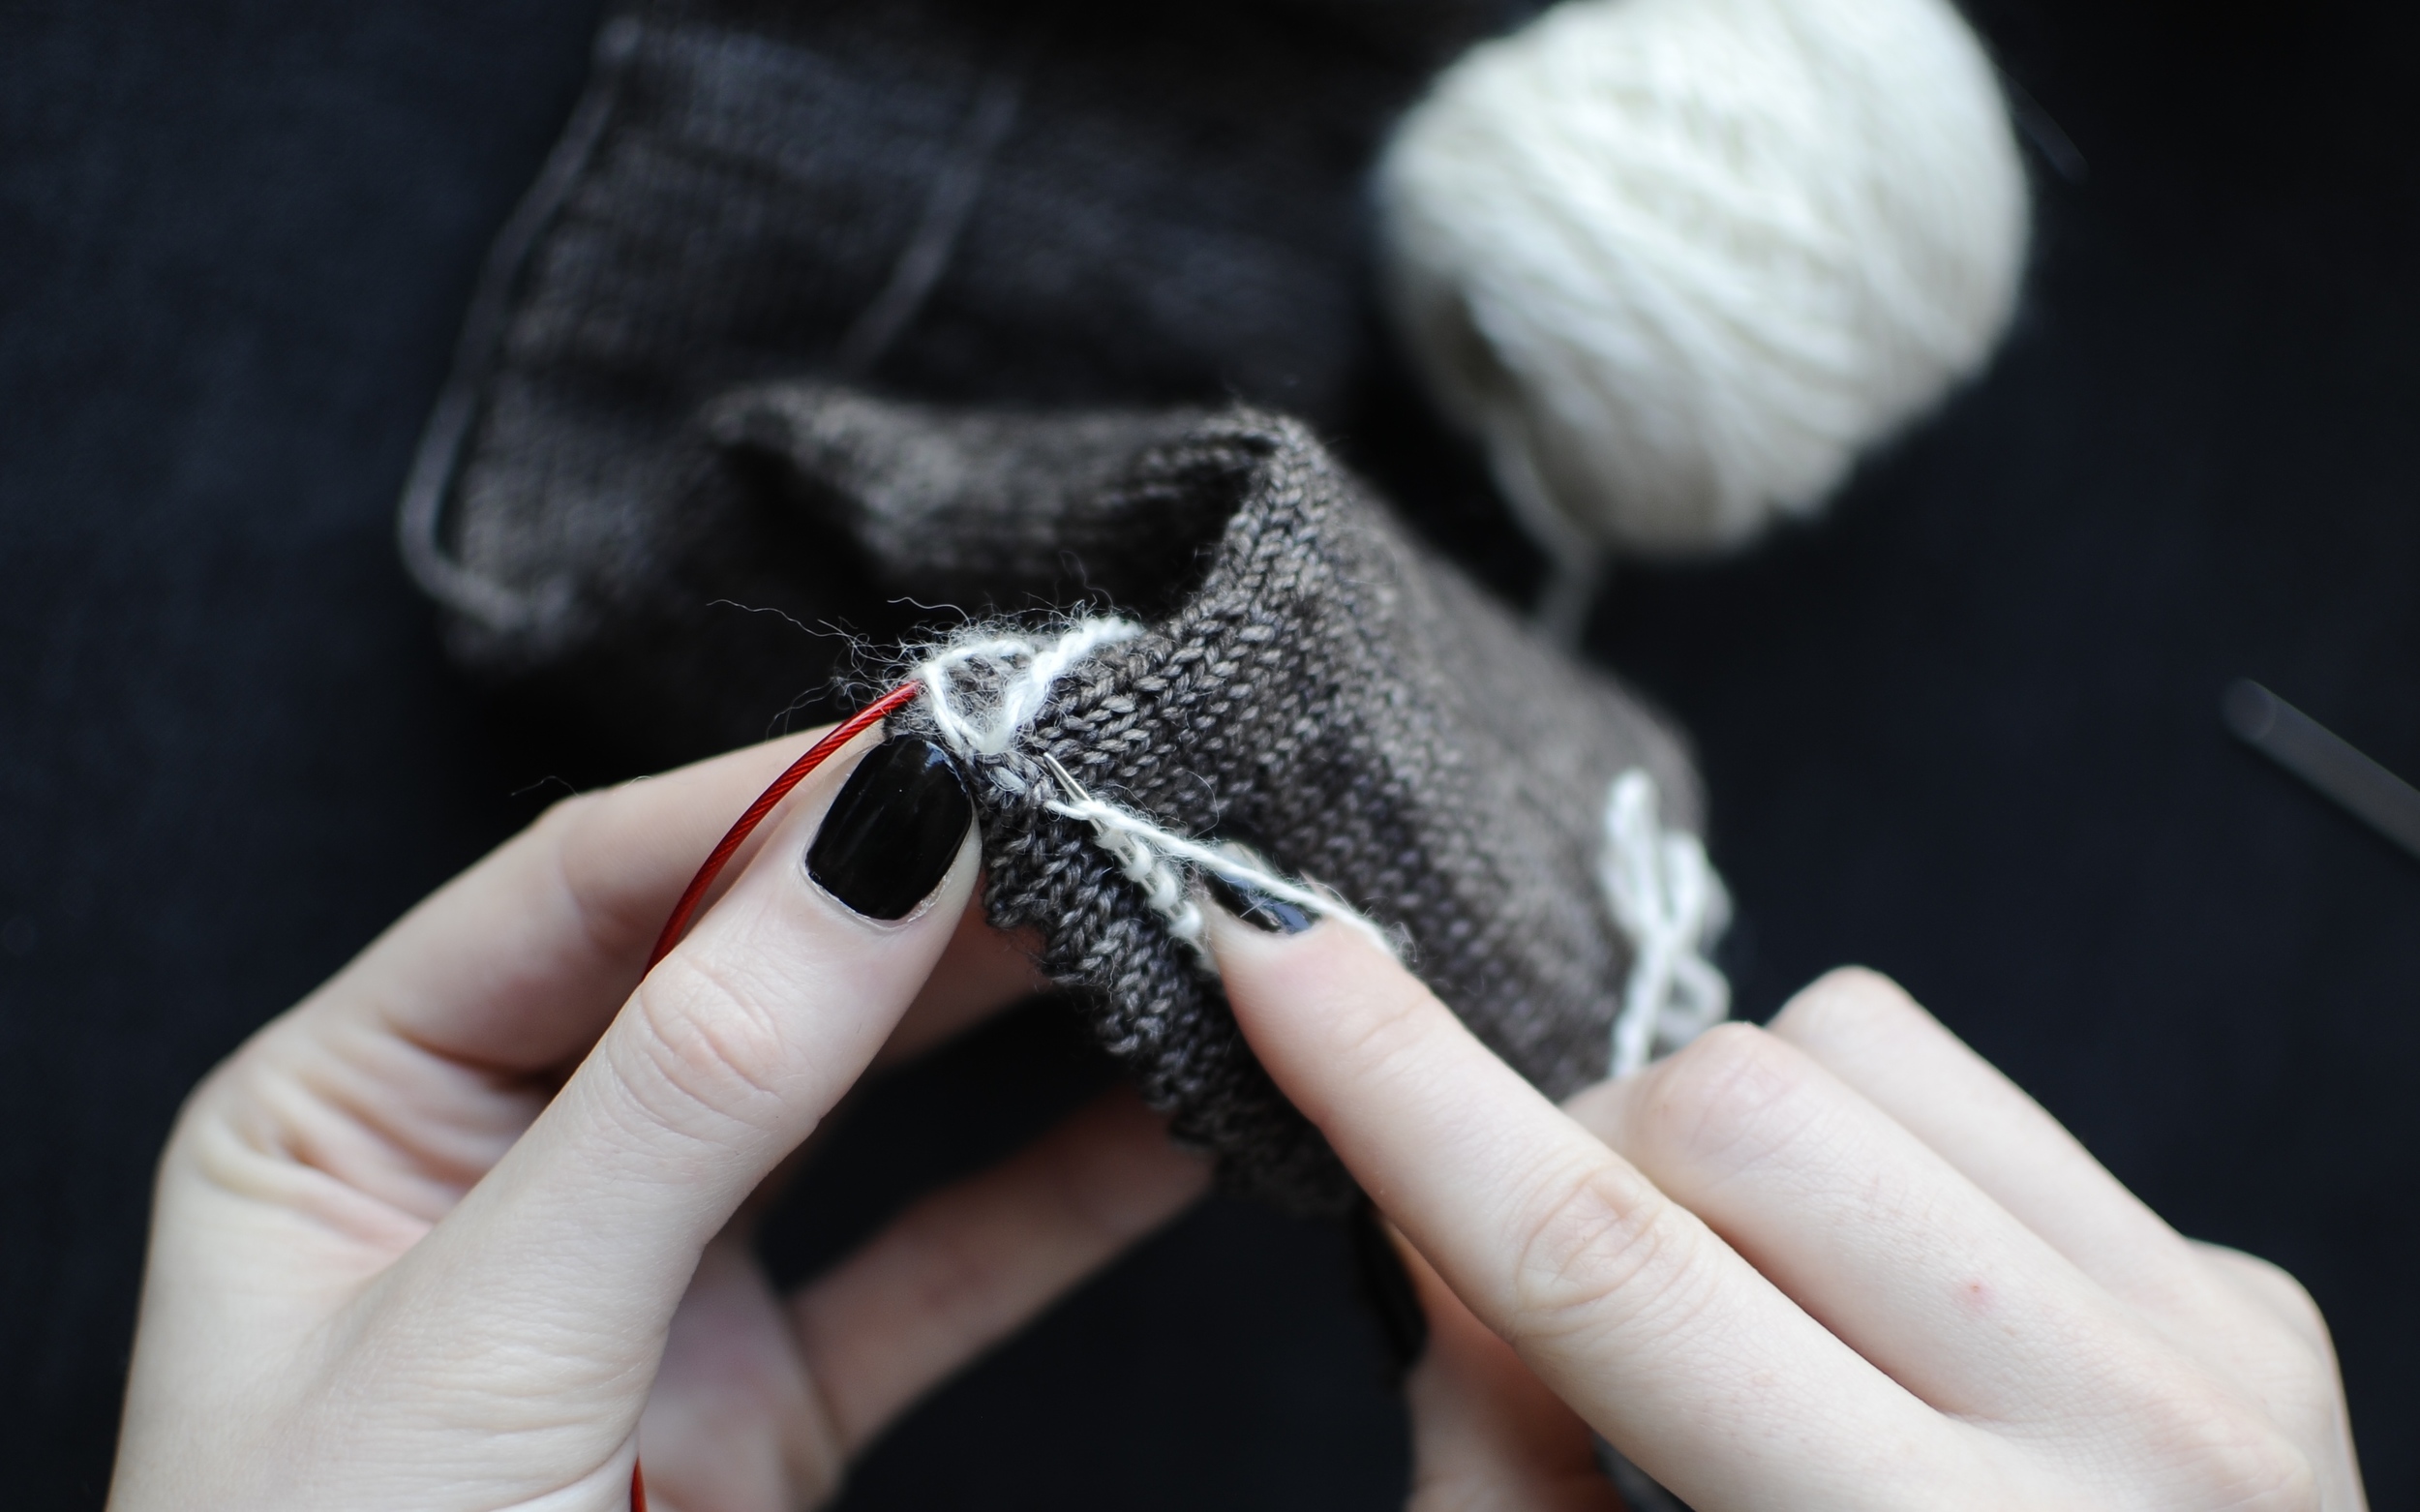
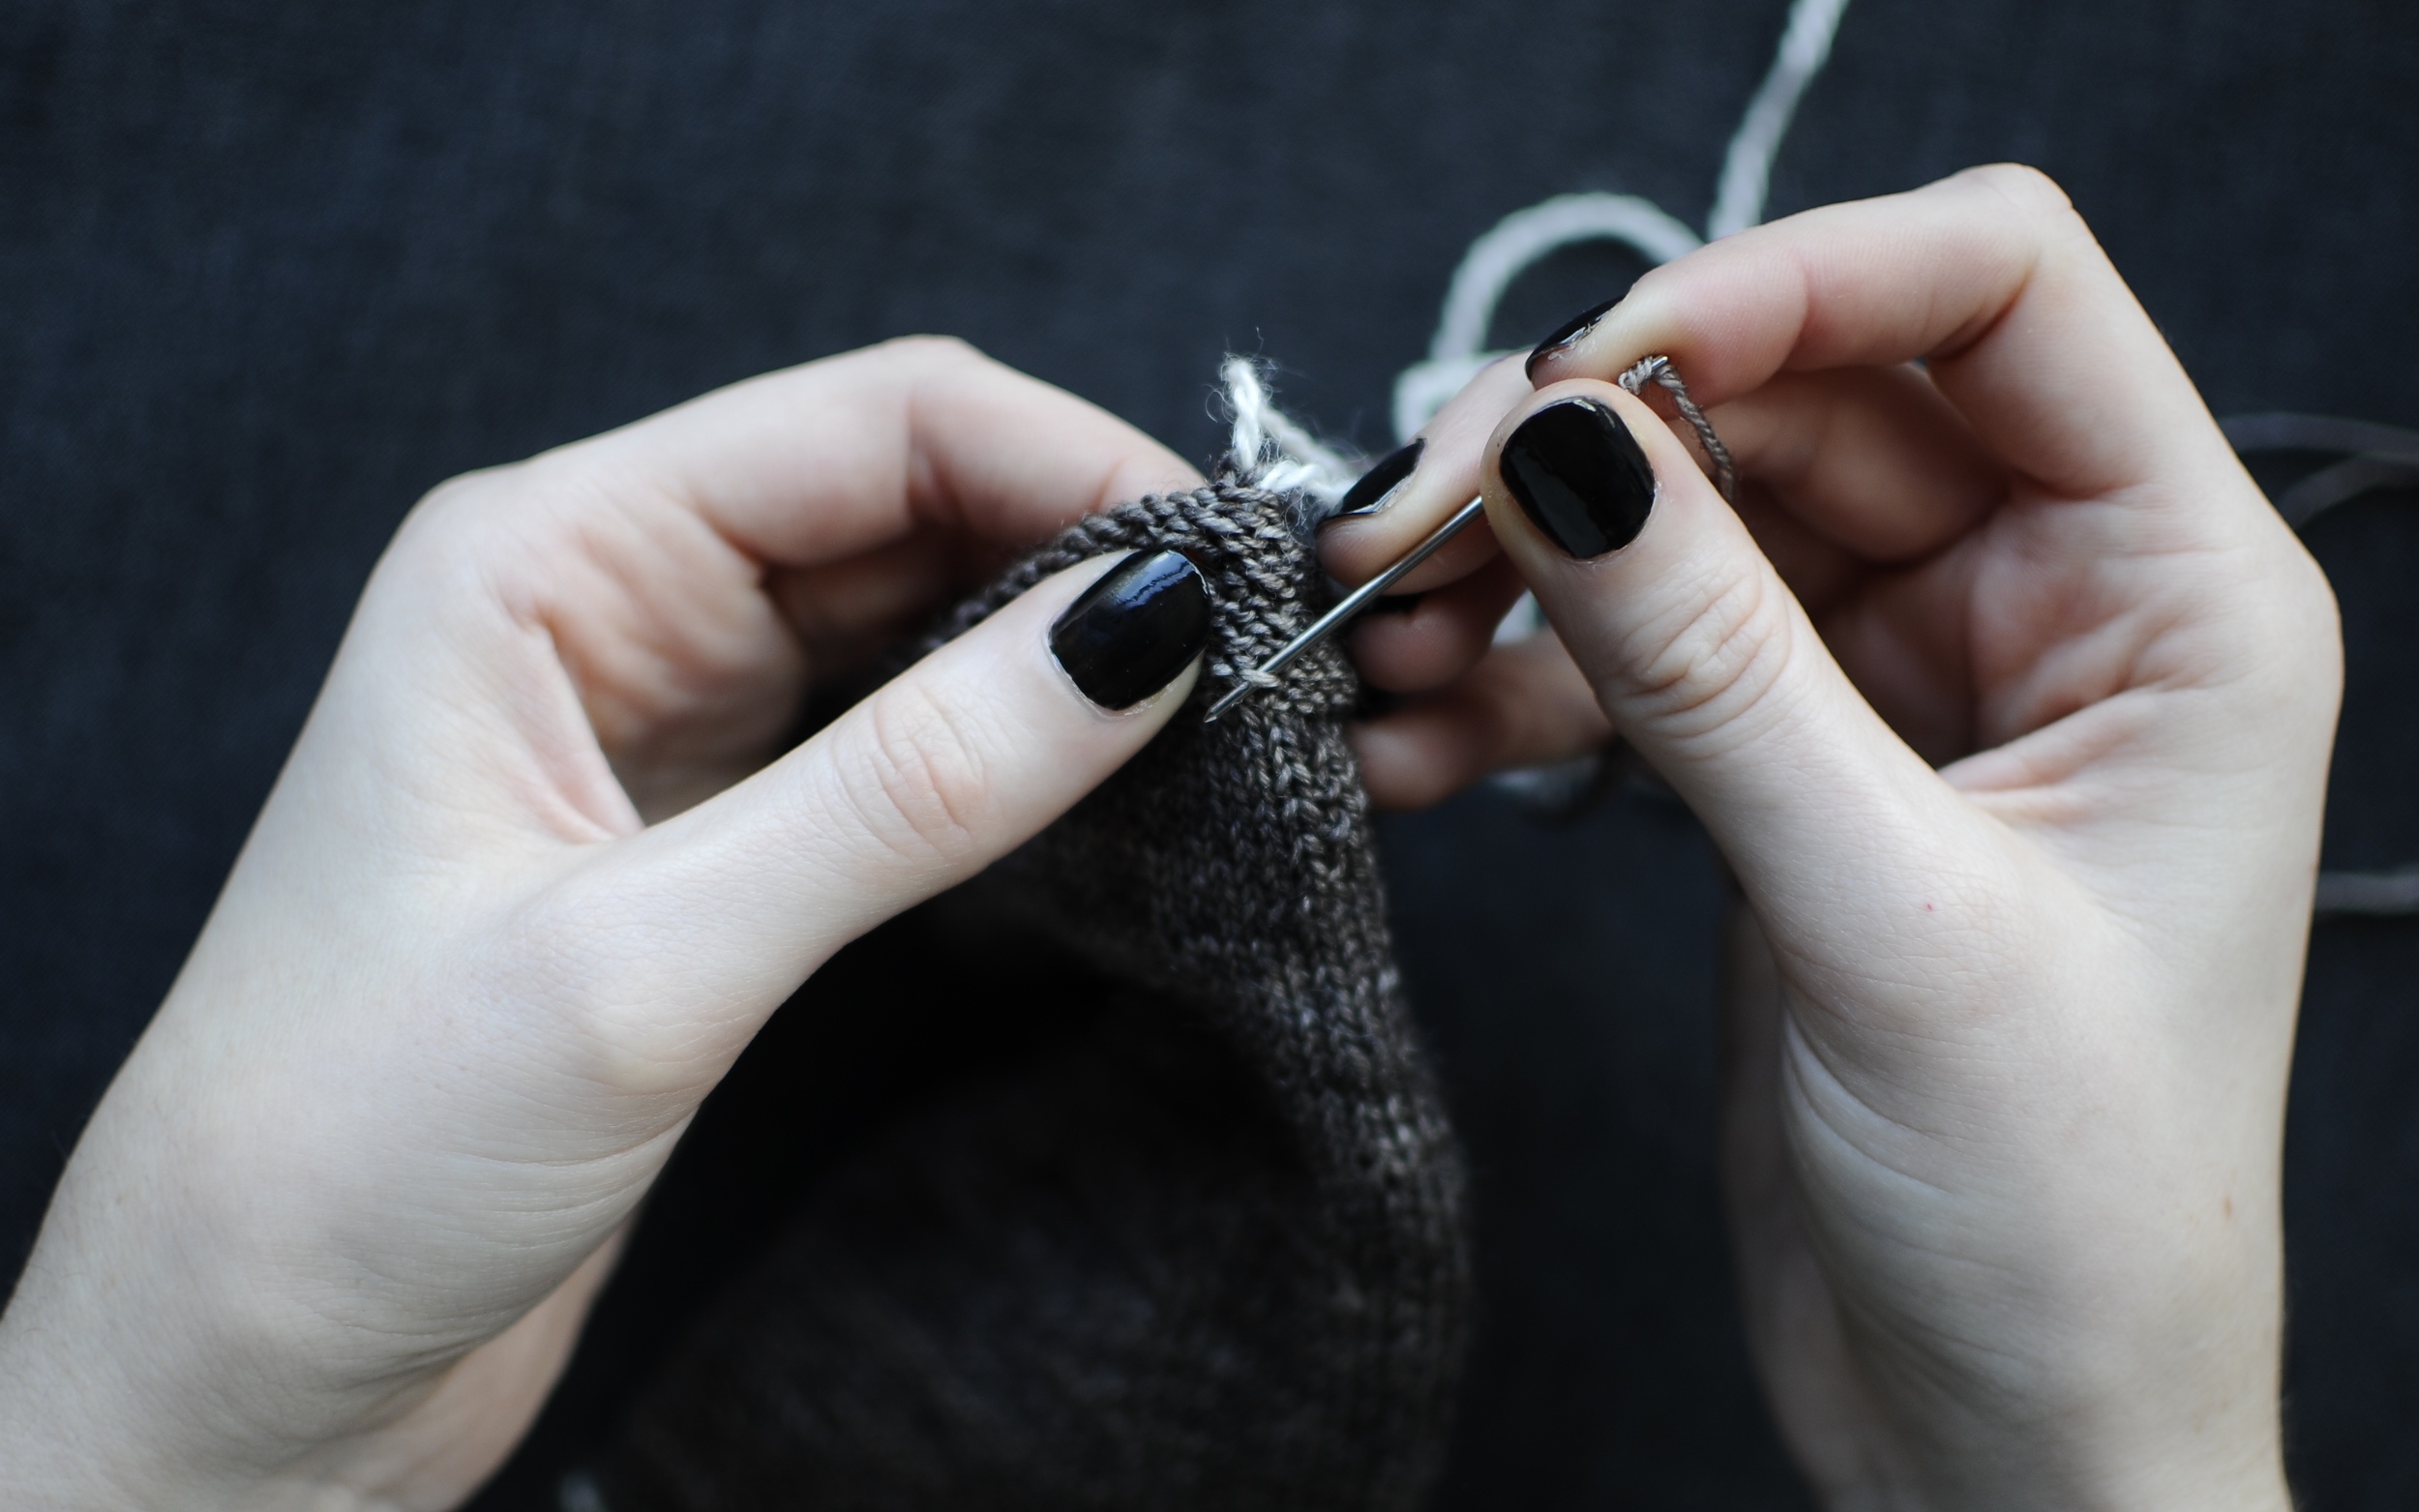
7. Insert the darning needle into the next live stitch, always as if to purl.

8. Insert the darning needle, top to bottom, into the next purl bump.

9. Continue to repeat Steps 7 & 8, until all the the stitches have been worked.

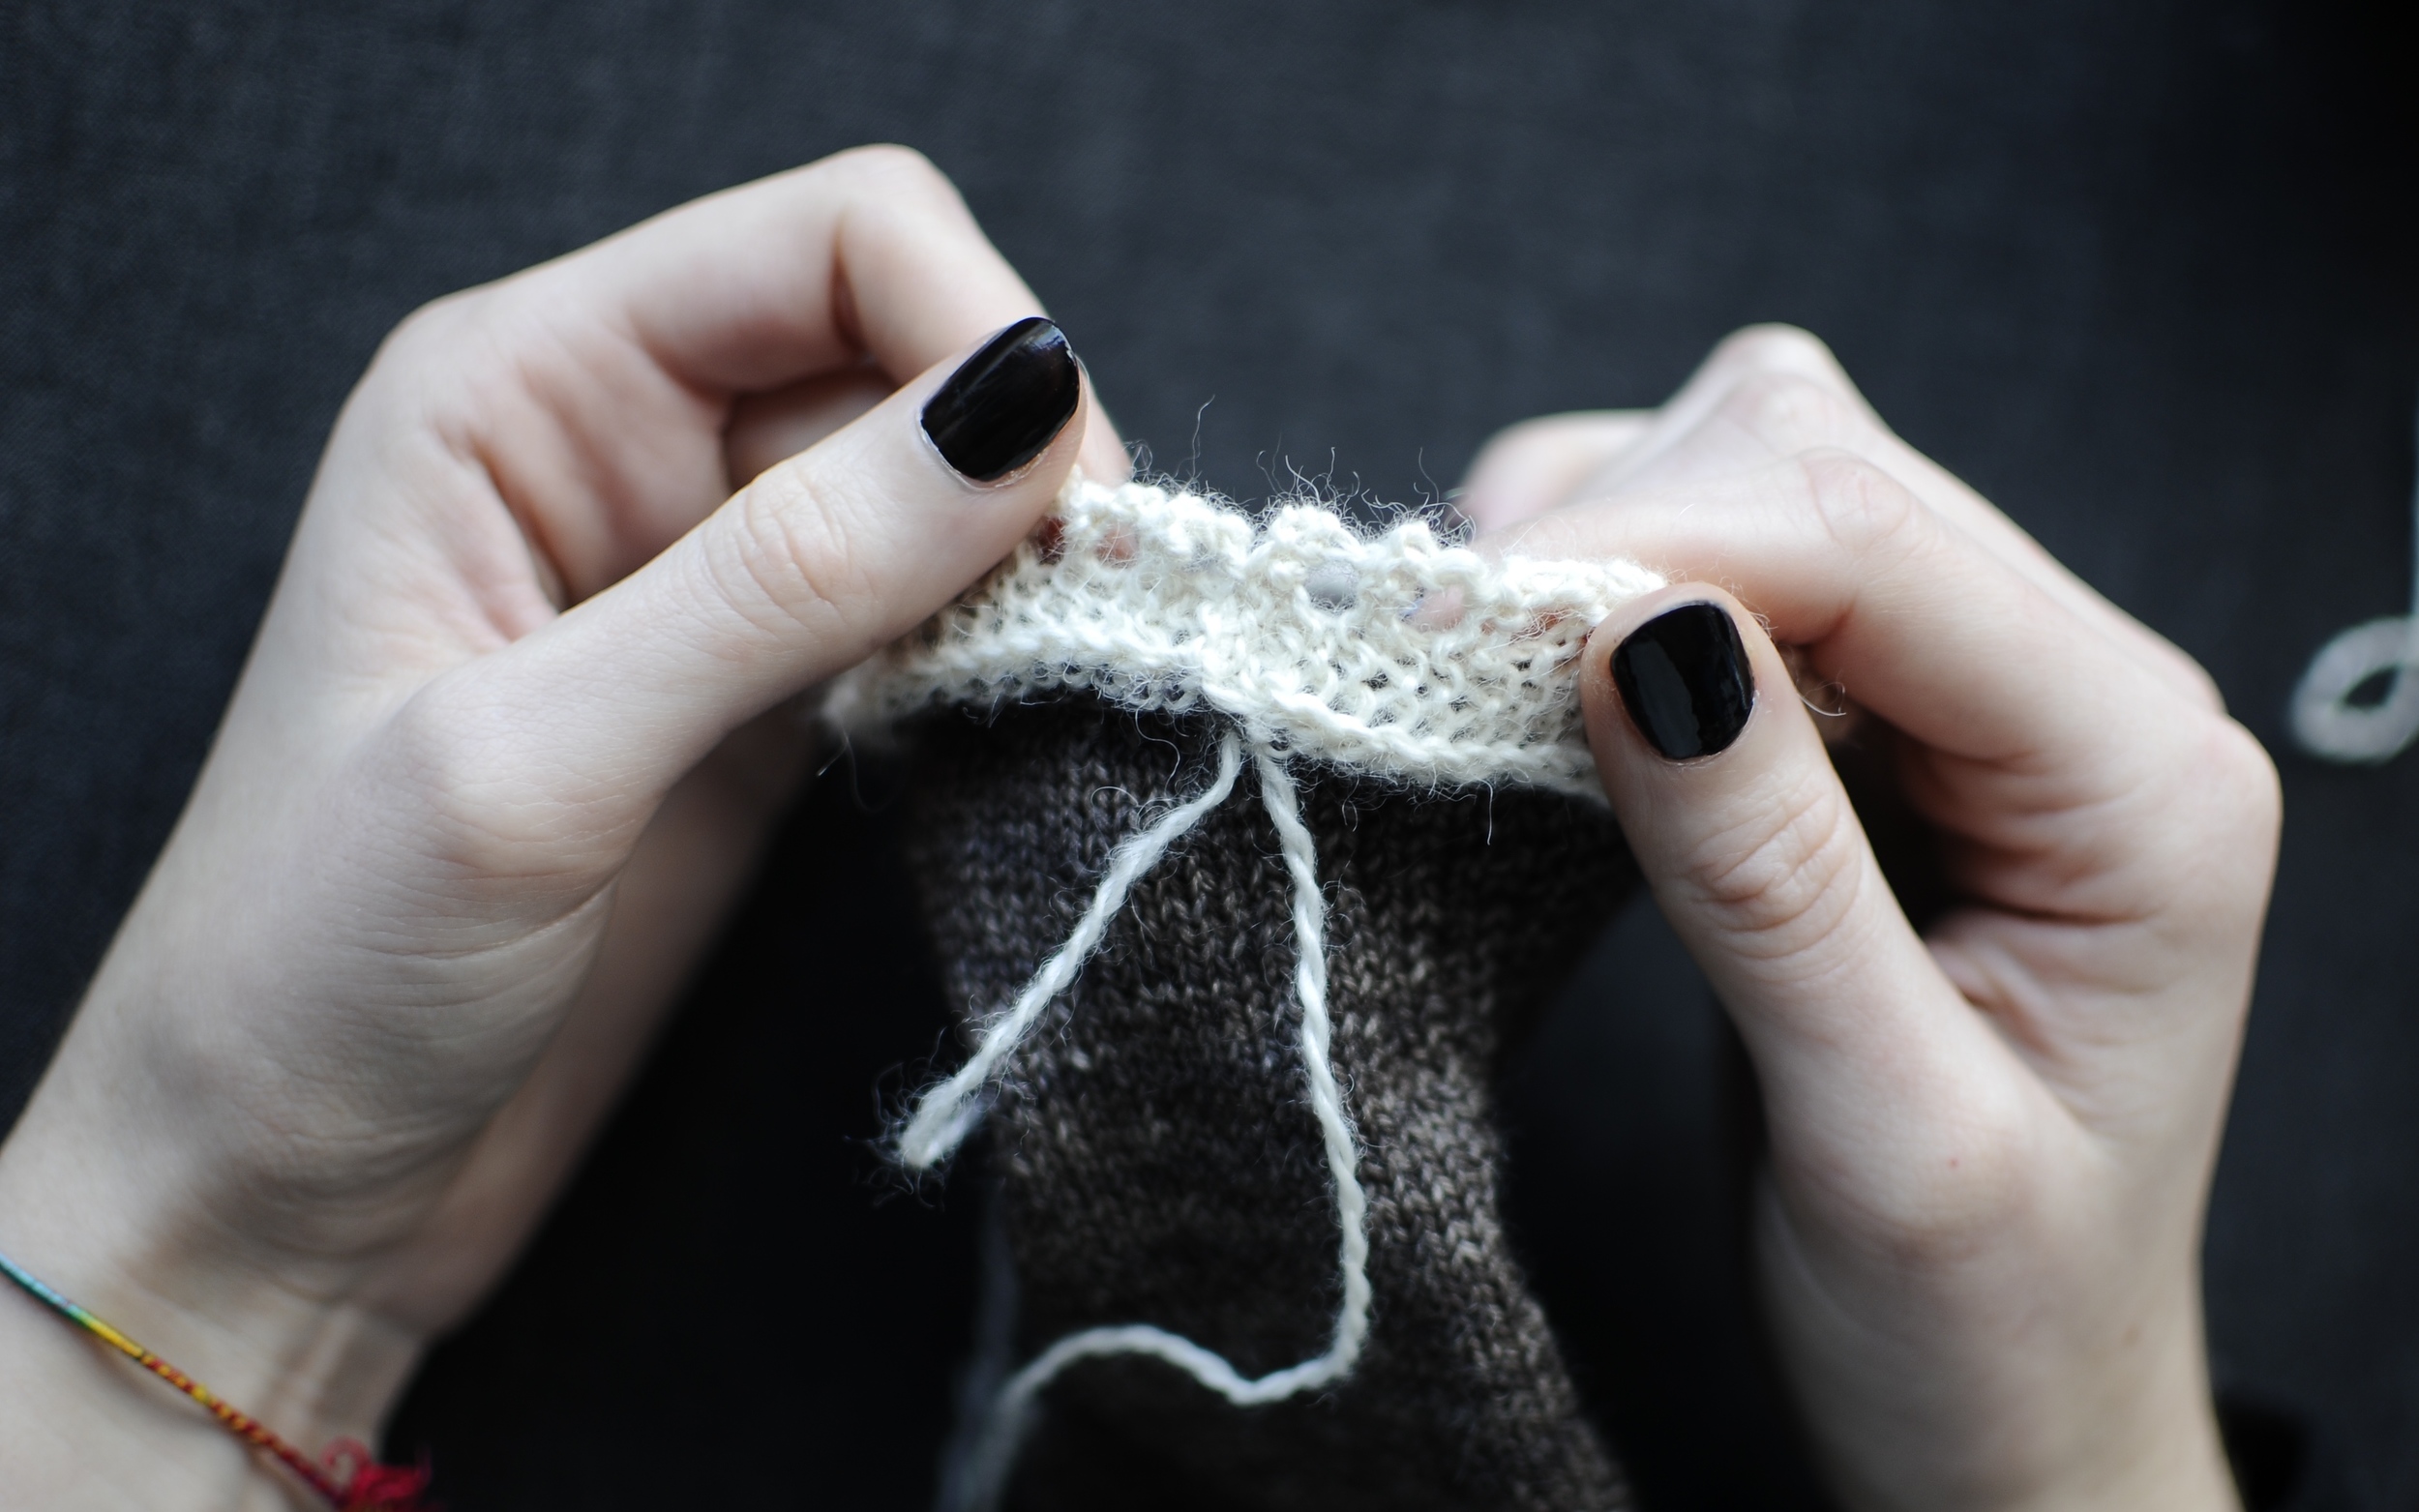
10. Check every once in a while to make sure there is still some stretch in the cuff.


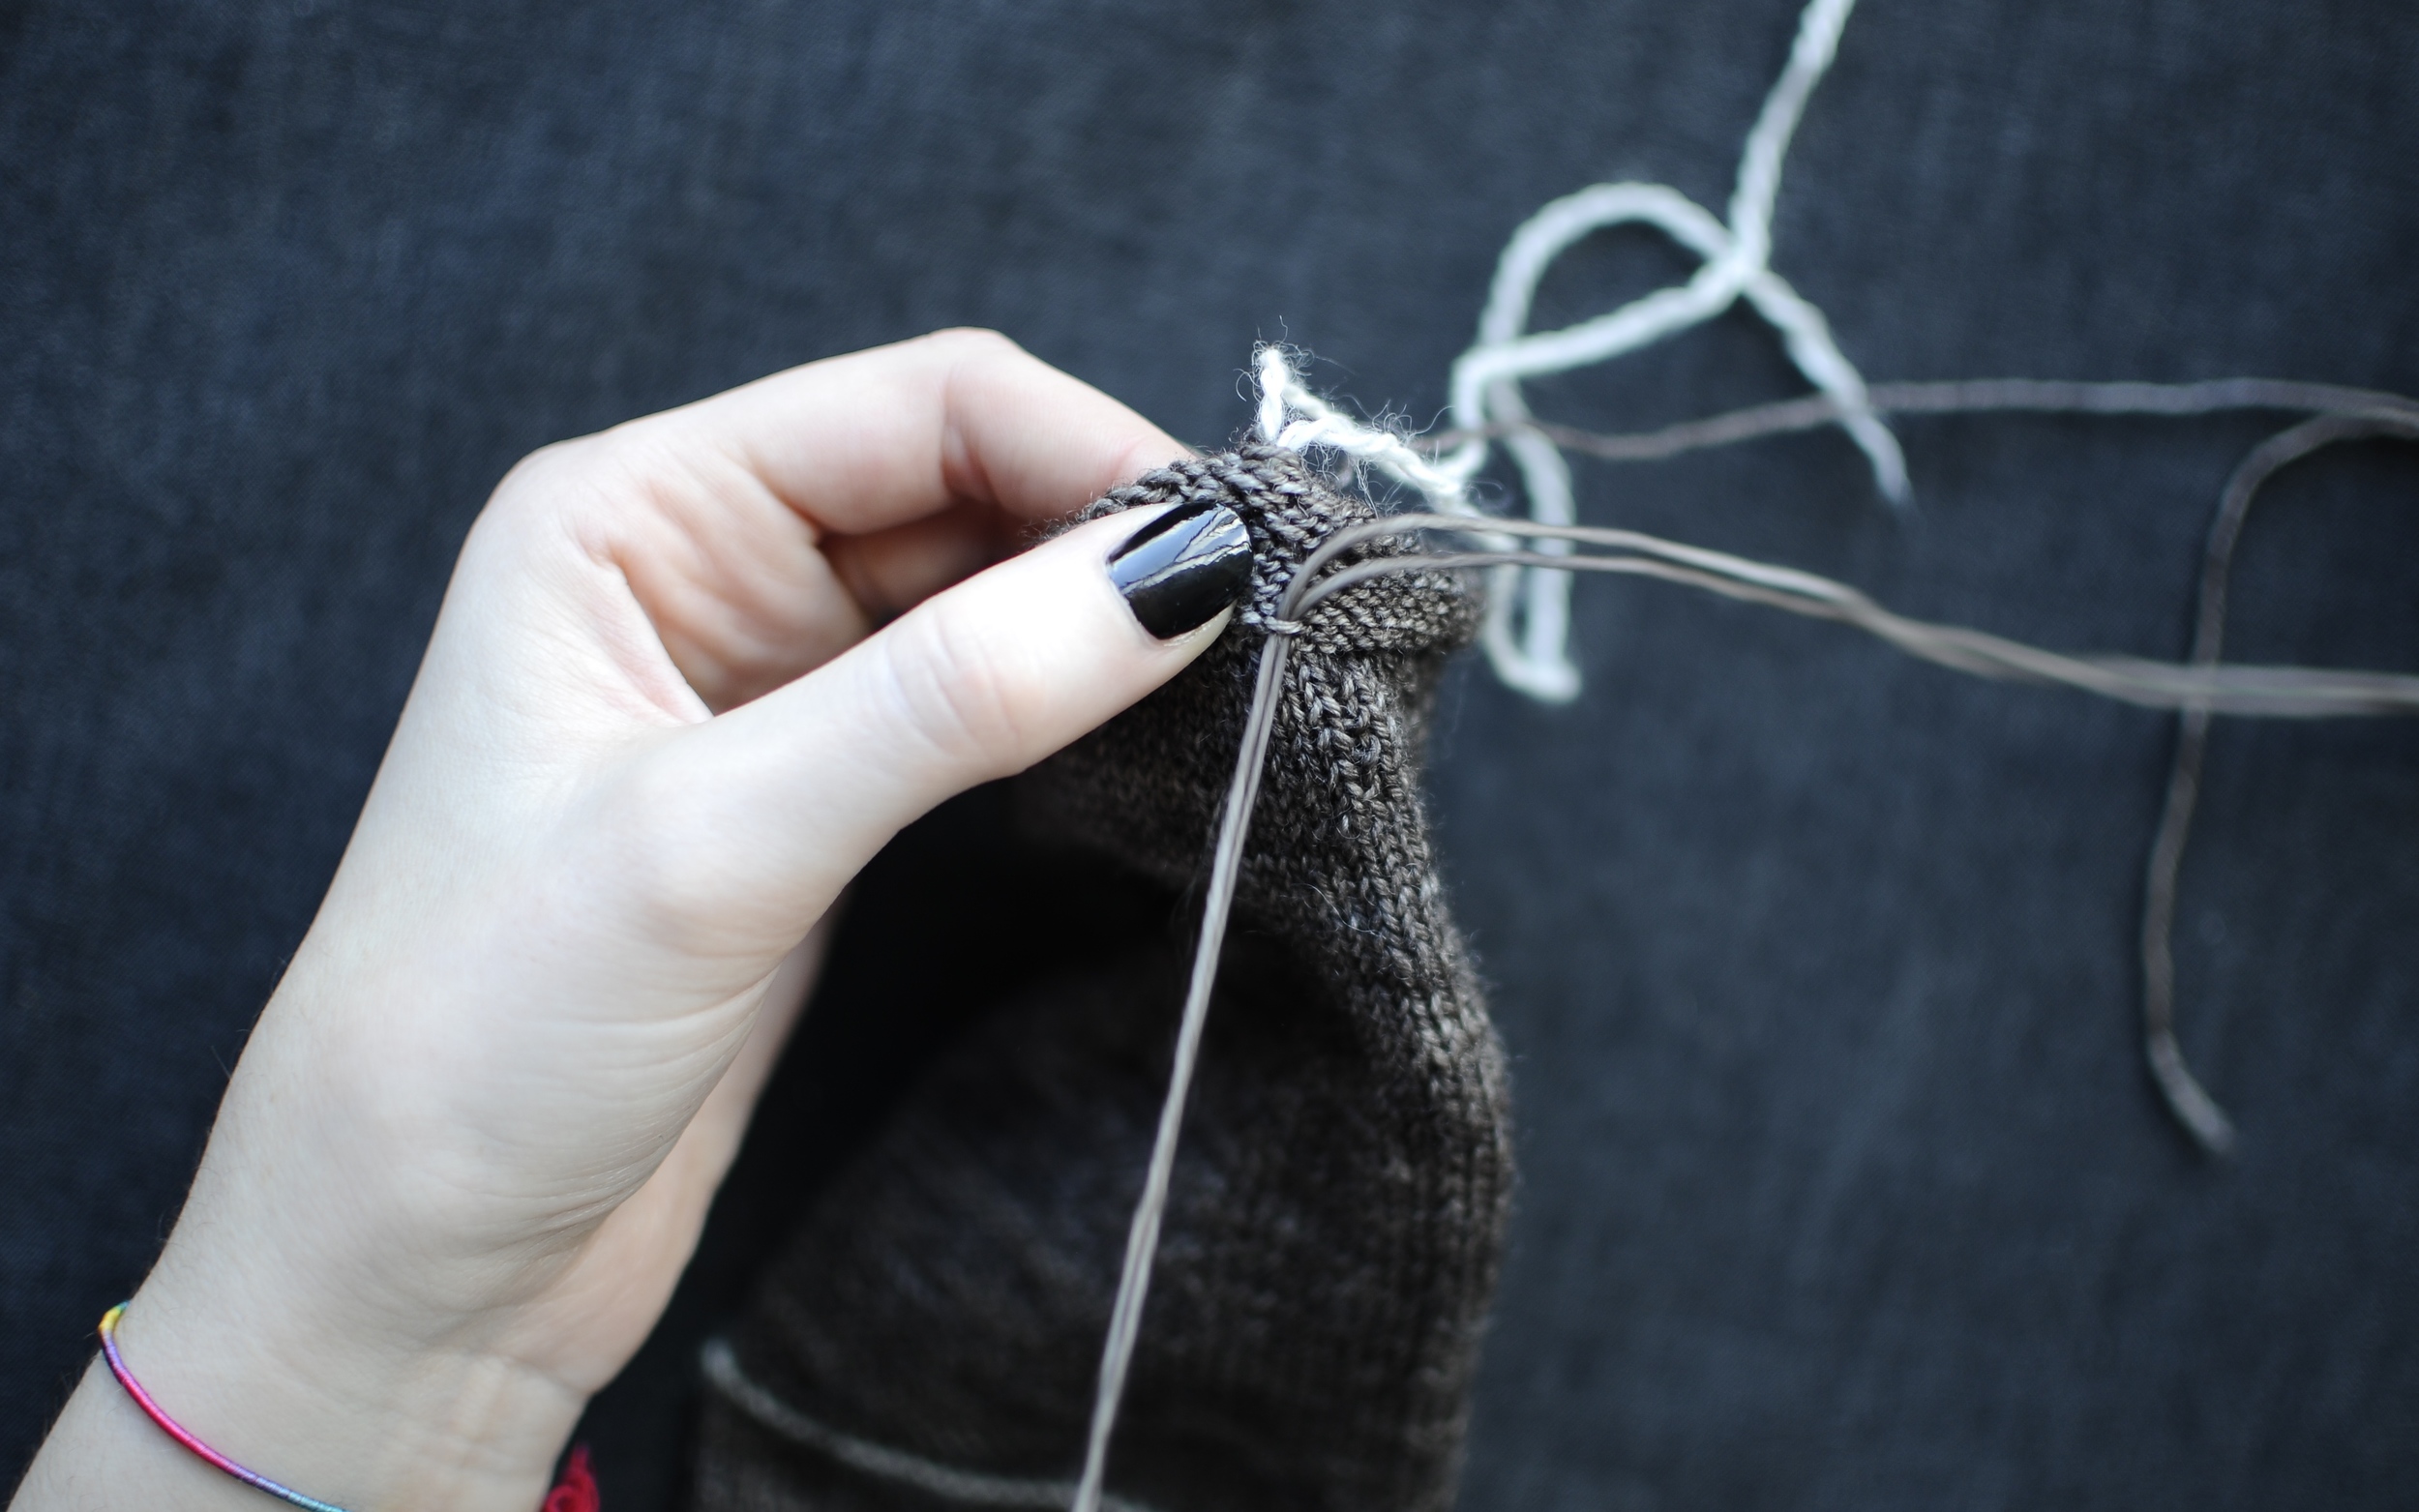
11. Once the hem is sewn down completely, weave in Yarn A and trim excess yarn.
The picot hem in now complete! Next step will be to pick up for the lace trim. You can find that tutorial here. Your sock is almost done!
Many thanks to my talented housemate, Otto Django Masters, for helping with the photography. Check out his website!