Back in December, my husband and I travelled to Nova Scotia to spend the holidays with my family in Canada. For those few hours, when the airplane is above the clouds, there is a calm and hopeful outlook towards this new year. Then, anxiety sets in again after landing while trying to navigate overwhelming airports and new restrictions. However, we are thankful that we were able to visit my family as safely as possible since it has been six years since I spent Christmas with them. I still remain hopeful about this coming year. I feel a little more rested compared to this past spring but ultimately, I am happy to be home and to start designing again.
The piece that I am writing about today has already been out for a few months. I never got a chance to do a proper introduction when it first appeared in Making Stories Issue 6 this September. Please welcome, Altocumulus, a lofty shawl full of squeezable textures! Earlier this month, the rights reverted back to me which means that you can now find Altocumulus as a single PDF pattern. Now, let’s talk about some of the details first.

Images from Pinterest.
For Making Stories’ Issue 6, I felt this design could easily fit into their theme ‘Skyward’. While I intended for this shawl to be immense and comforting, I also wanted it to be lightweight and etherial. I started with the images of clouds from the Making Stories mood board. Altocumulus is knit by holding two yarns together, one strand of Isager’s Spinni and one strand of their Silk Mohair. The combination of mohair and lots of texture gives the finished fabric a lofty appearance. The mohair also adds a foggy haze without subtracting from the textures in the body and trim. The addition of tiny tassels was to bring some movement into the accessory and to flutter when they get caught in the wind.

Original swatch of Altocumulus.
As for construction, the starting point for Altocumulus is at the bottom of the centre triangle. The shaping is made by increasing with yarn overs at the beginning of each row. The stitch pattern is a combination of fisherman’s ribbing with columns of garter stitch in-between. This creates an accordion-like texture to the overall fabric. This is almost the same texture that I used in my design Windgate for Laine’s, “52 Weeks of Shawls”. However, this time the scale is slightly smaller with less garter stitch in-between.

Original sketch of Altocumulus.
To complete the centre triangle, a loose I-cord bind off is used. Next, the yarn overs are used to easily pick up stitches for the border which is then worked in 2x2 ribbing. Due to the nature of these two different stitch patterns, the shawl is almost entirely reversible. Once the shawl is blocked, tiny tassels are added because why not! These can also easily be left off.
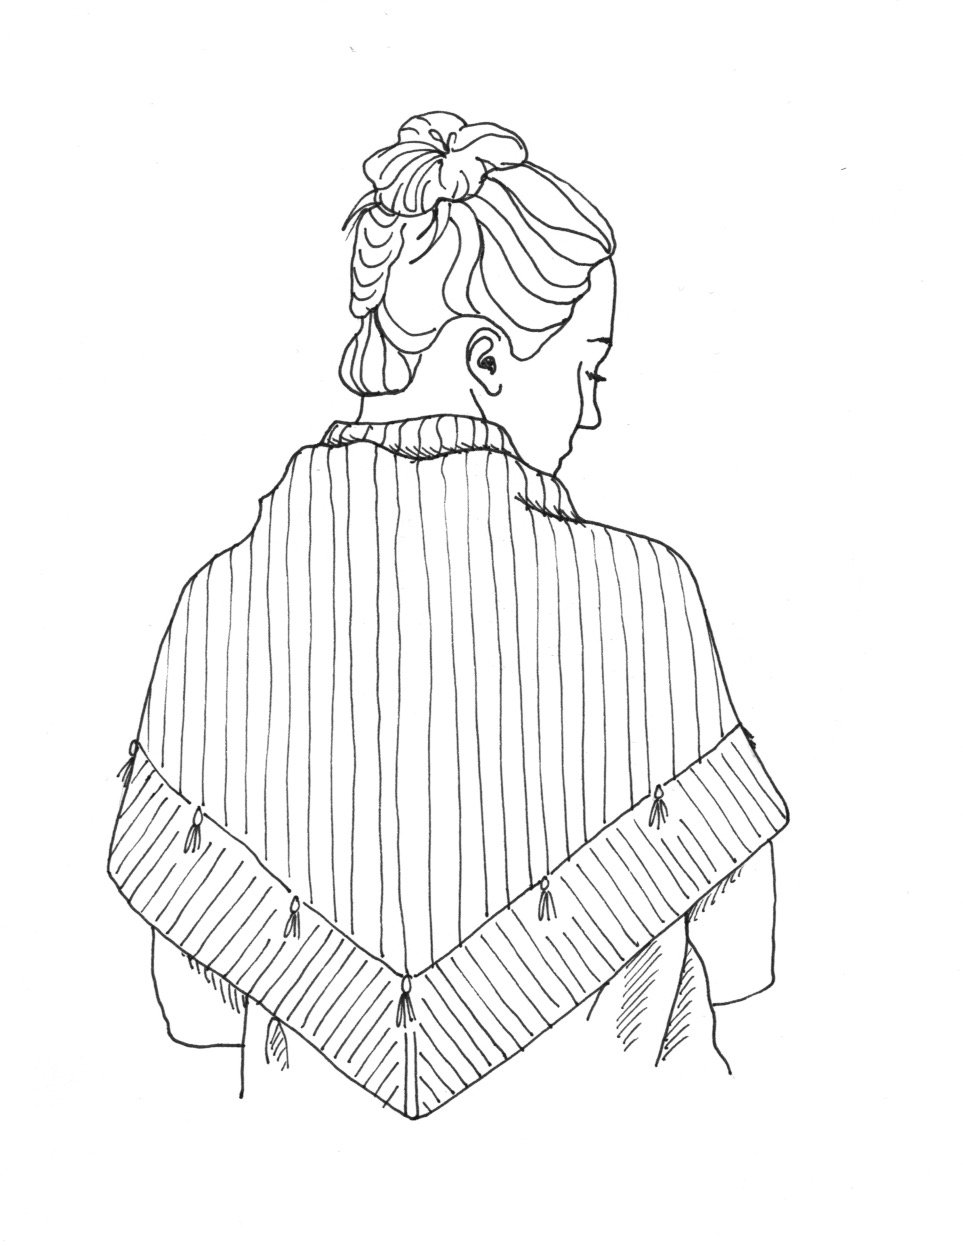
Original sketch of Altocumulus.
The stitch patterns in Altocumulus are rhythmic and easy to remember. The only slight challenge was where to block such a large piece. Even though this is a shawl and the fabric is already soft, I still prefer to lightly block these type of pieces. Blocking gives it a finished look before sending it away to be photographed.
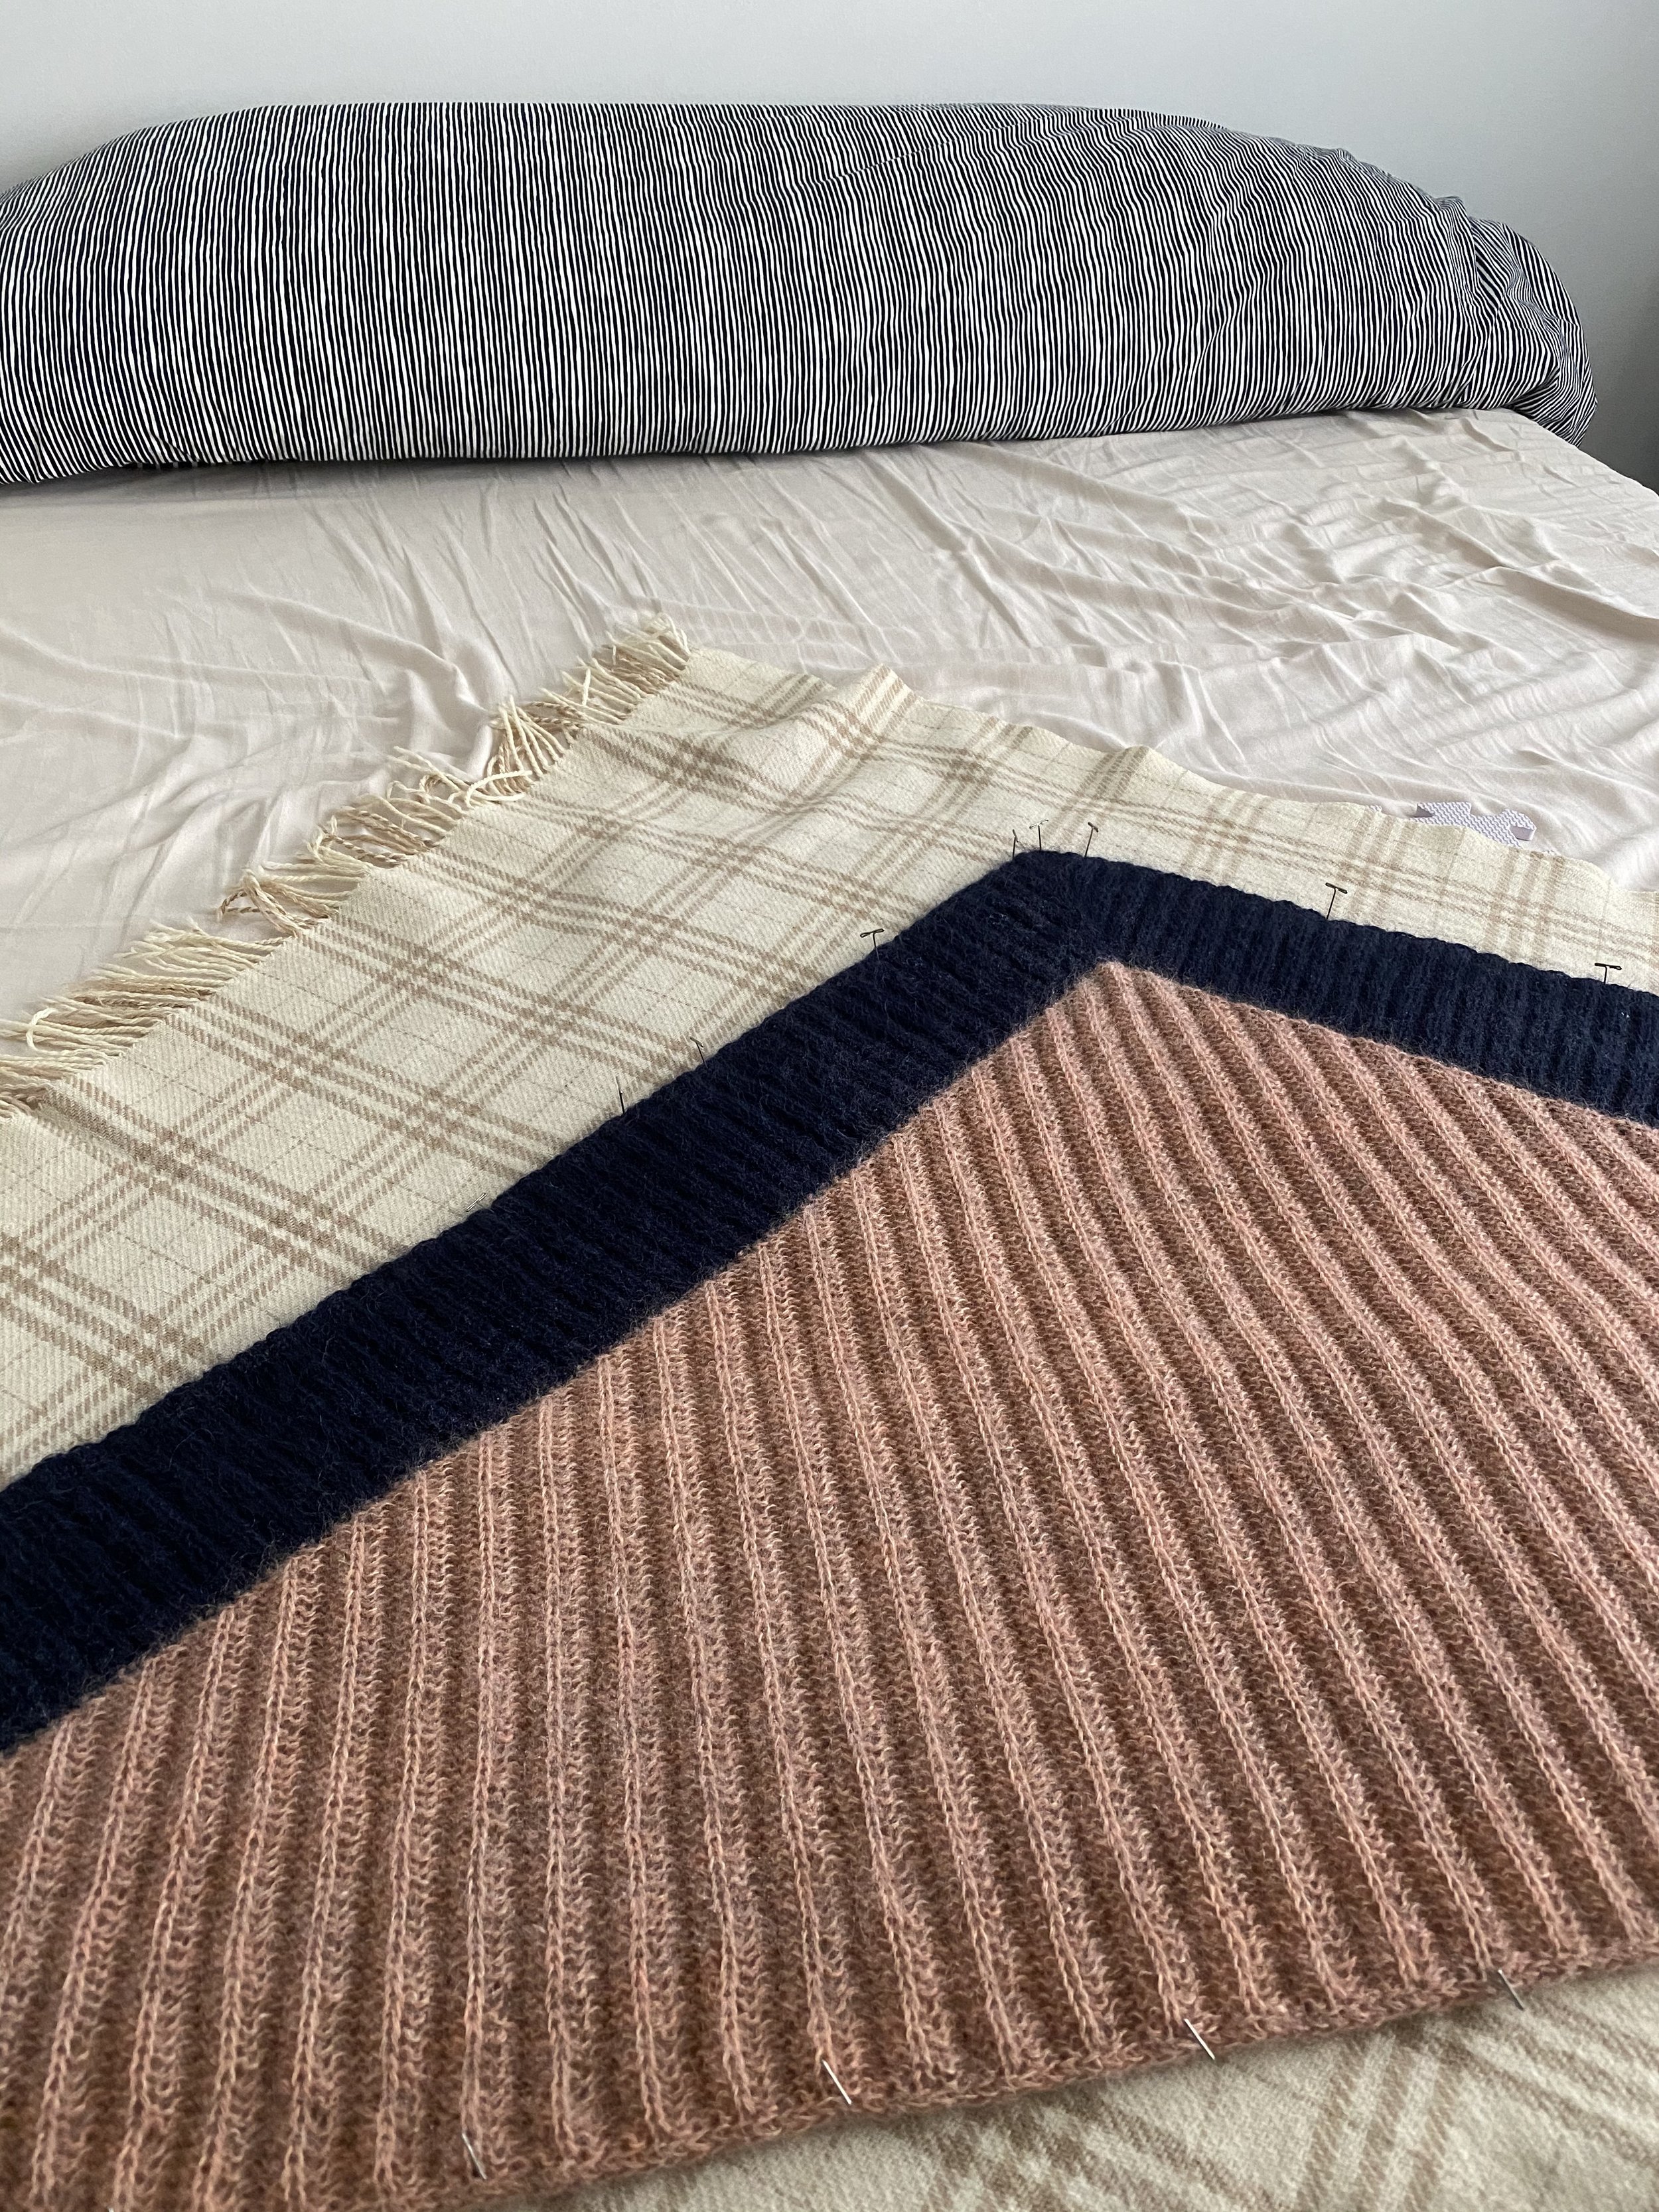
Image of blocking Altocumulus.

Image of blocking Altocumulus.
I have a set of blocking mats but if the piece is larger, I clear off my bed and use a wool blanket to help create more surface area for blocking. Blocking wires came in handy for this shawl since there are only straight lines. Plus, it helped cut down on the number of t-pins needed. The way the blocking mats are arranged underneath, means I do not need to pin directly into my mattress. Both sides are only sprayed with water. I didn’t want to saturate it too much and risk loosing that accordion texture. Also, be careful not to over stretch this shawl when blocking.

Photography by Melinda Dela Costa.
I’ll finish up with all the details for Altocumulus and Melinda’s gorgeous photography for Issue 6. There still are copies of the entire collection available in Making Stories’ web shop or ask your local yarn shop if they are carrying it.
Altocumulus is available to download as a single PTF pattern on all of my platforms such as Ravelry, Love Crafts and in my own web shop. You’ll find two different versions, one that’s been put together by Making Stories. This one will be prefect if you’re printing the pattern. The second one is the mobile version I put together. This will fit more smart phone screens and has larger text to make zooming in on instructions easier.
Don’t forget to tag me in your project! Find me on Instagram at @fiona_alice_. Also, feel free to use the hashtags #FionaAlice, #FionaAliceKnits and #AltocumulucShawl.

Photography by Melinda Dela Costa.
ALTOCUMULUS DETAILS
Finished Measurements
185.5 cm / 73” x 71 cm / 28”
Yarn
Isager Spinni (100% wool; 300 metres / 328 yards per 50 g)
held together with
Isager Silk Mohair (75% Kid mohair, 25% silk; 212 me- tres / 232 yards per 25 g)
MC: 535 metres / 585 yards of each yarn
CC: 310 metres / 340 yards of each yarn
Yardage does not include tassels. Approximately 15 m / 17 yards of both MCs is required.
Sample shown is knit in colourway Spinni 39s with Silk Mohair 62 (MC) and Spinni 100 with Silk Mohair 100 (CC).
Needles
4 mm / US 6 circular needle with a cable length of at least 100 cm / 40” (or needle size to obtain gauge)
5 mm / US 8 spare needle or one double-pointed needle for I-Cord Bind-Off
Gauge
15 sts x 40 rows = 10 x 10 cm / 4 x 4” (worked flat, in Main Texture with yarns held double, on smaller needle, after blocking)
24 sts x 30 rows = 10 x 10 cm / 4 x 4” (worked flat, in 2x2 Ribbing with yarns held double, on smaller needle, after blocking)
Notions
Blocking tools (blocking mats, t-pins, blocking wires), darning needle, stitch markers x 4, tape measure

Photography by Melinda Dela Costa.

Photography by Melinda Dela Costa.
THANK YOU
Yarn Support: Isager, @isageryarn
Photography, Hair & Make-up: Melinda Dela Costa, @melindadelacosta
Model: Susanne Schneider
Tech Editing: Marina Skua & Jessica Schwab, @marinaskua & @woolgatherer.knits
Graphic Design: Camille Romano, @camillejulieromano

Photography by Melinda Dela Costa.