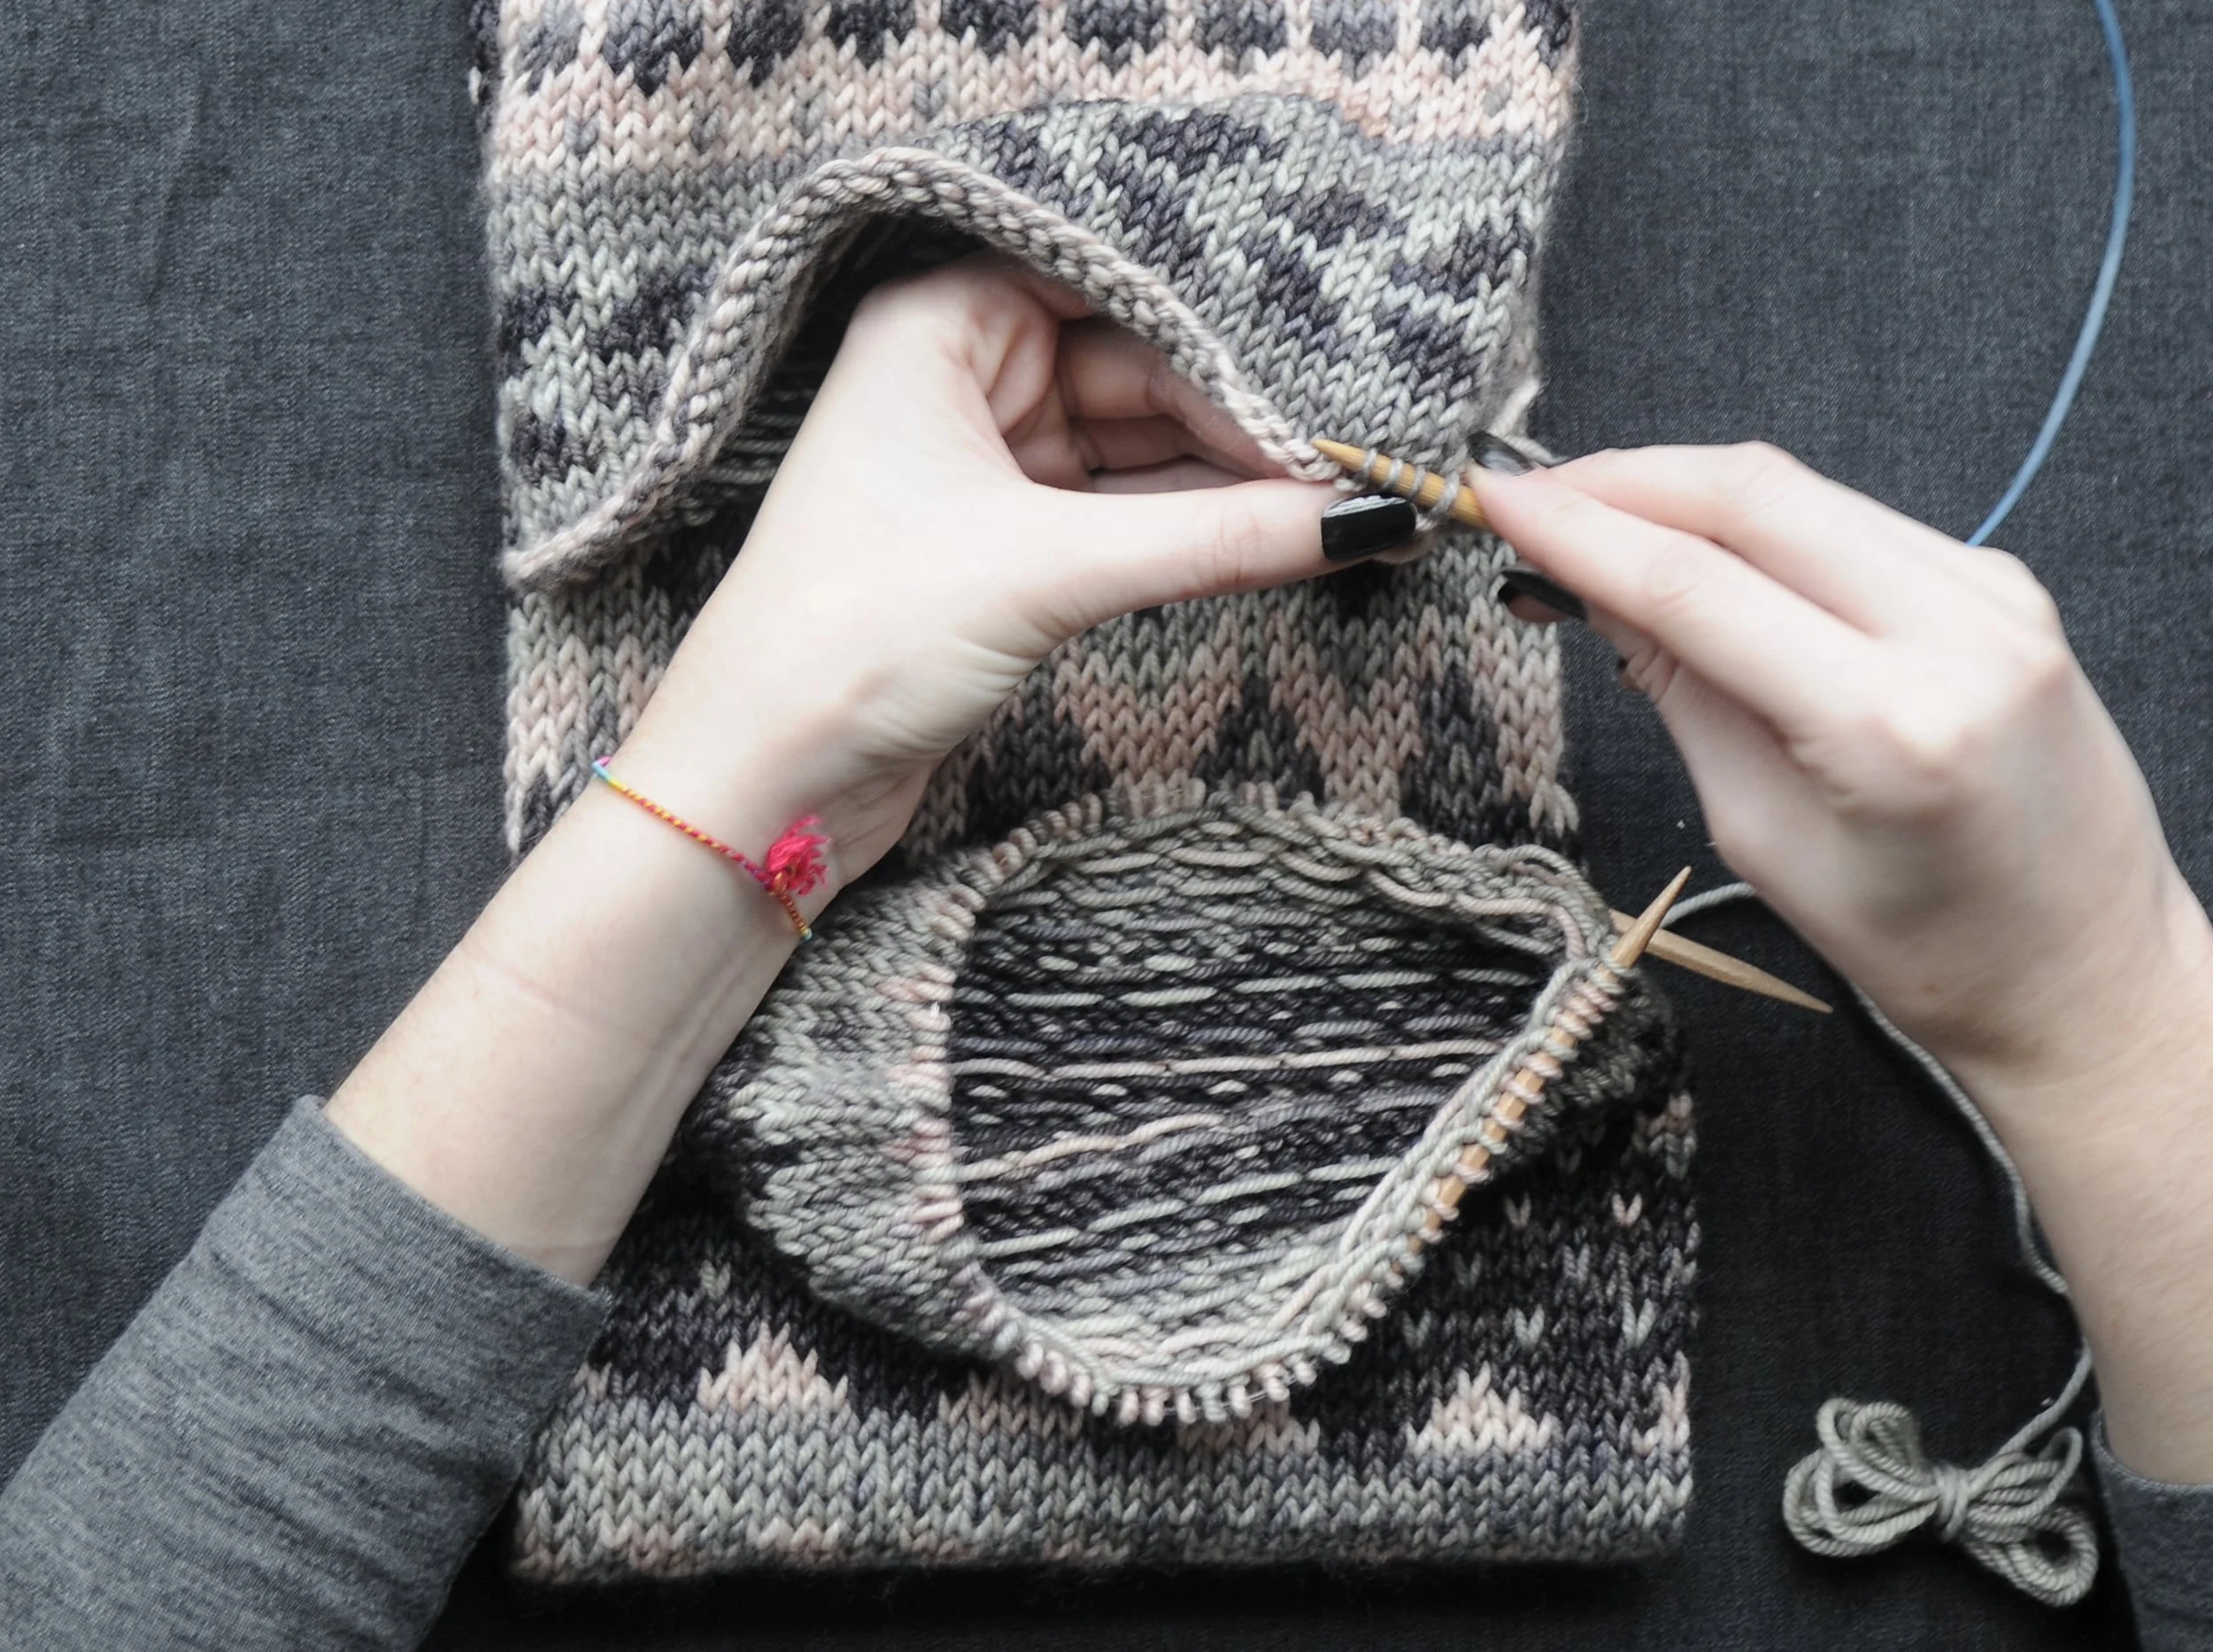
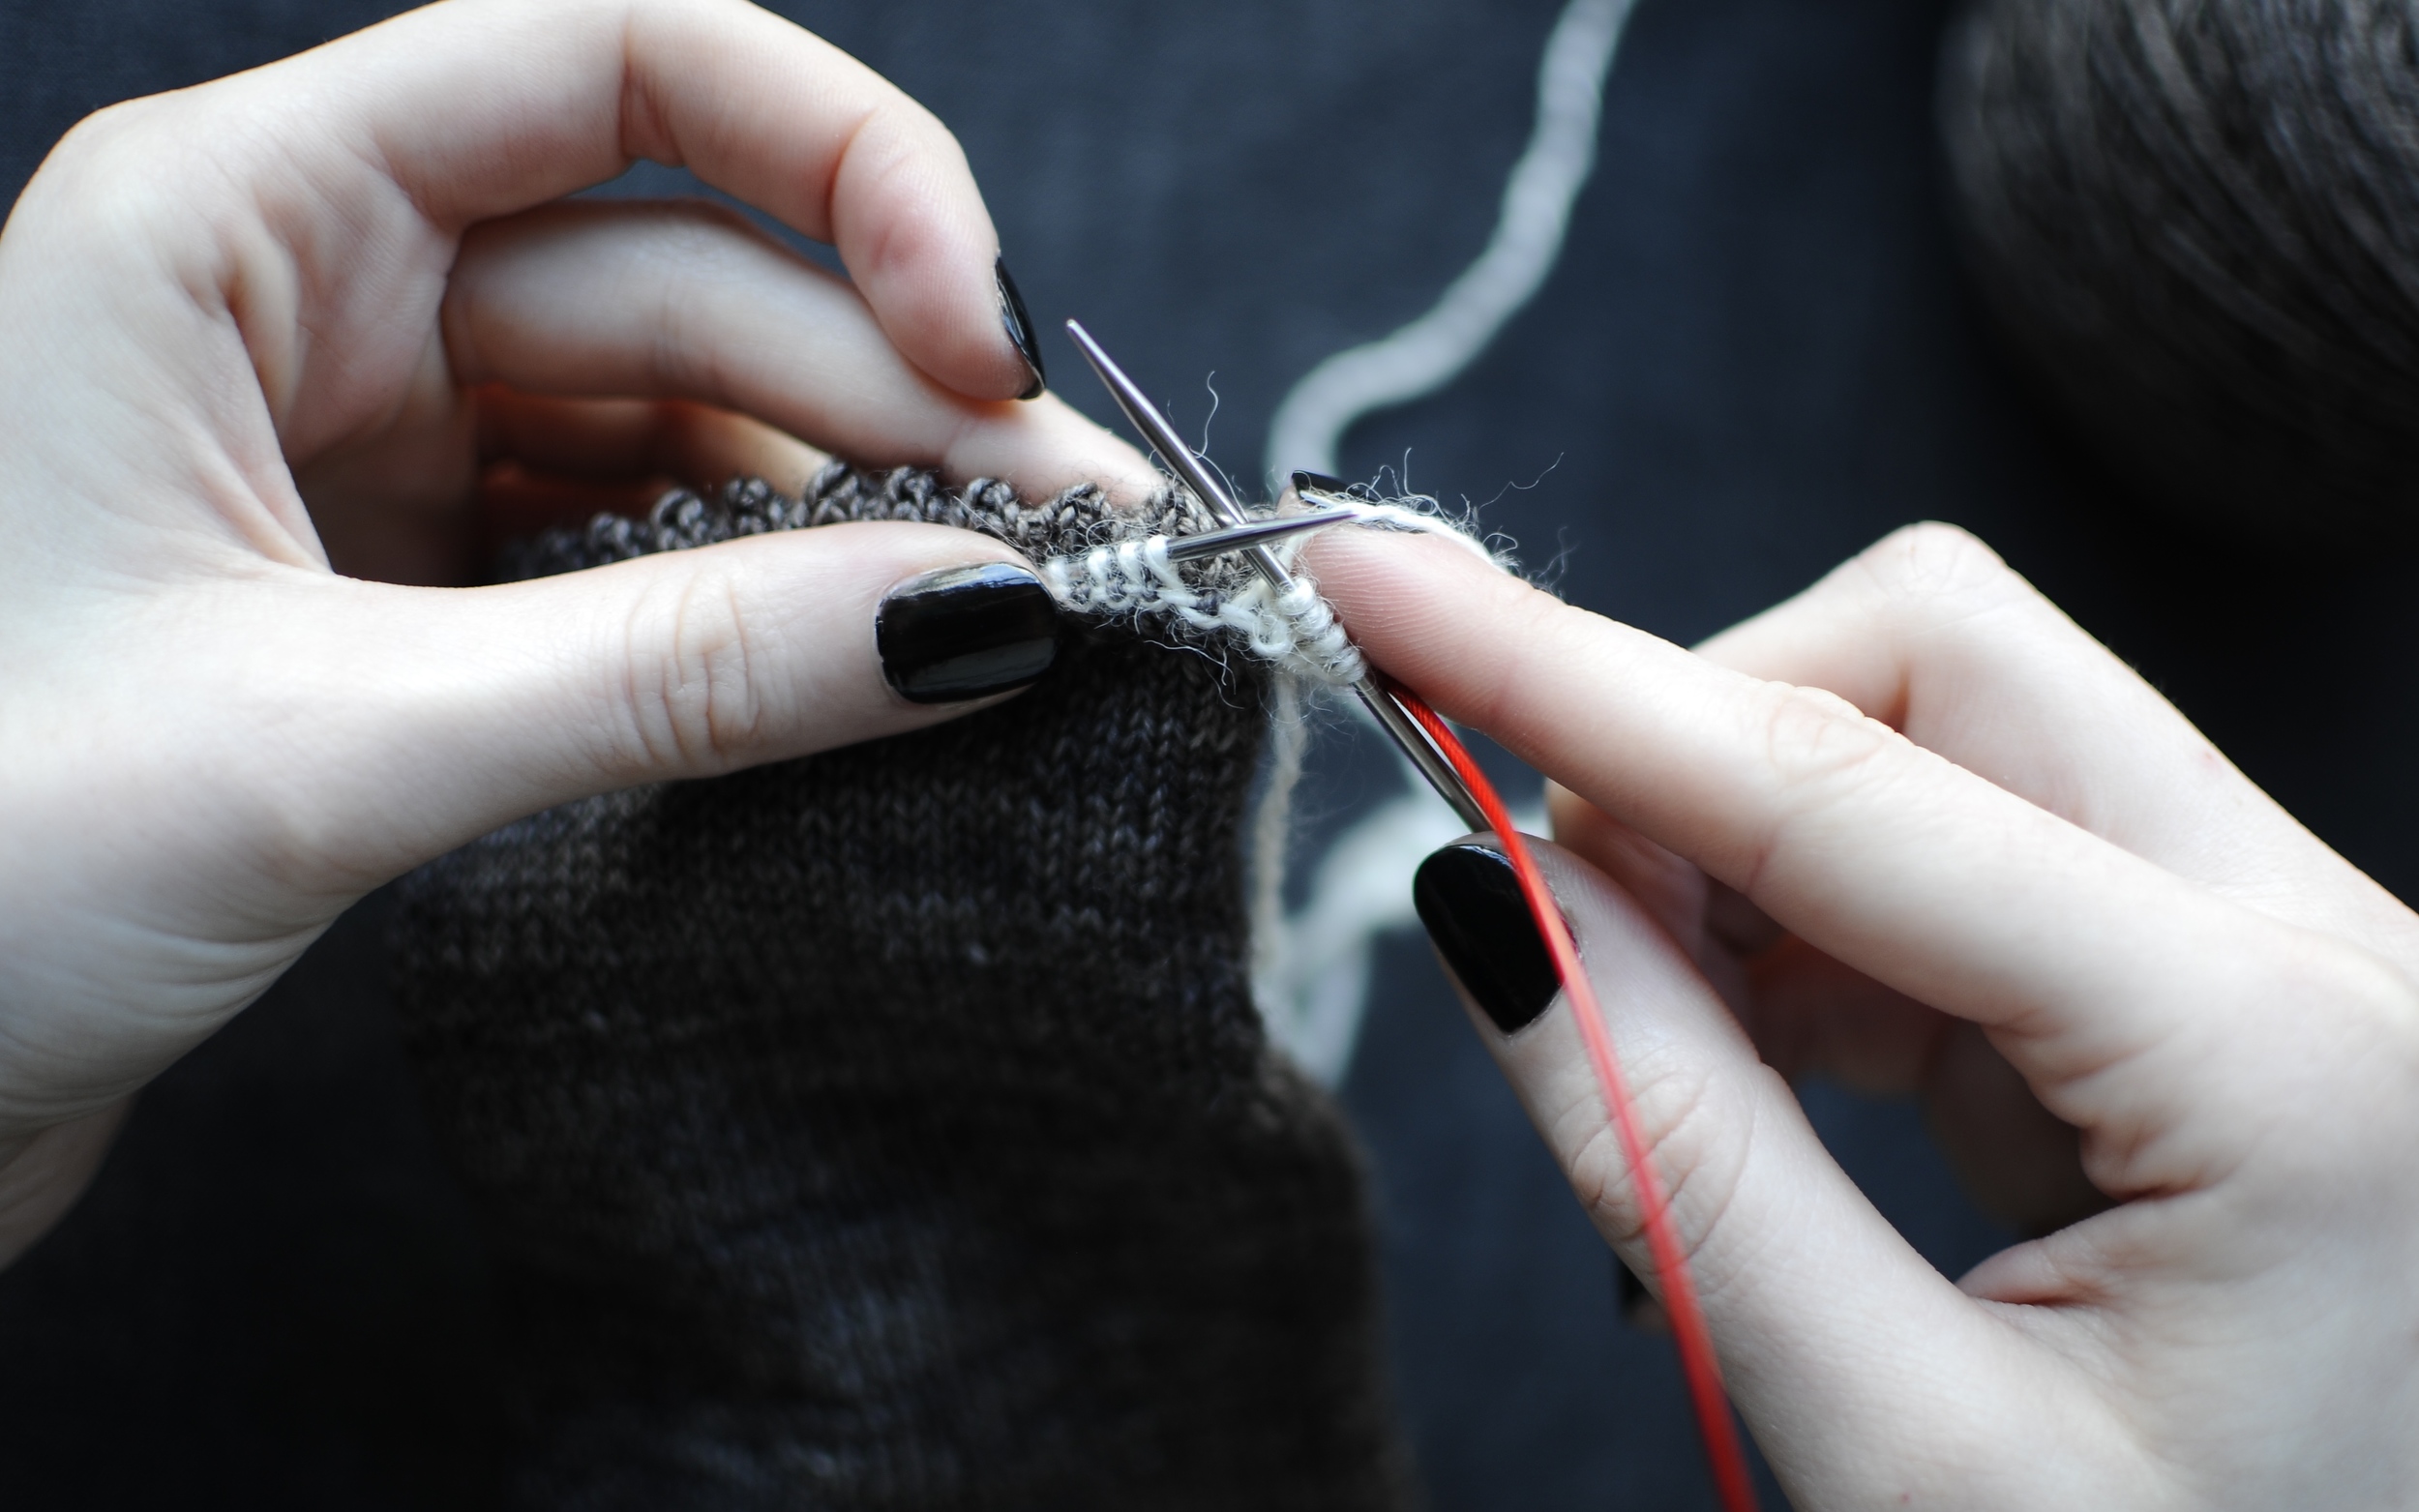
If you've already completed sewing down the picot trim then you're ready for this post where I'll be detailing how to pick up the stitches around the cuff of the sock to start the lace trim. You can find my post about the picot trim here. At this point, I still have the lace yarn (Yarn B) threaded around the circumference of the cuff. You'll need your knitting needles again. I'll be picking up the stitches with the same circular needle I used to knit this pair. You'll also need a darning needle and scissors.
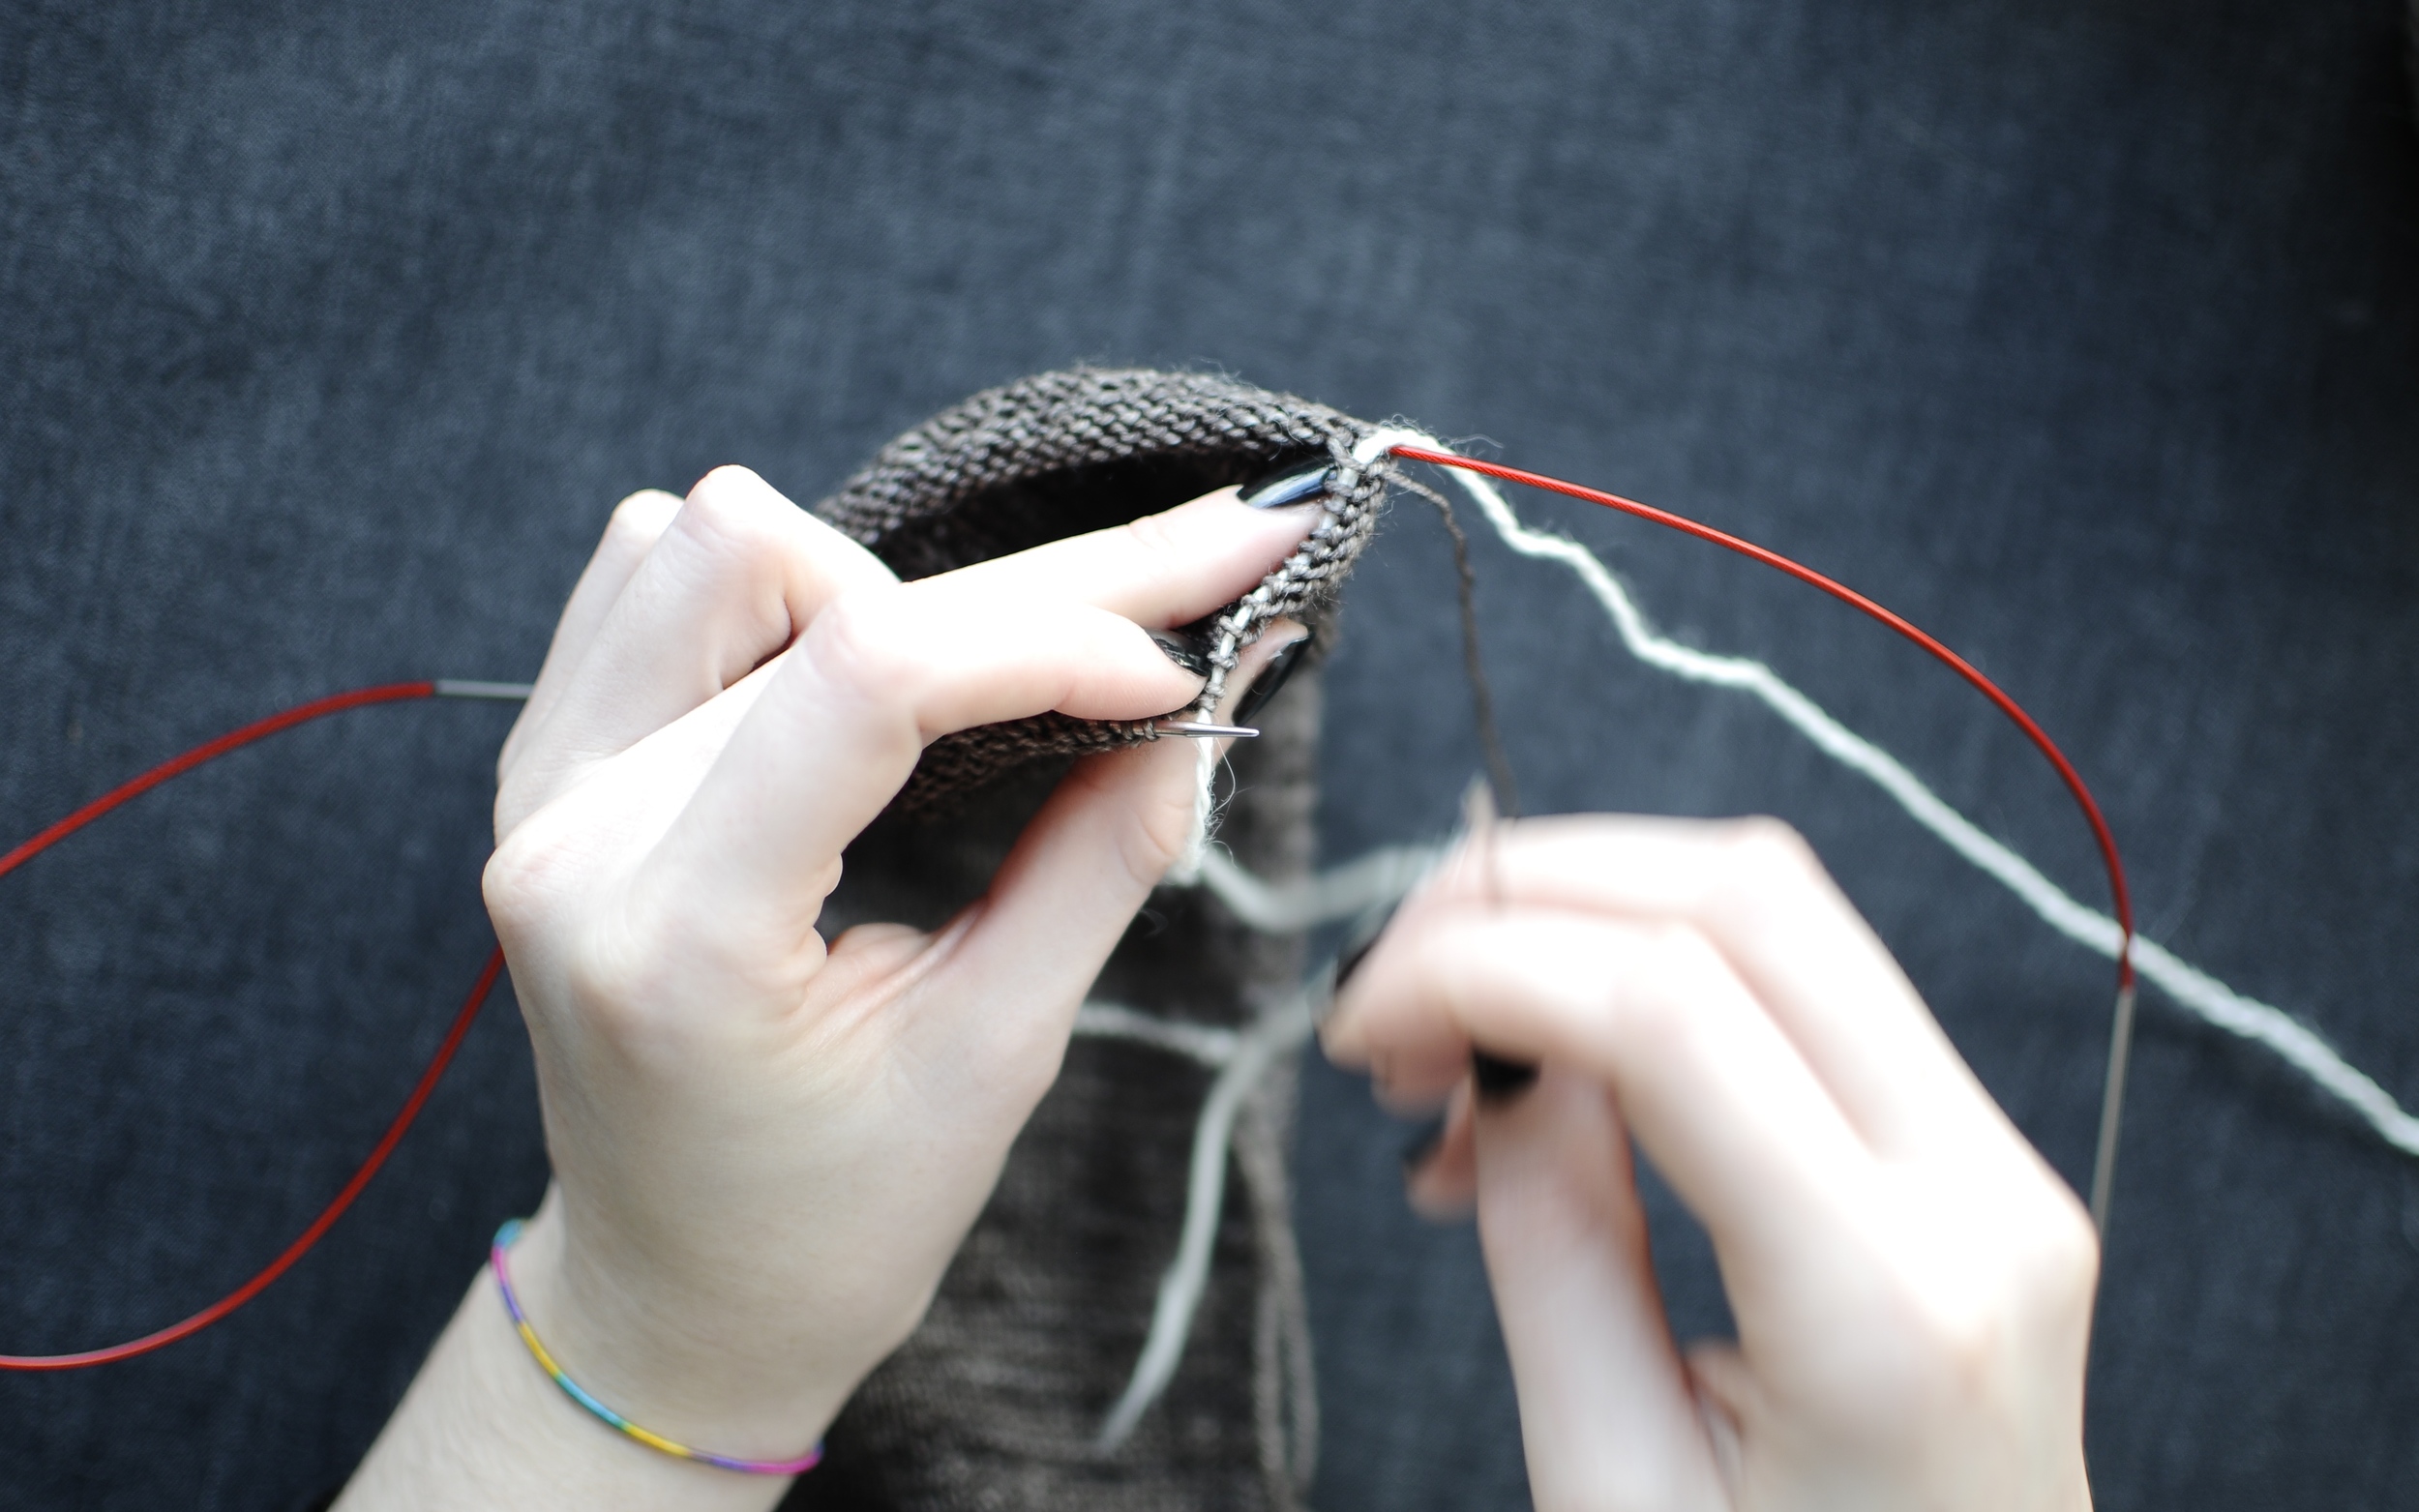
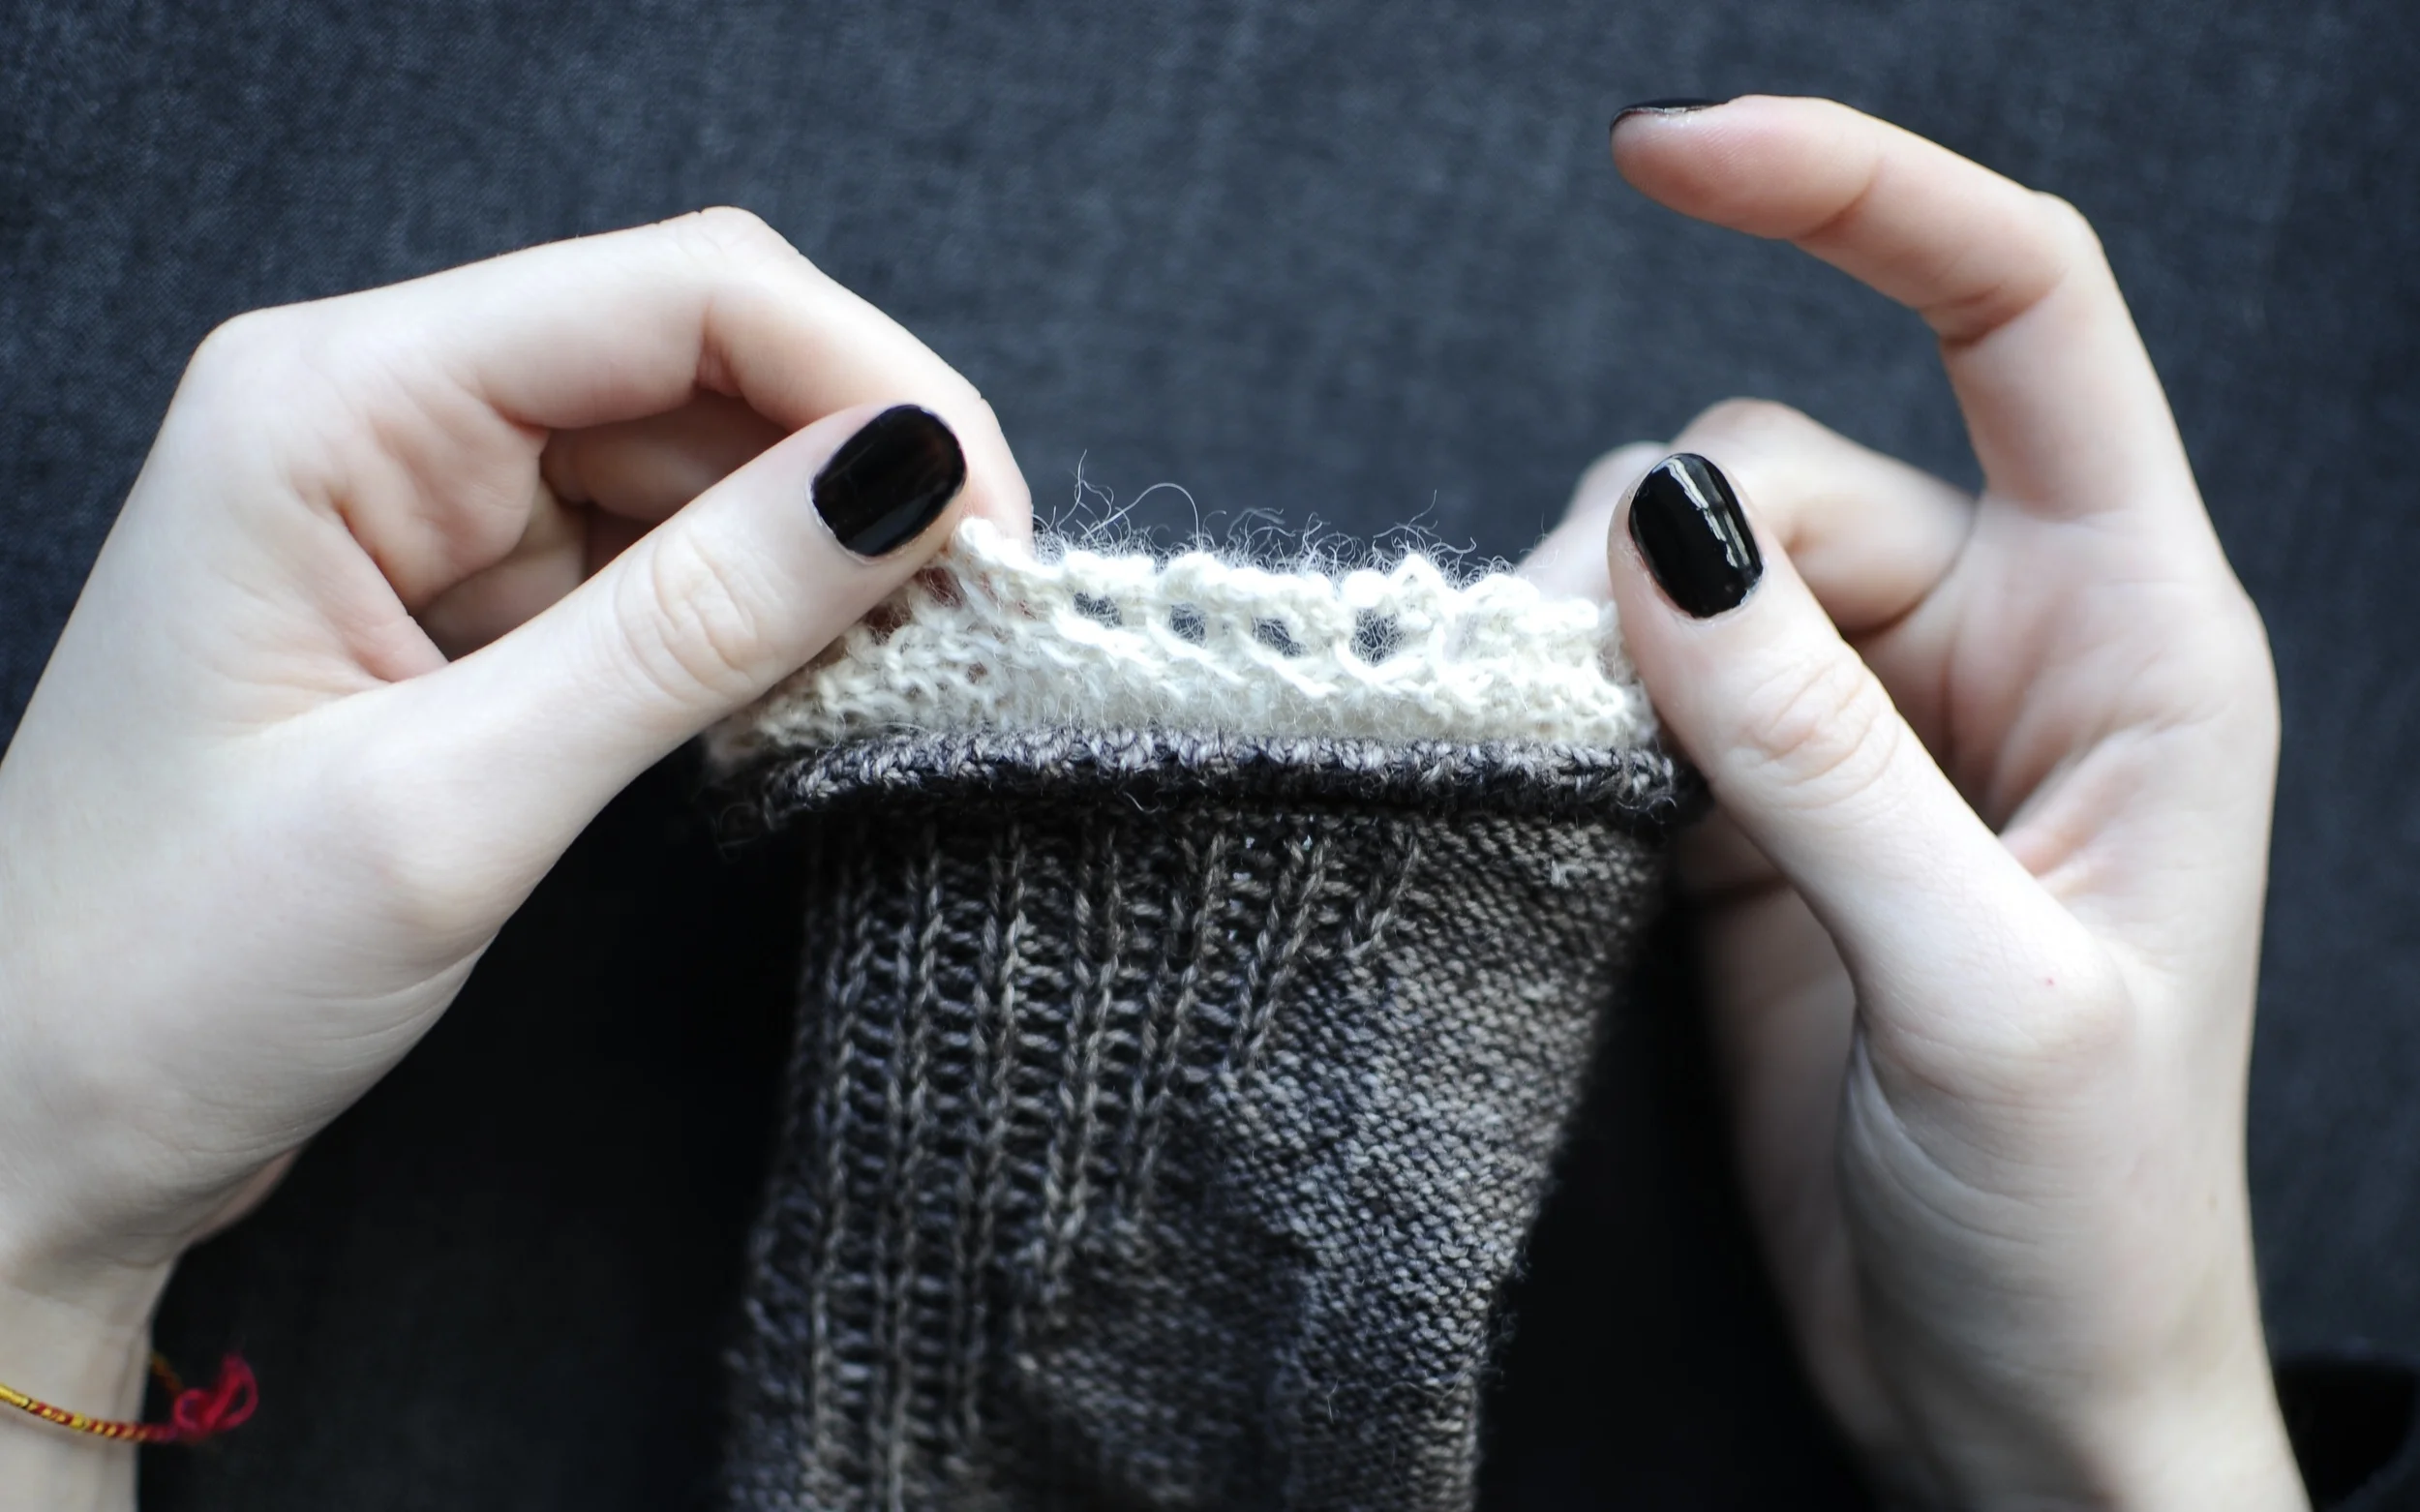
1. Start by giving the cuff a little stretch. This should make Yarn B fairly easy to see.

2. Start at the seam where you left Yarn B. Pick up the working yarn and begin to work in an anticlockwise direction. Insert the needle under Yarn B, as if to knit (in-between the stitches you used to sew down the picot hem).

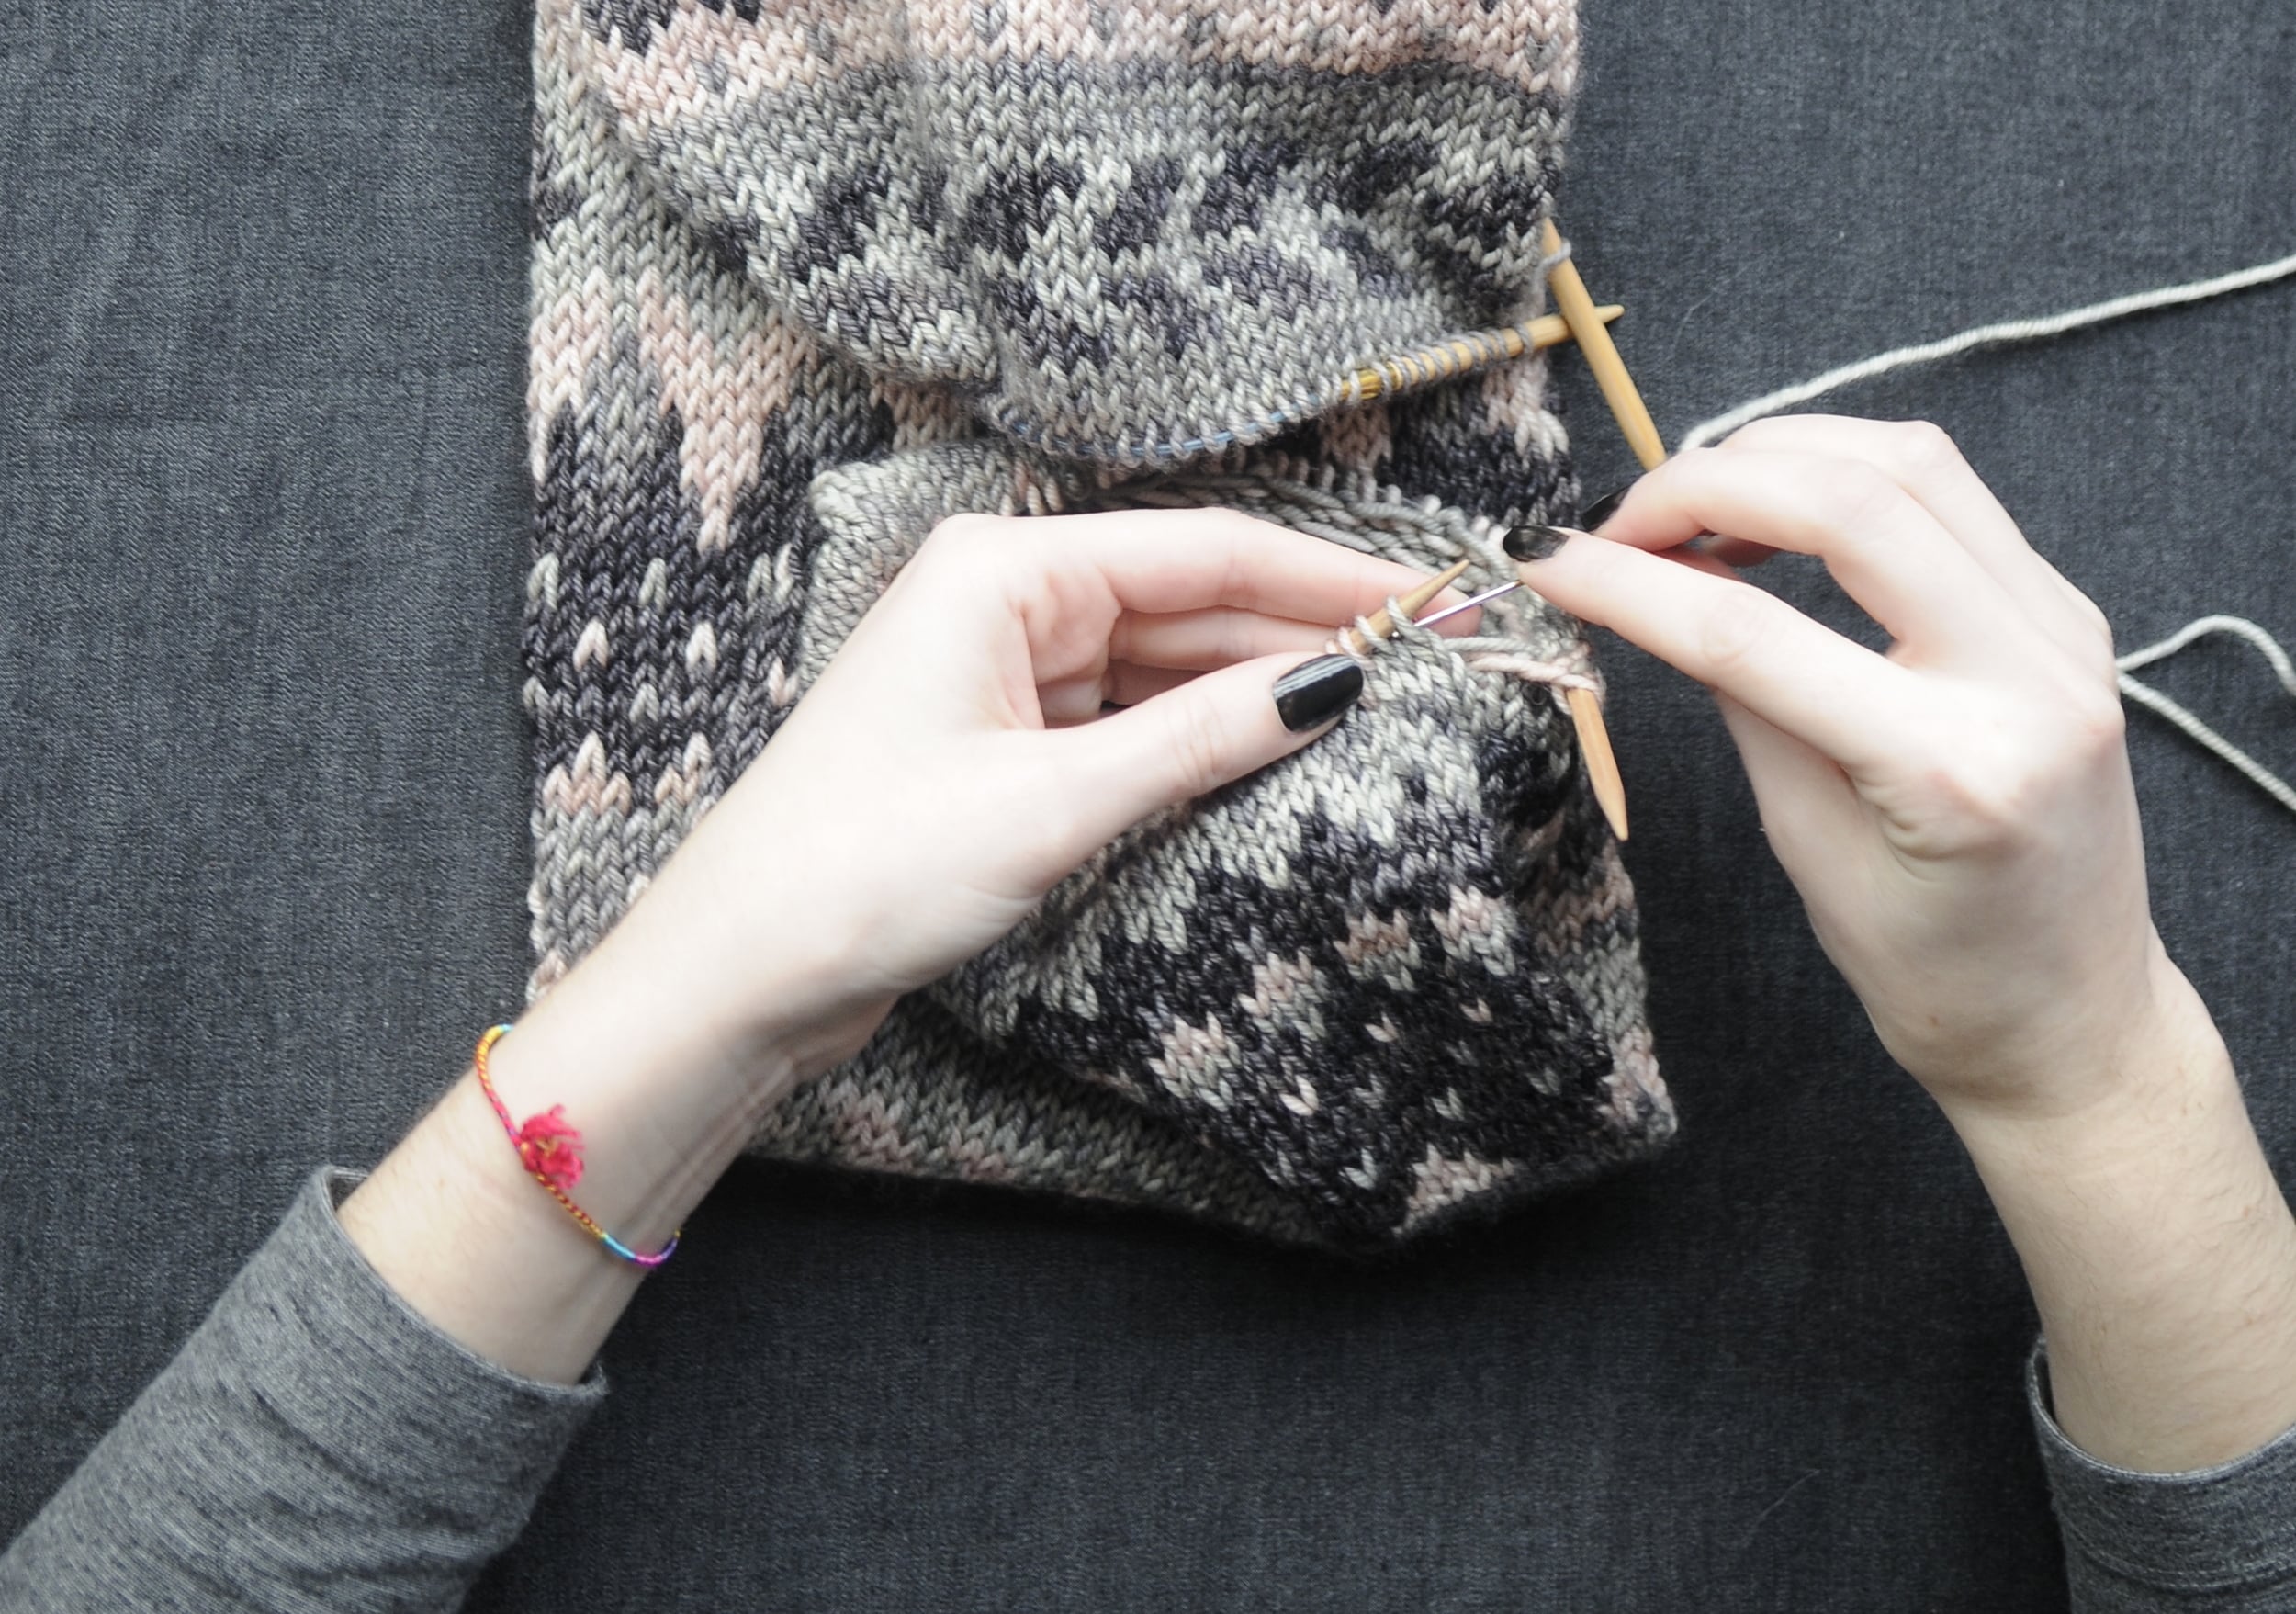
3. Wrap yarn around the knitting needle to knit that first stitch onto the needle.

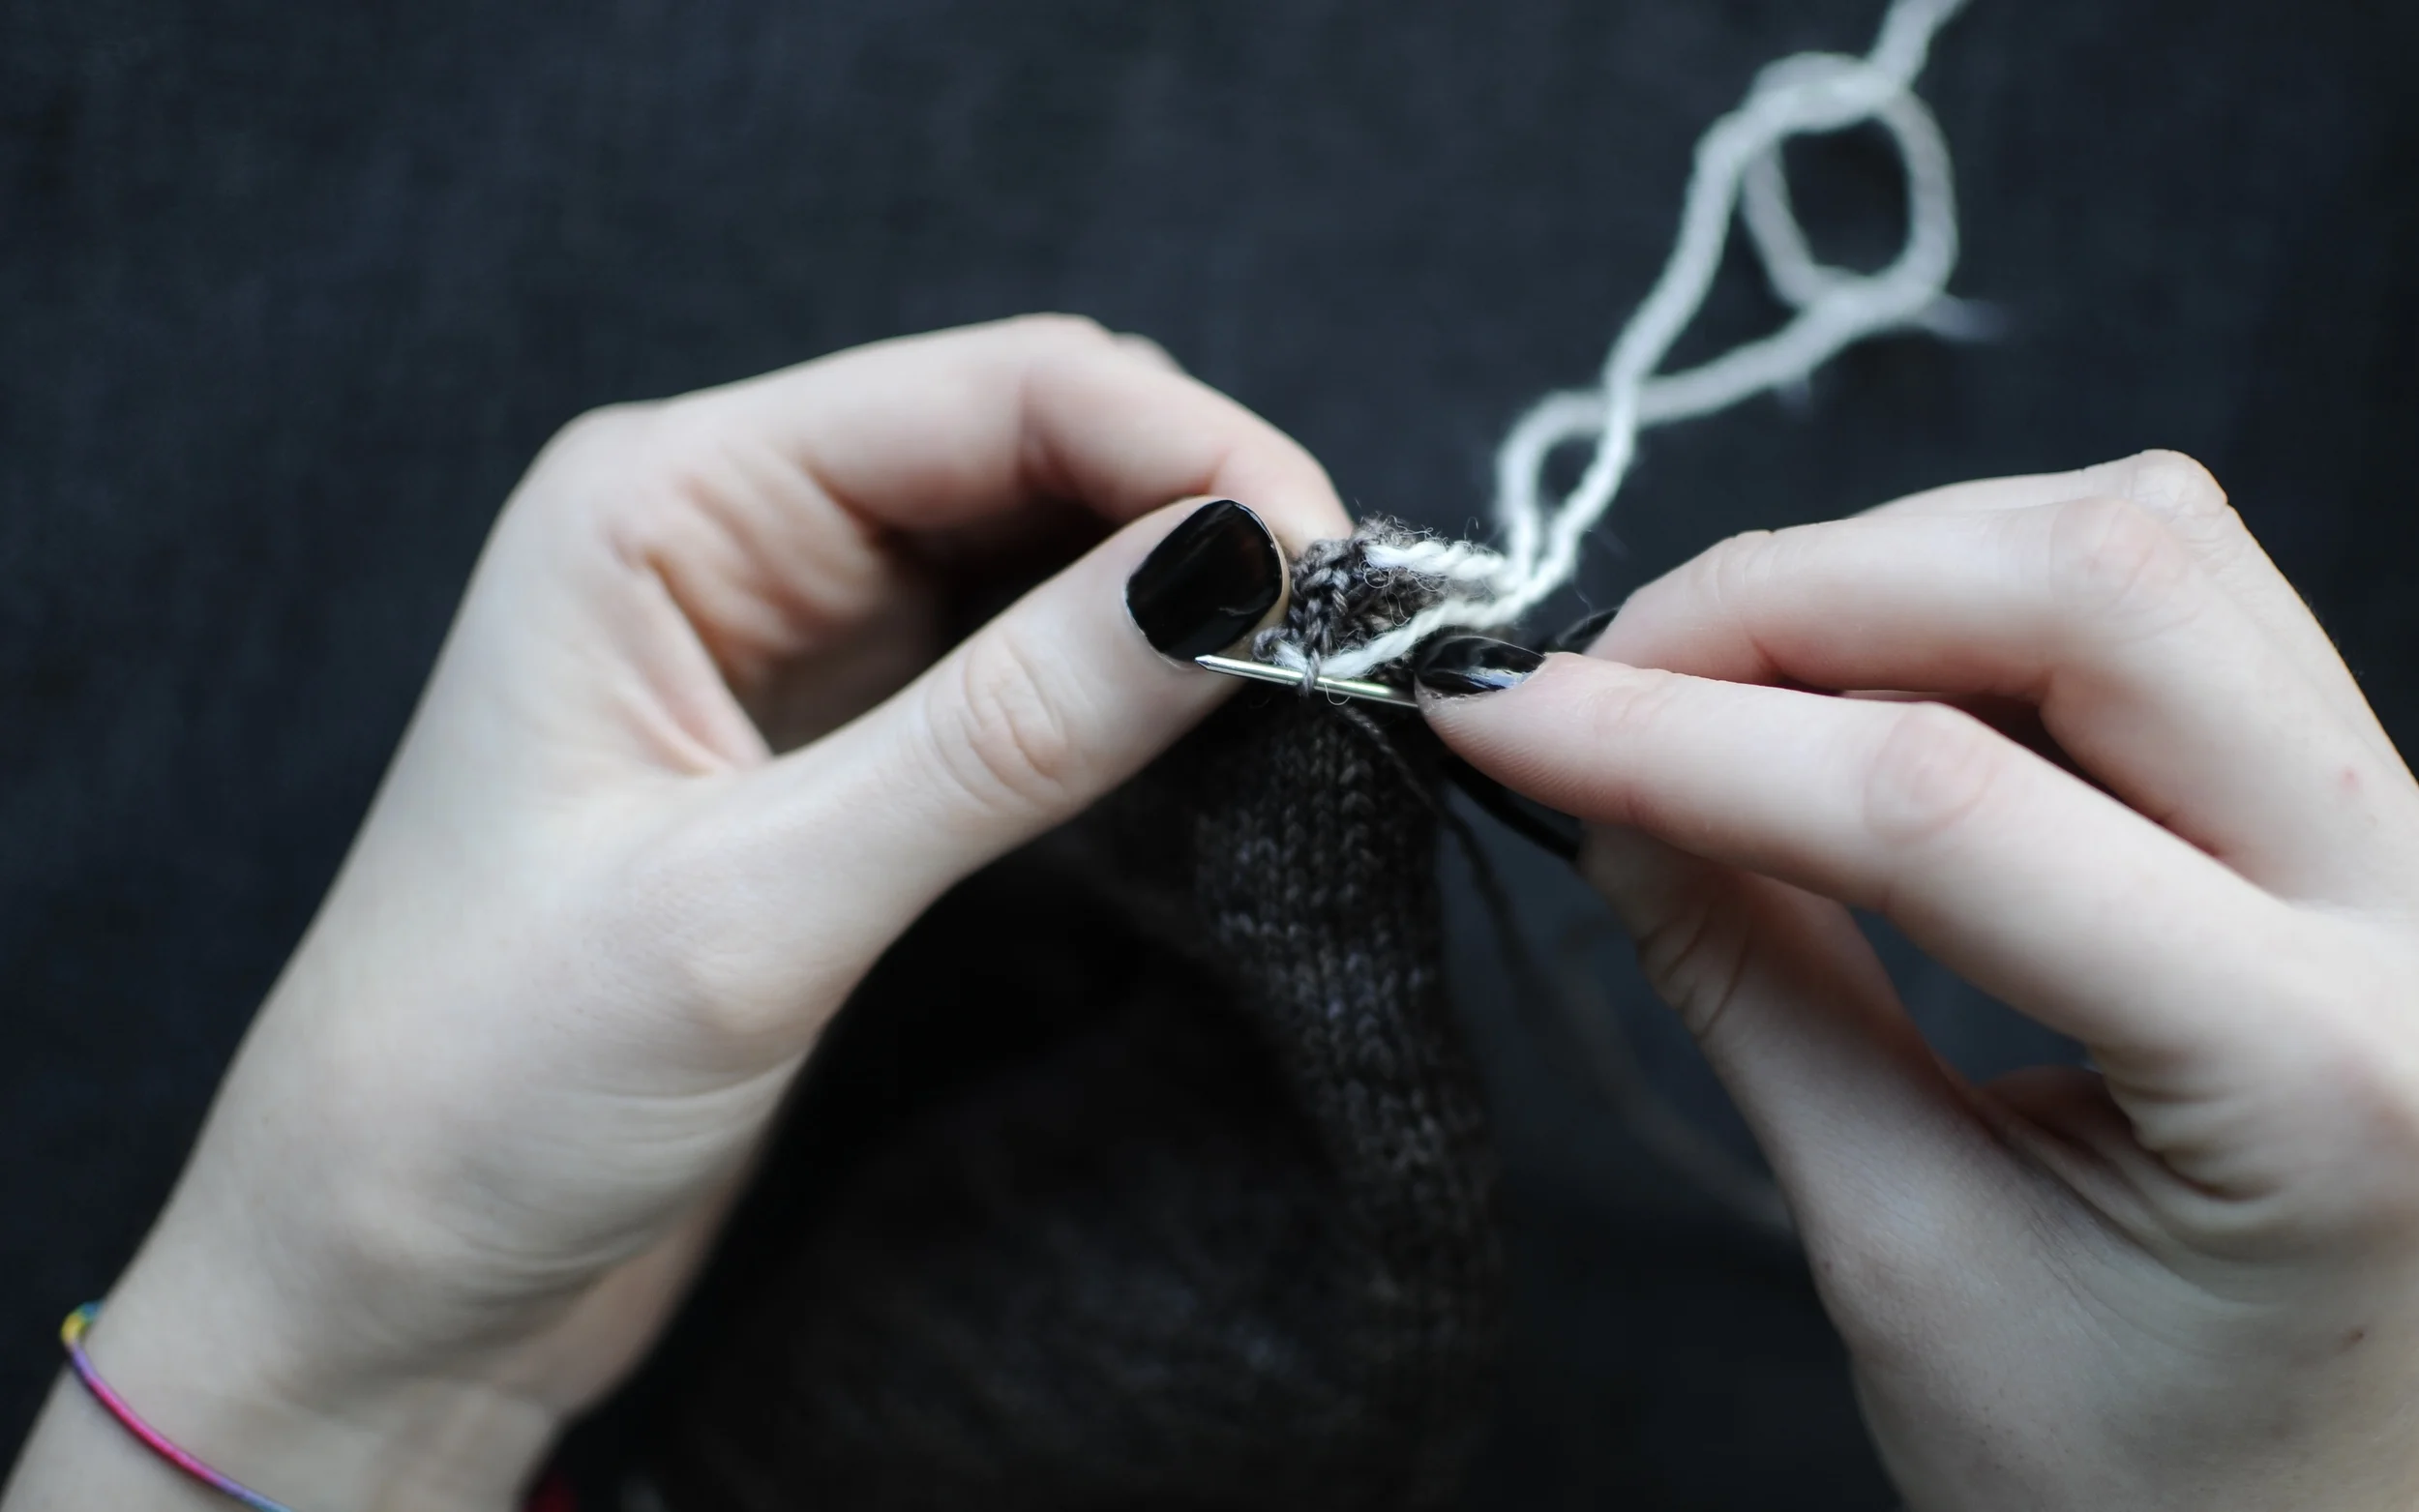
4. Insert knitting needle underneath Yarn B in the next section. Wrap yarn around needle again and knit that stitch.

5. Continue to repeat Steps 3 - 4 to pick up all the stitches around the circumference of the cuff.


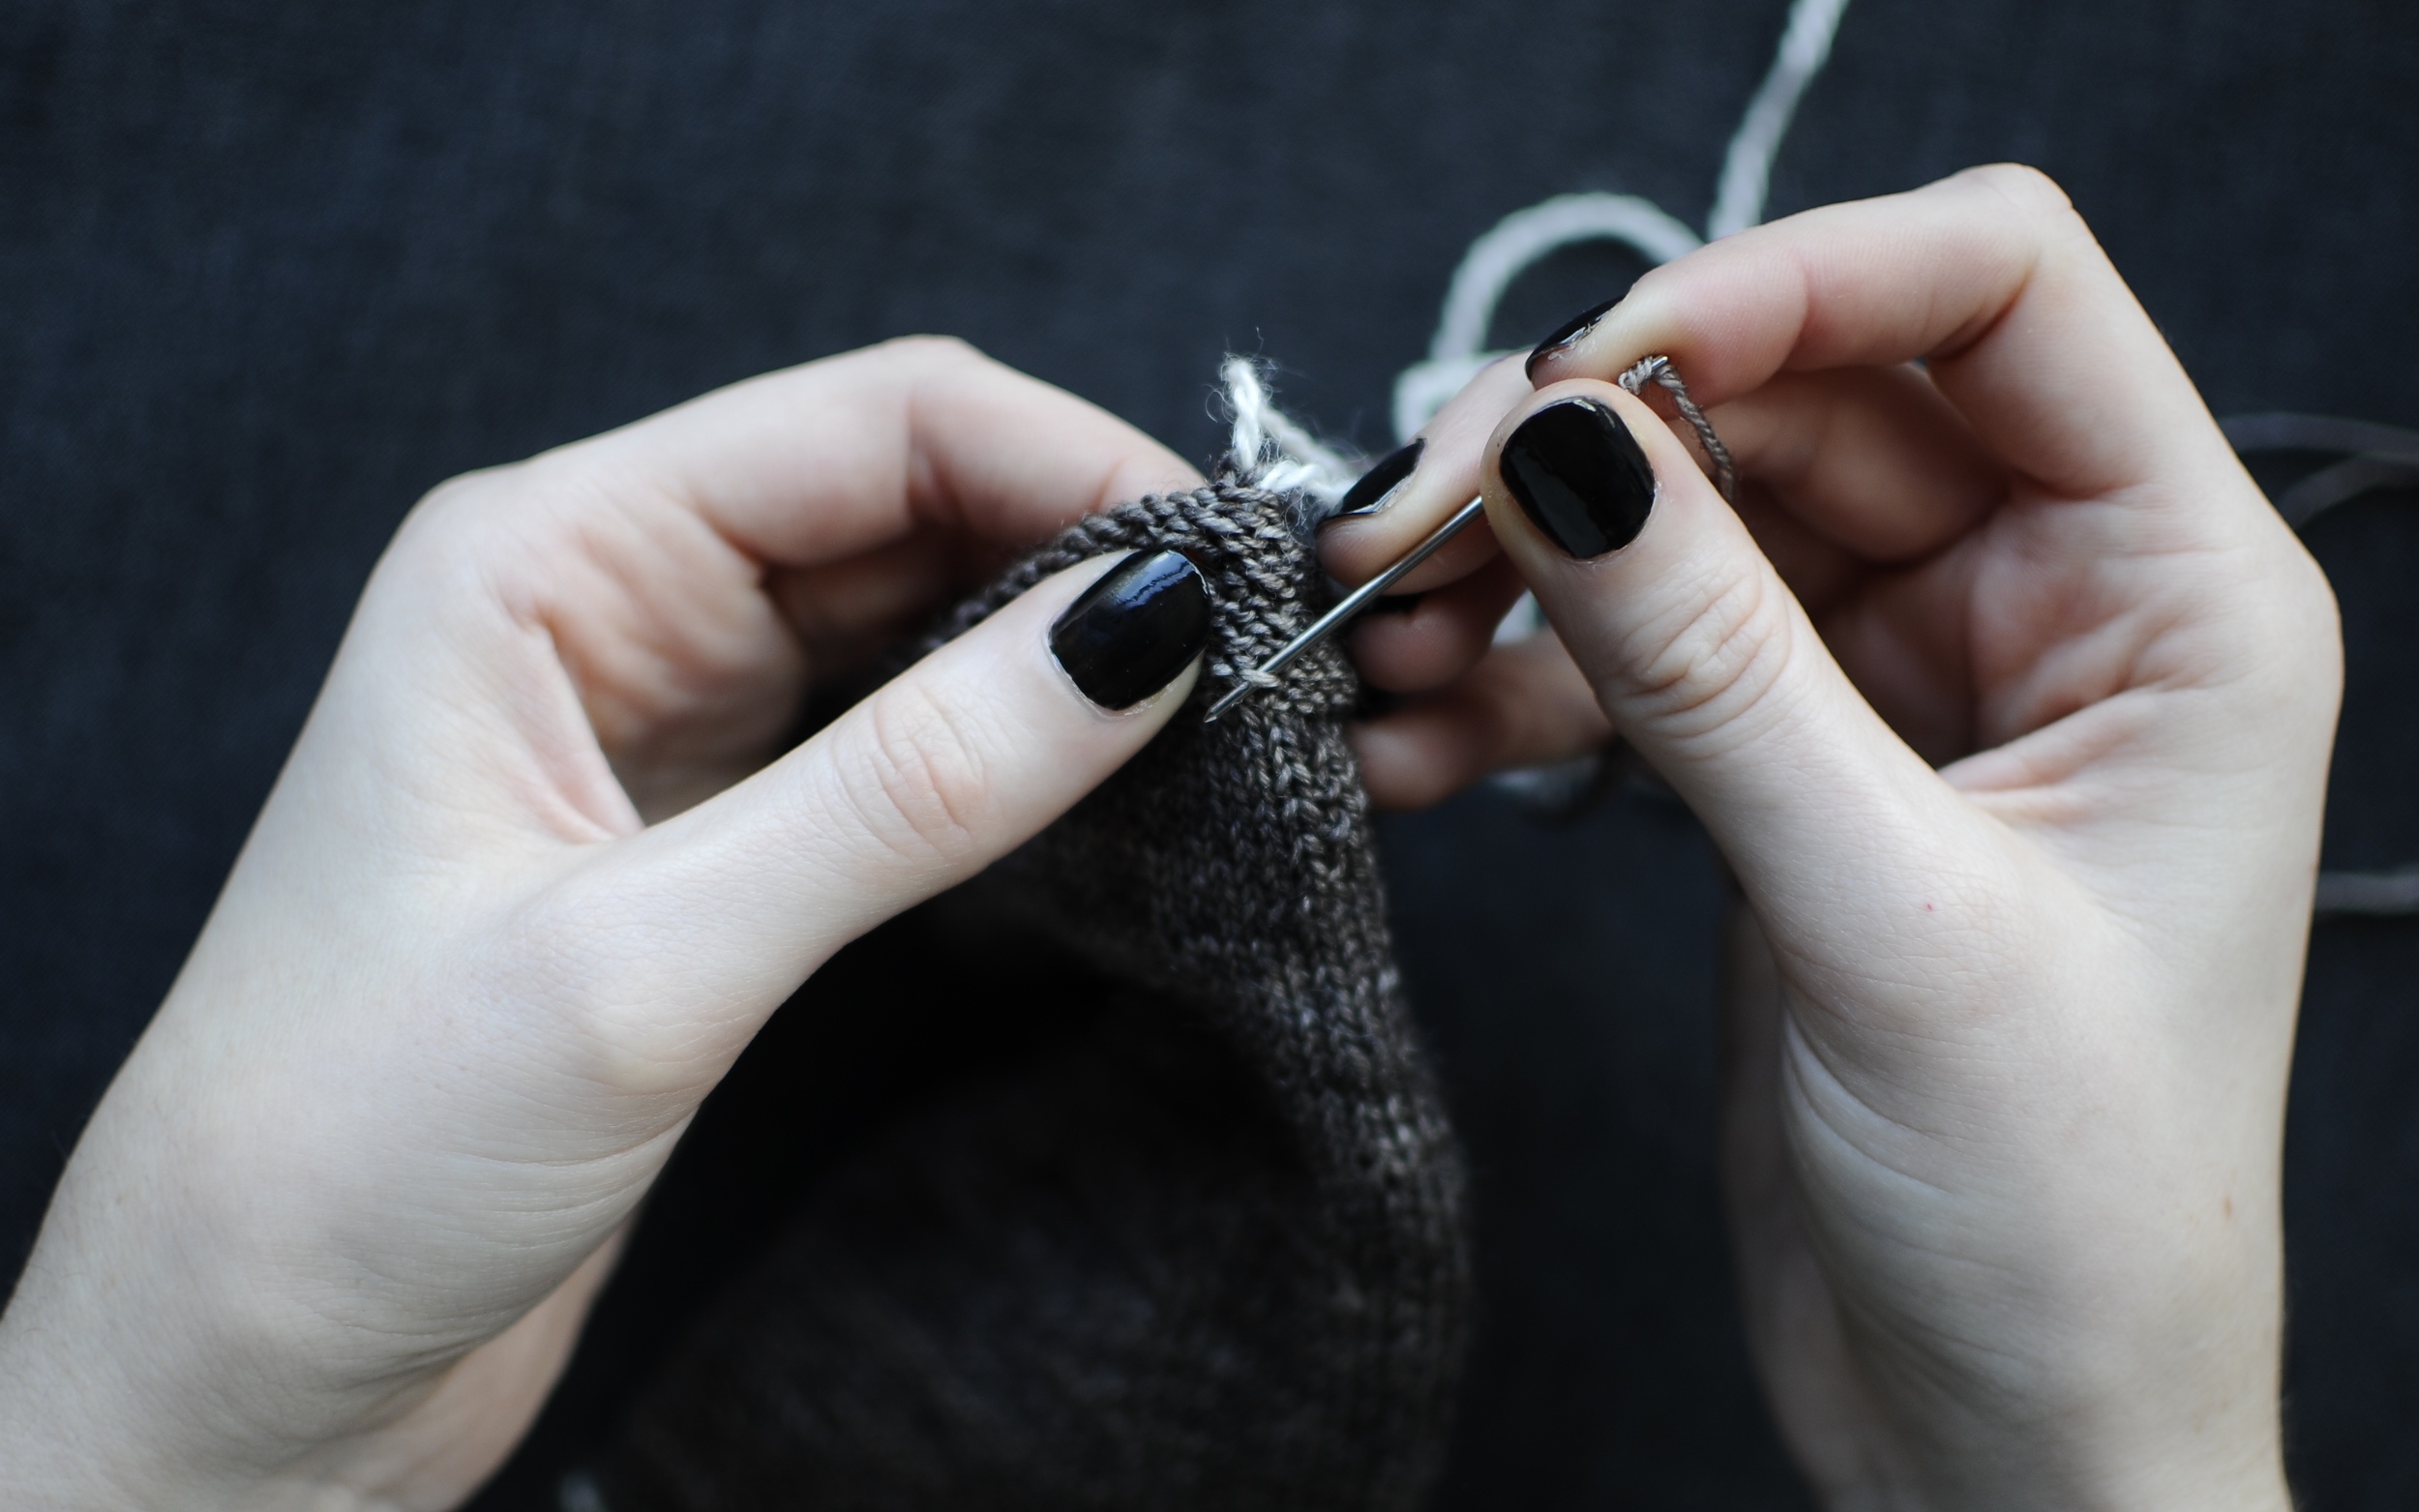
6. Once you've worked all the way around, there should be 64 (72) stitches on your needles.

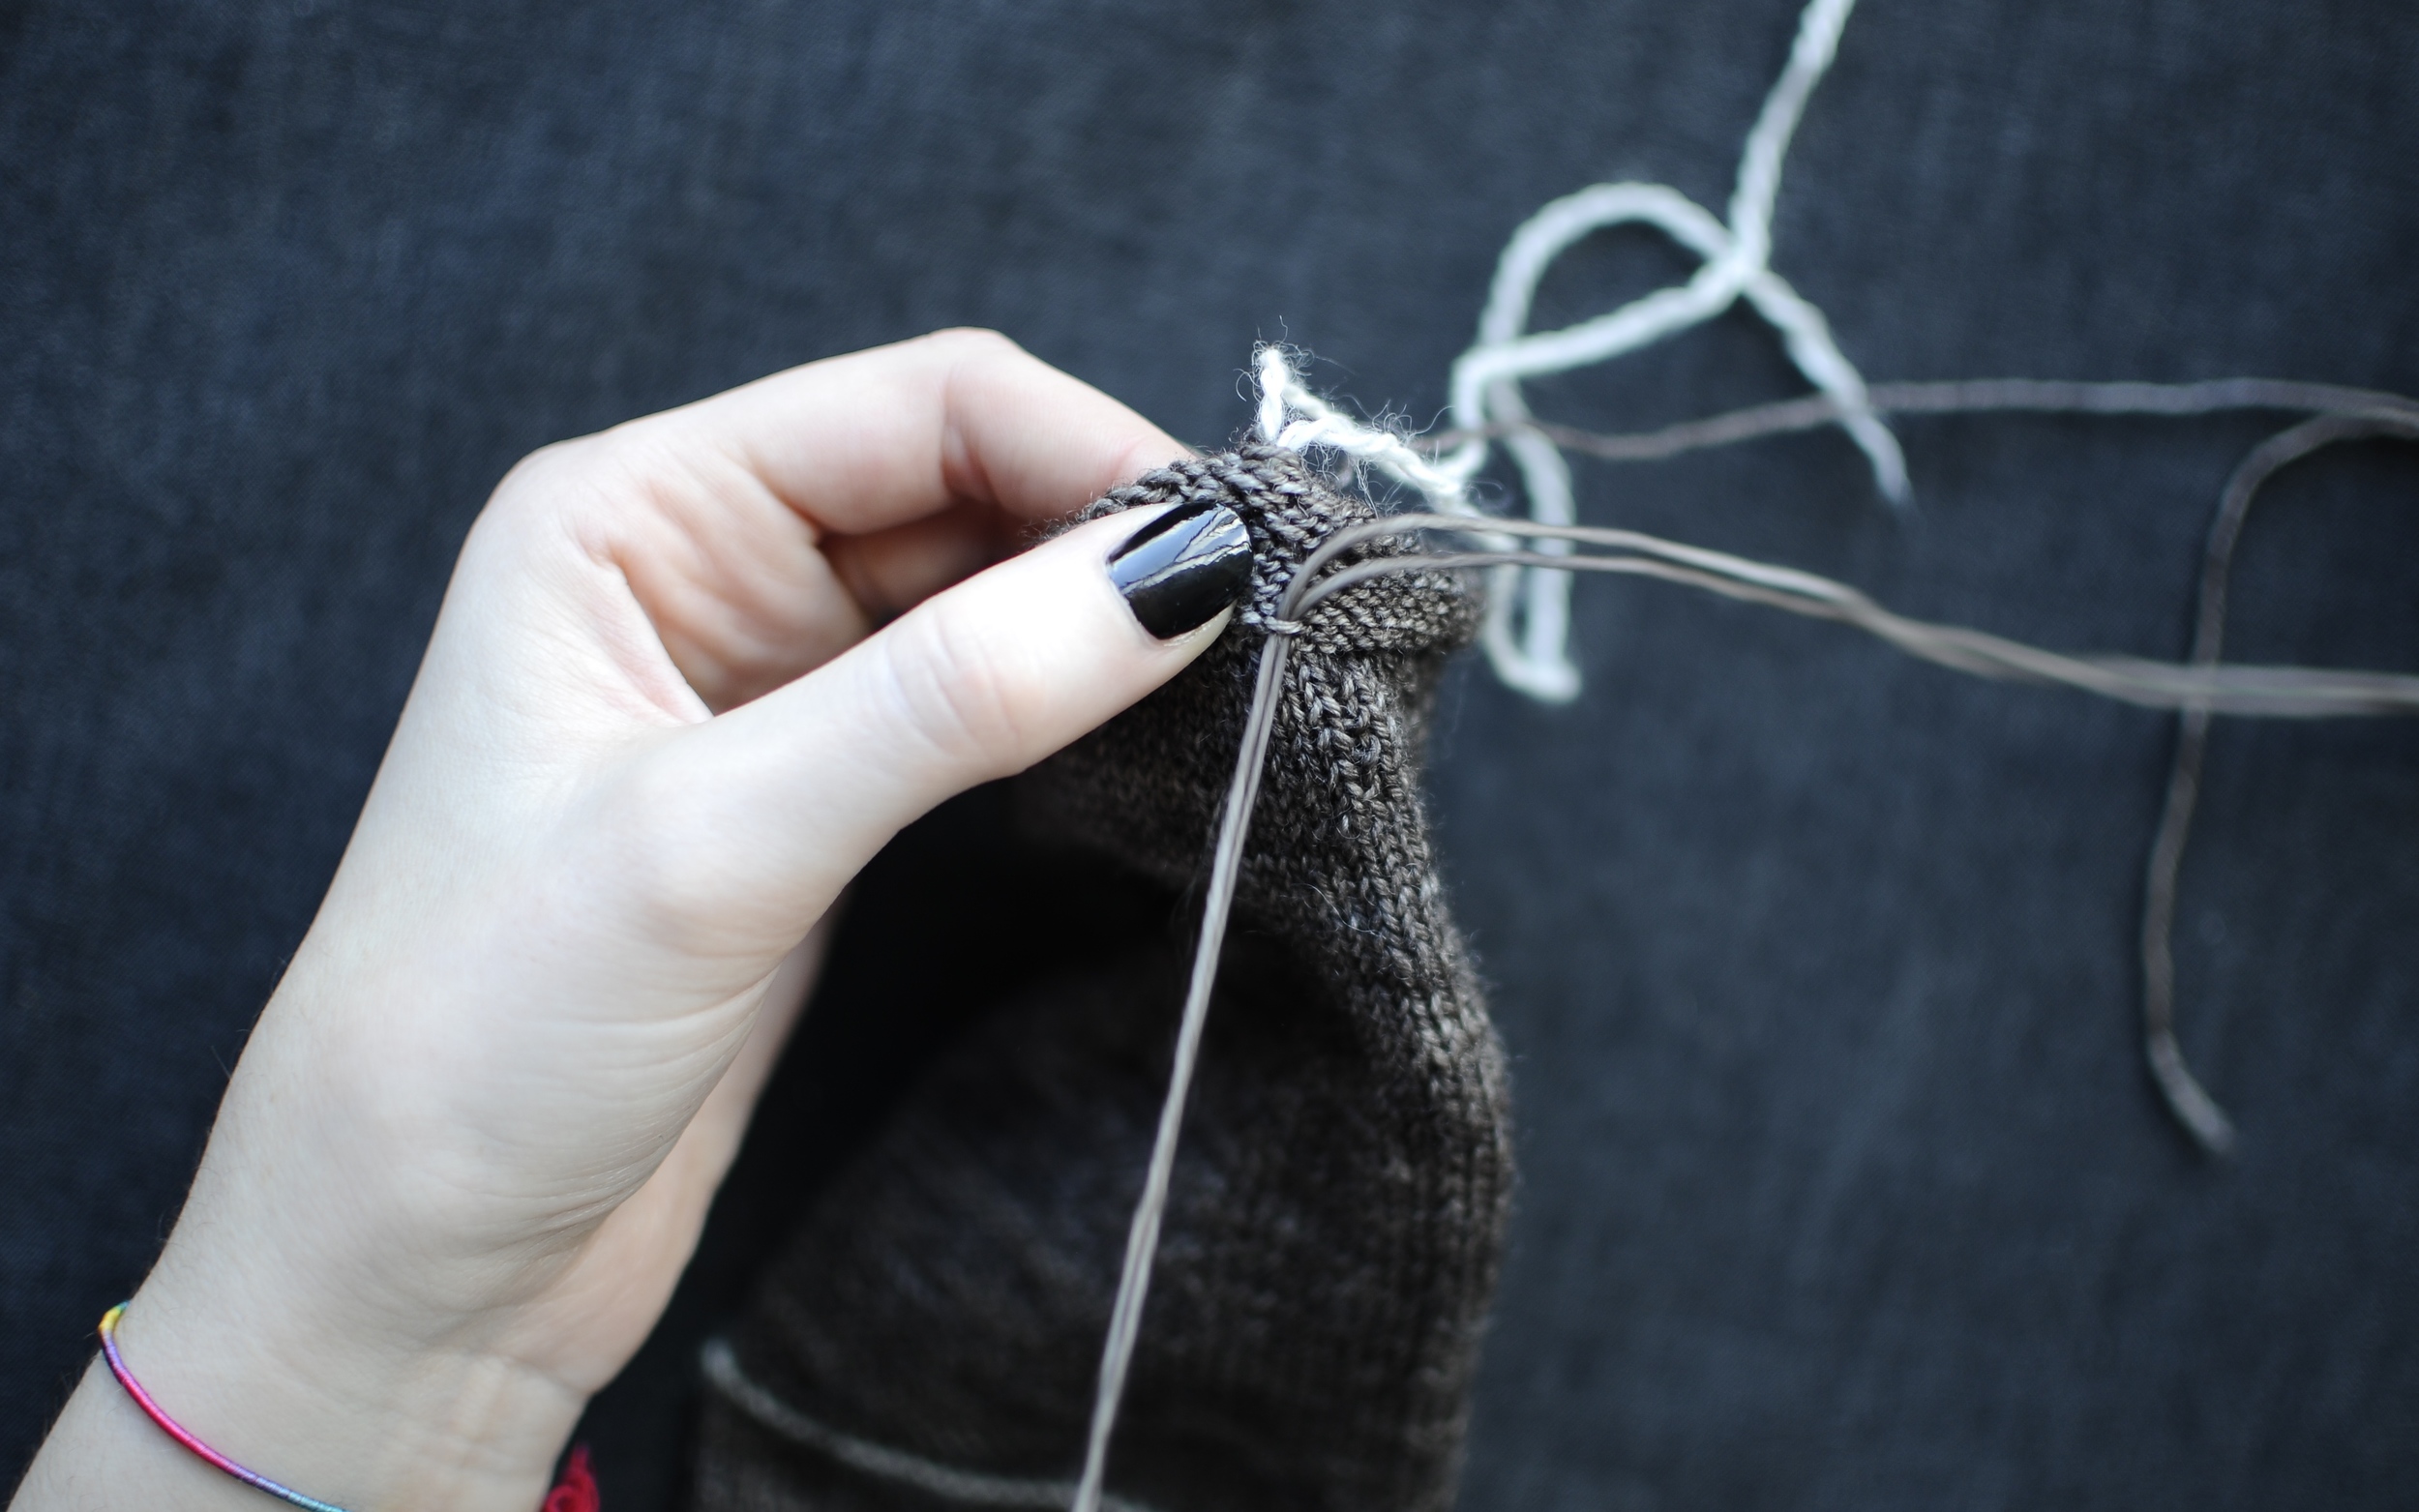
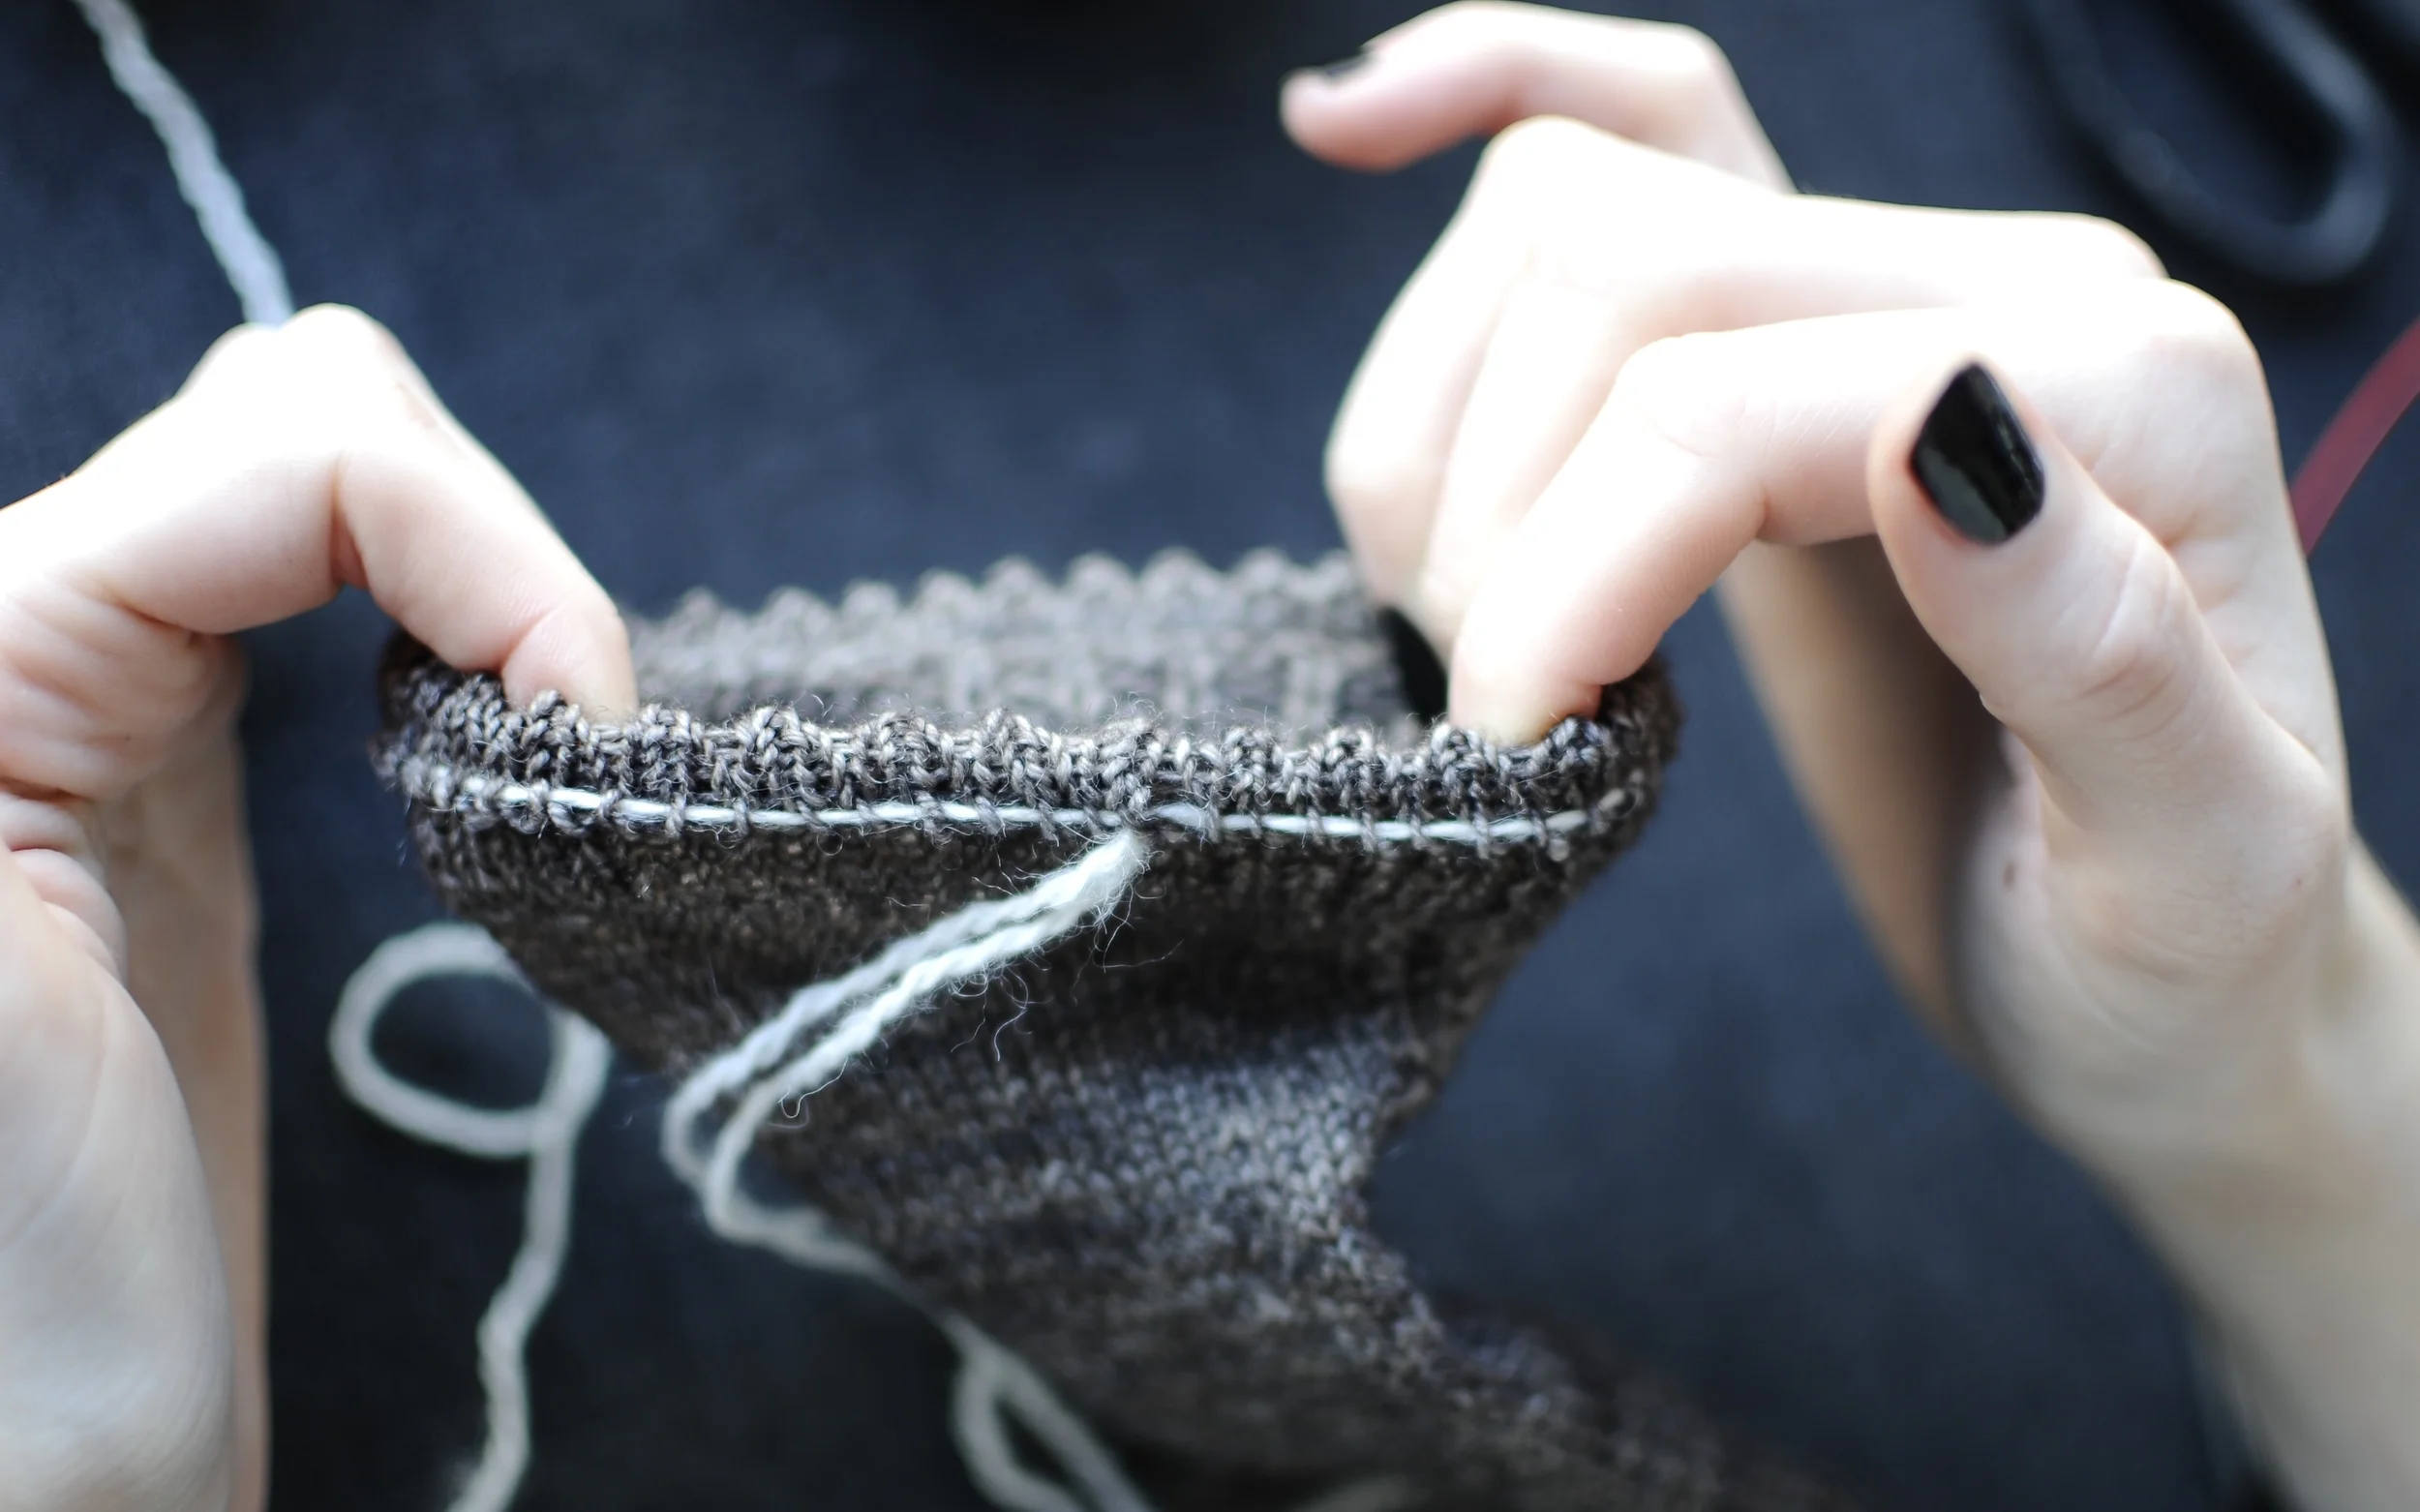
7. Using the Backwards Loop Method, cast on 4 stitches onto Left Hand needle. This is the third errata in the pattern. It should read LH needle instead of RH needle.

8. Ignore 'turn work'. You should already be set up to start Row 1 of the lace repeat.

9. Now begin Row 1 of lace repeat.
10. Once you finish Row 1, turn work.

12. Now you'll be ready to start Row 2 of lace repeat.

13. Continue to work Rows 1 - 4 until there is one cuff stitch remaining. Work Rows 1 - 3 once more.
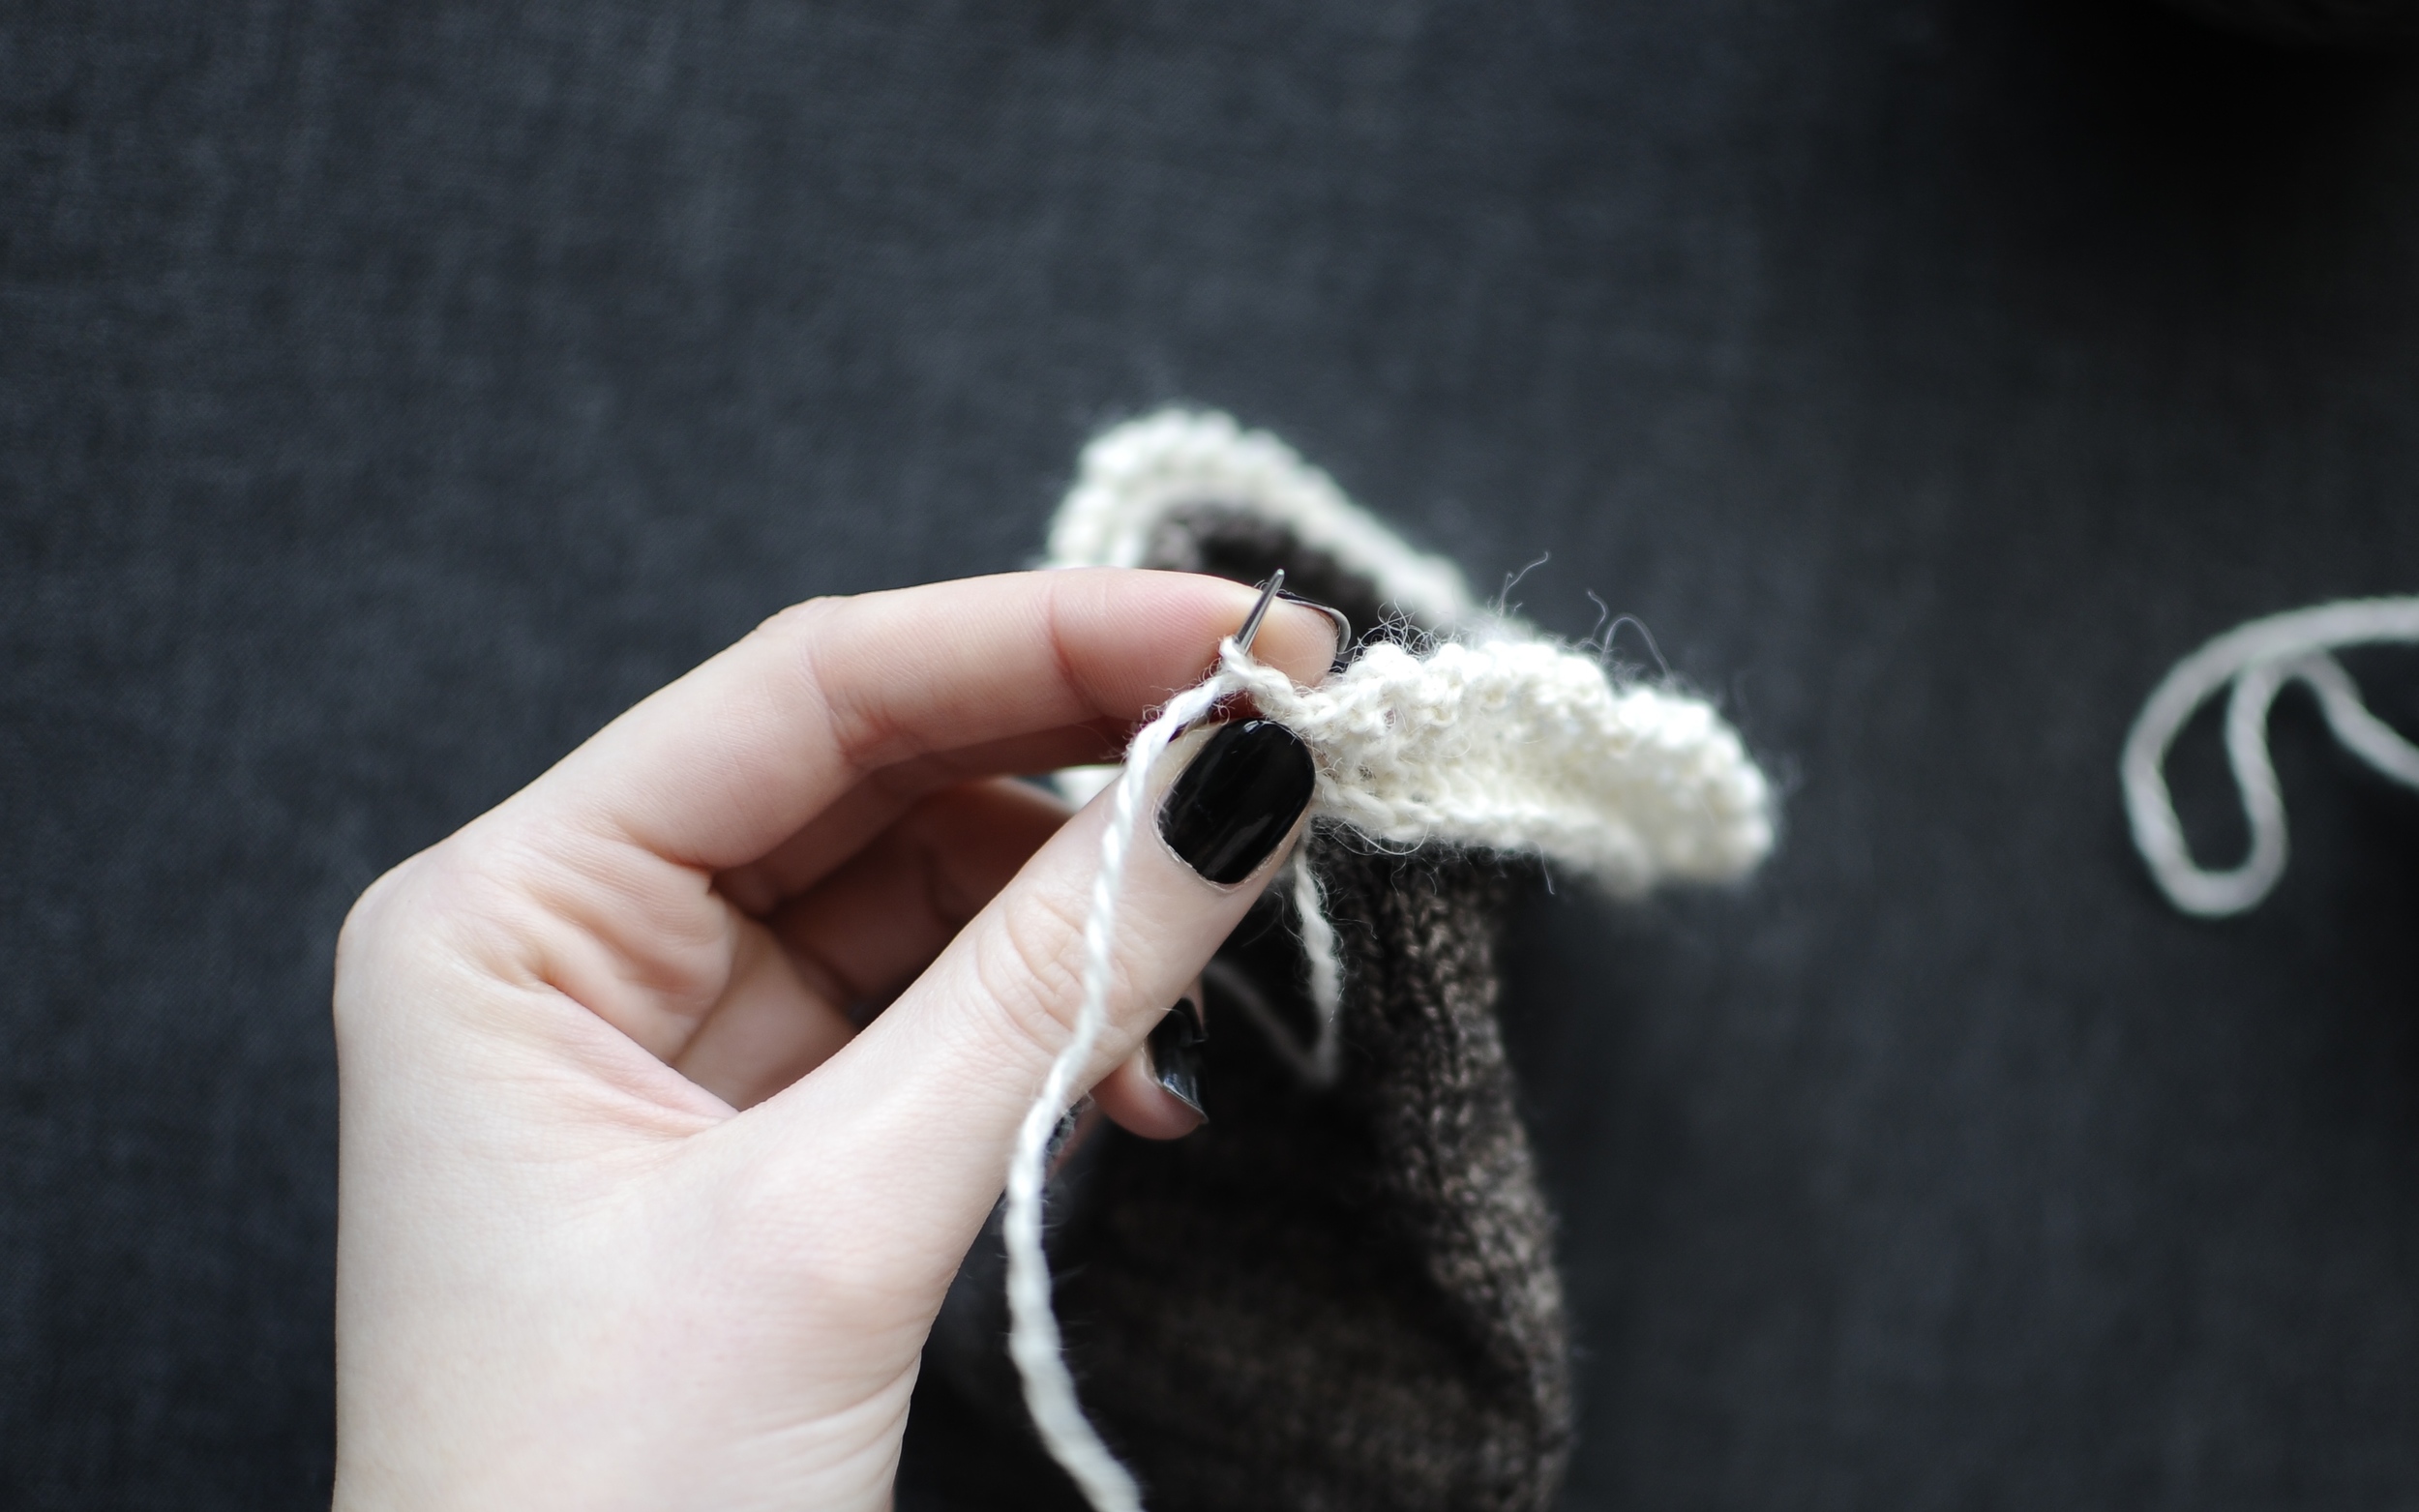
14. Cast off the remaining 6 stitches.

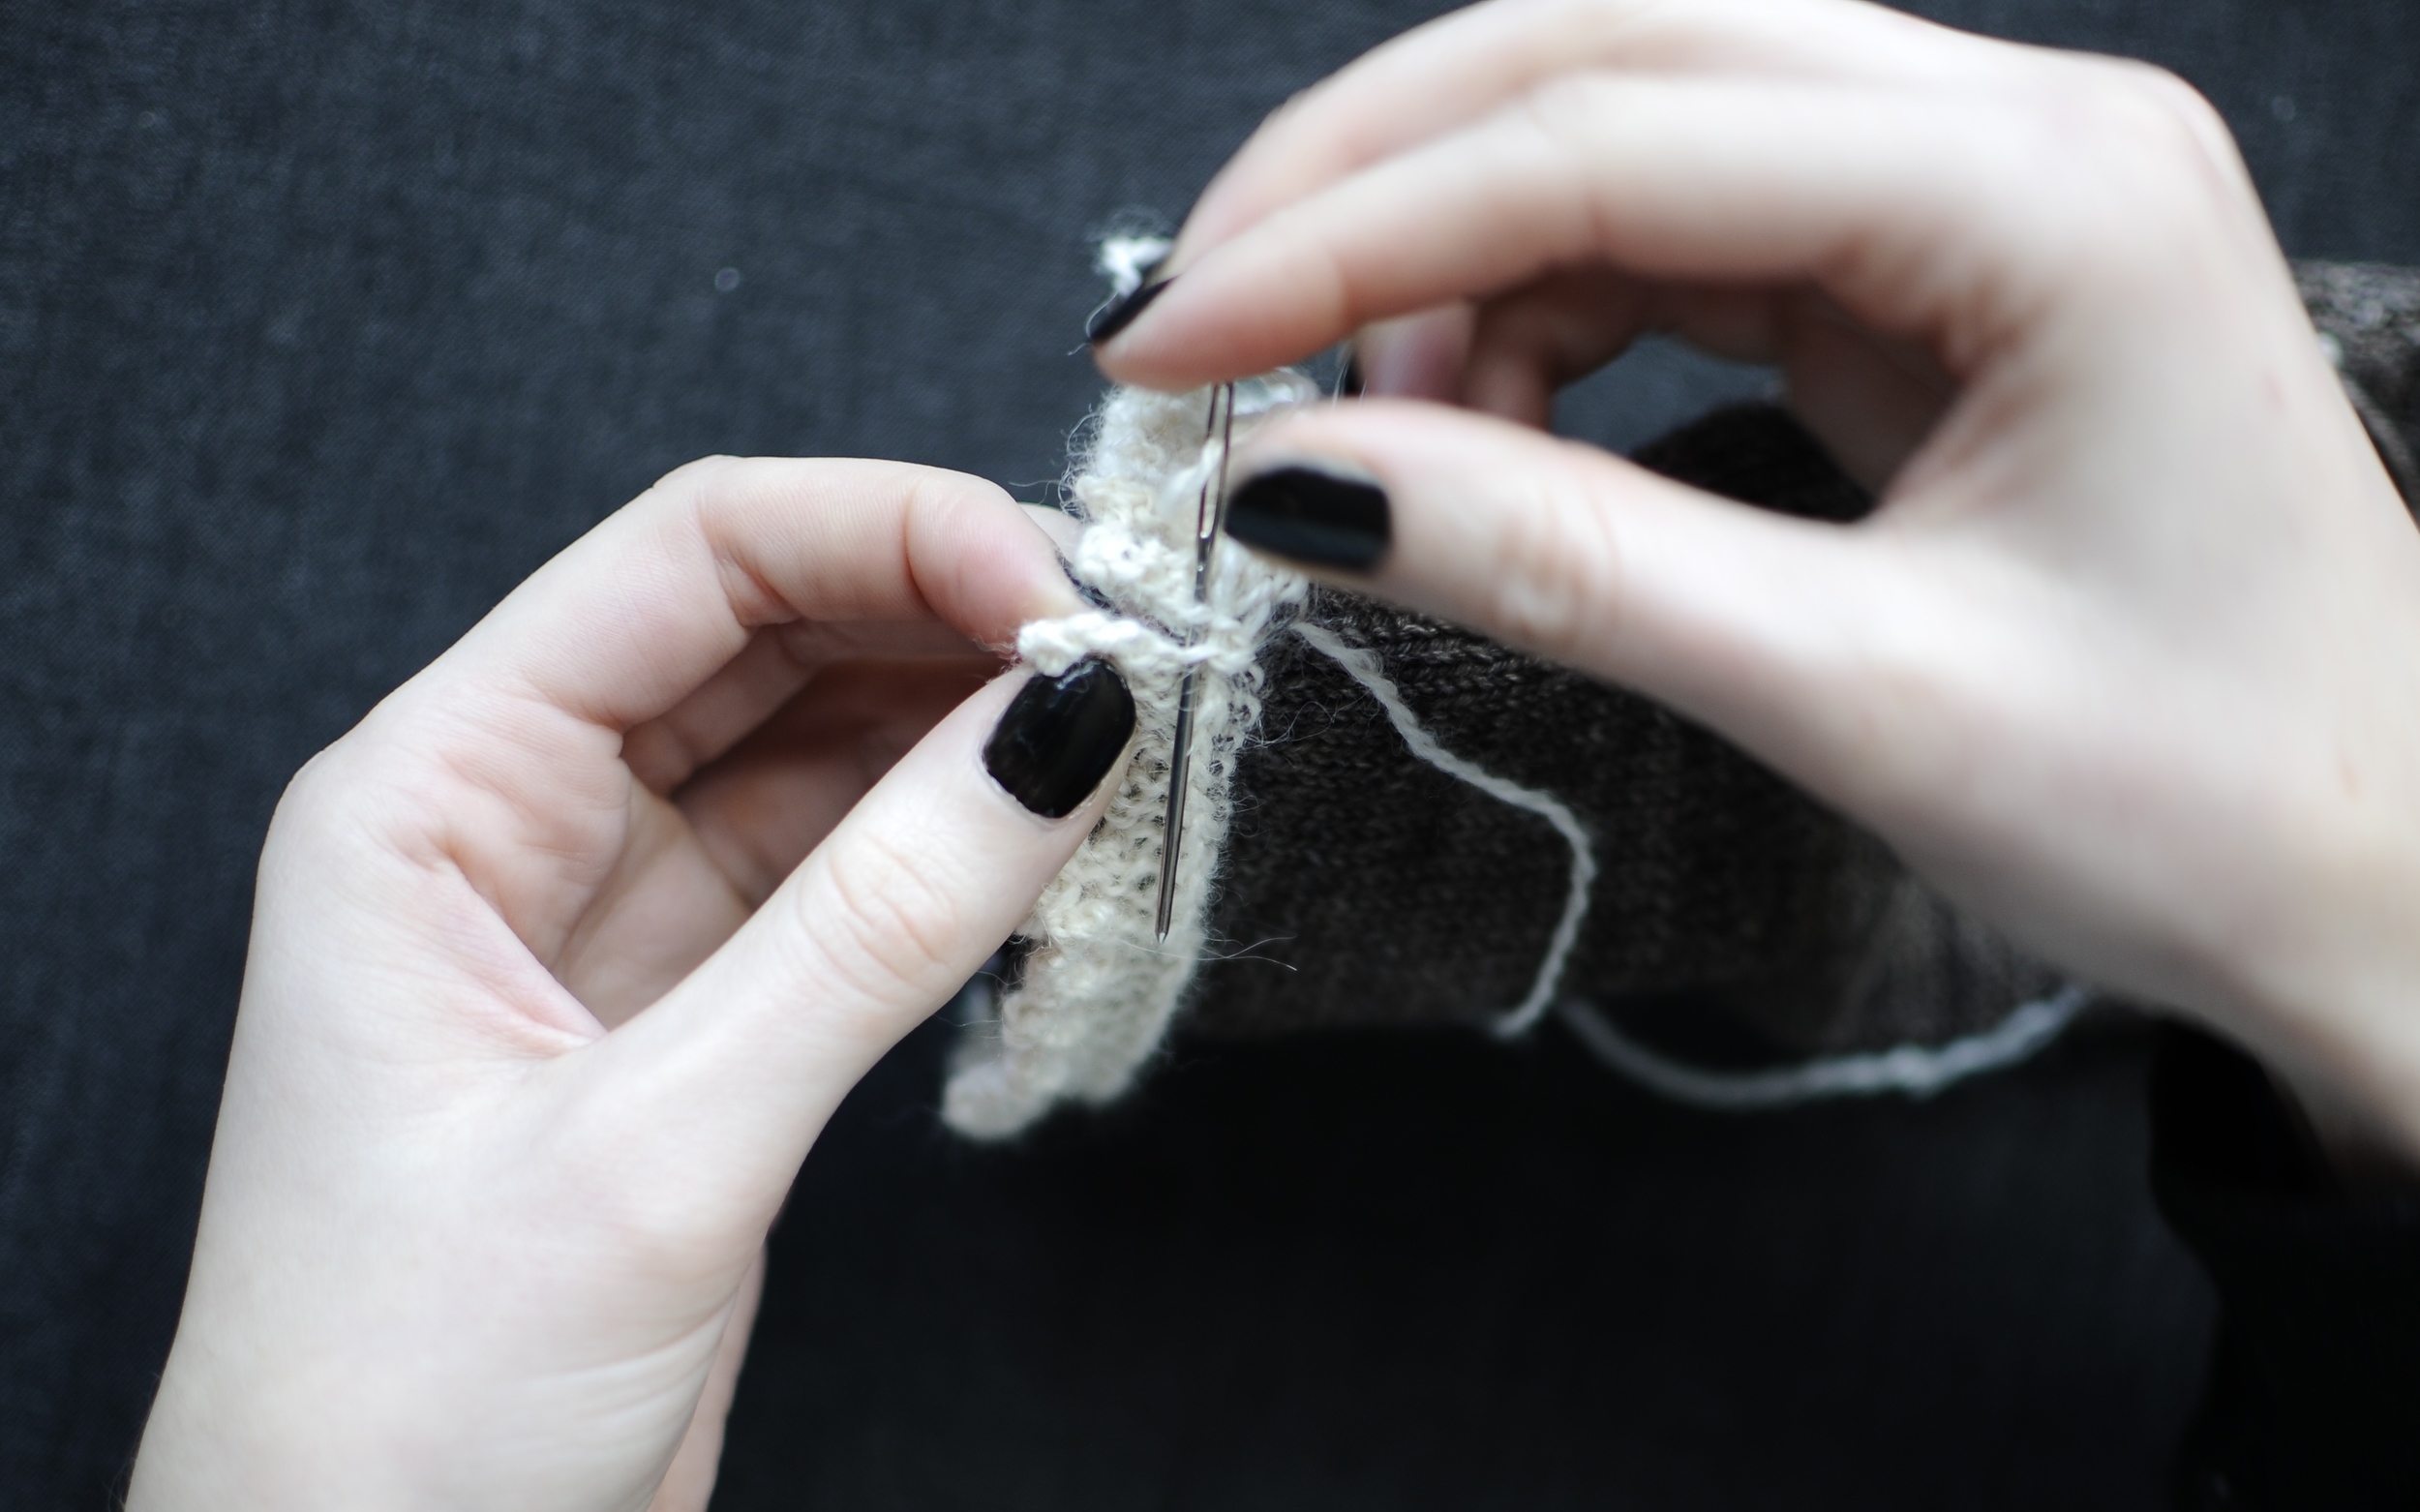
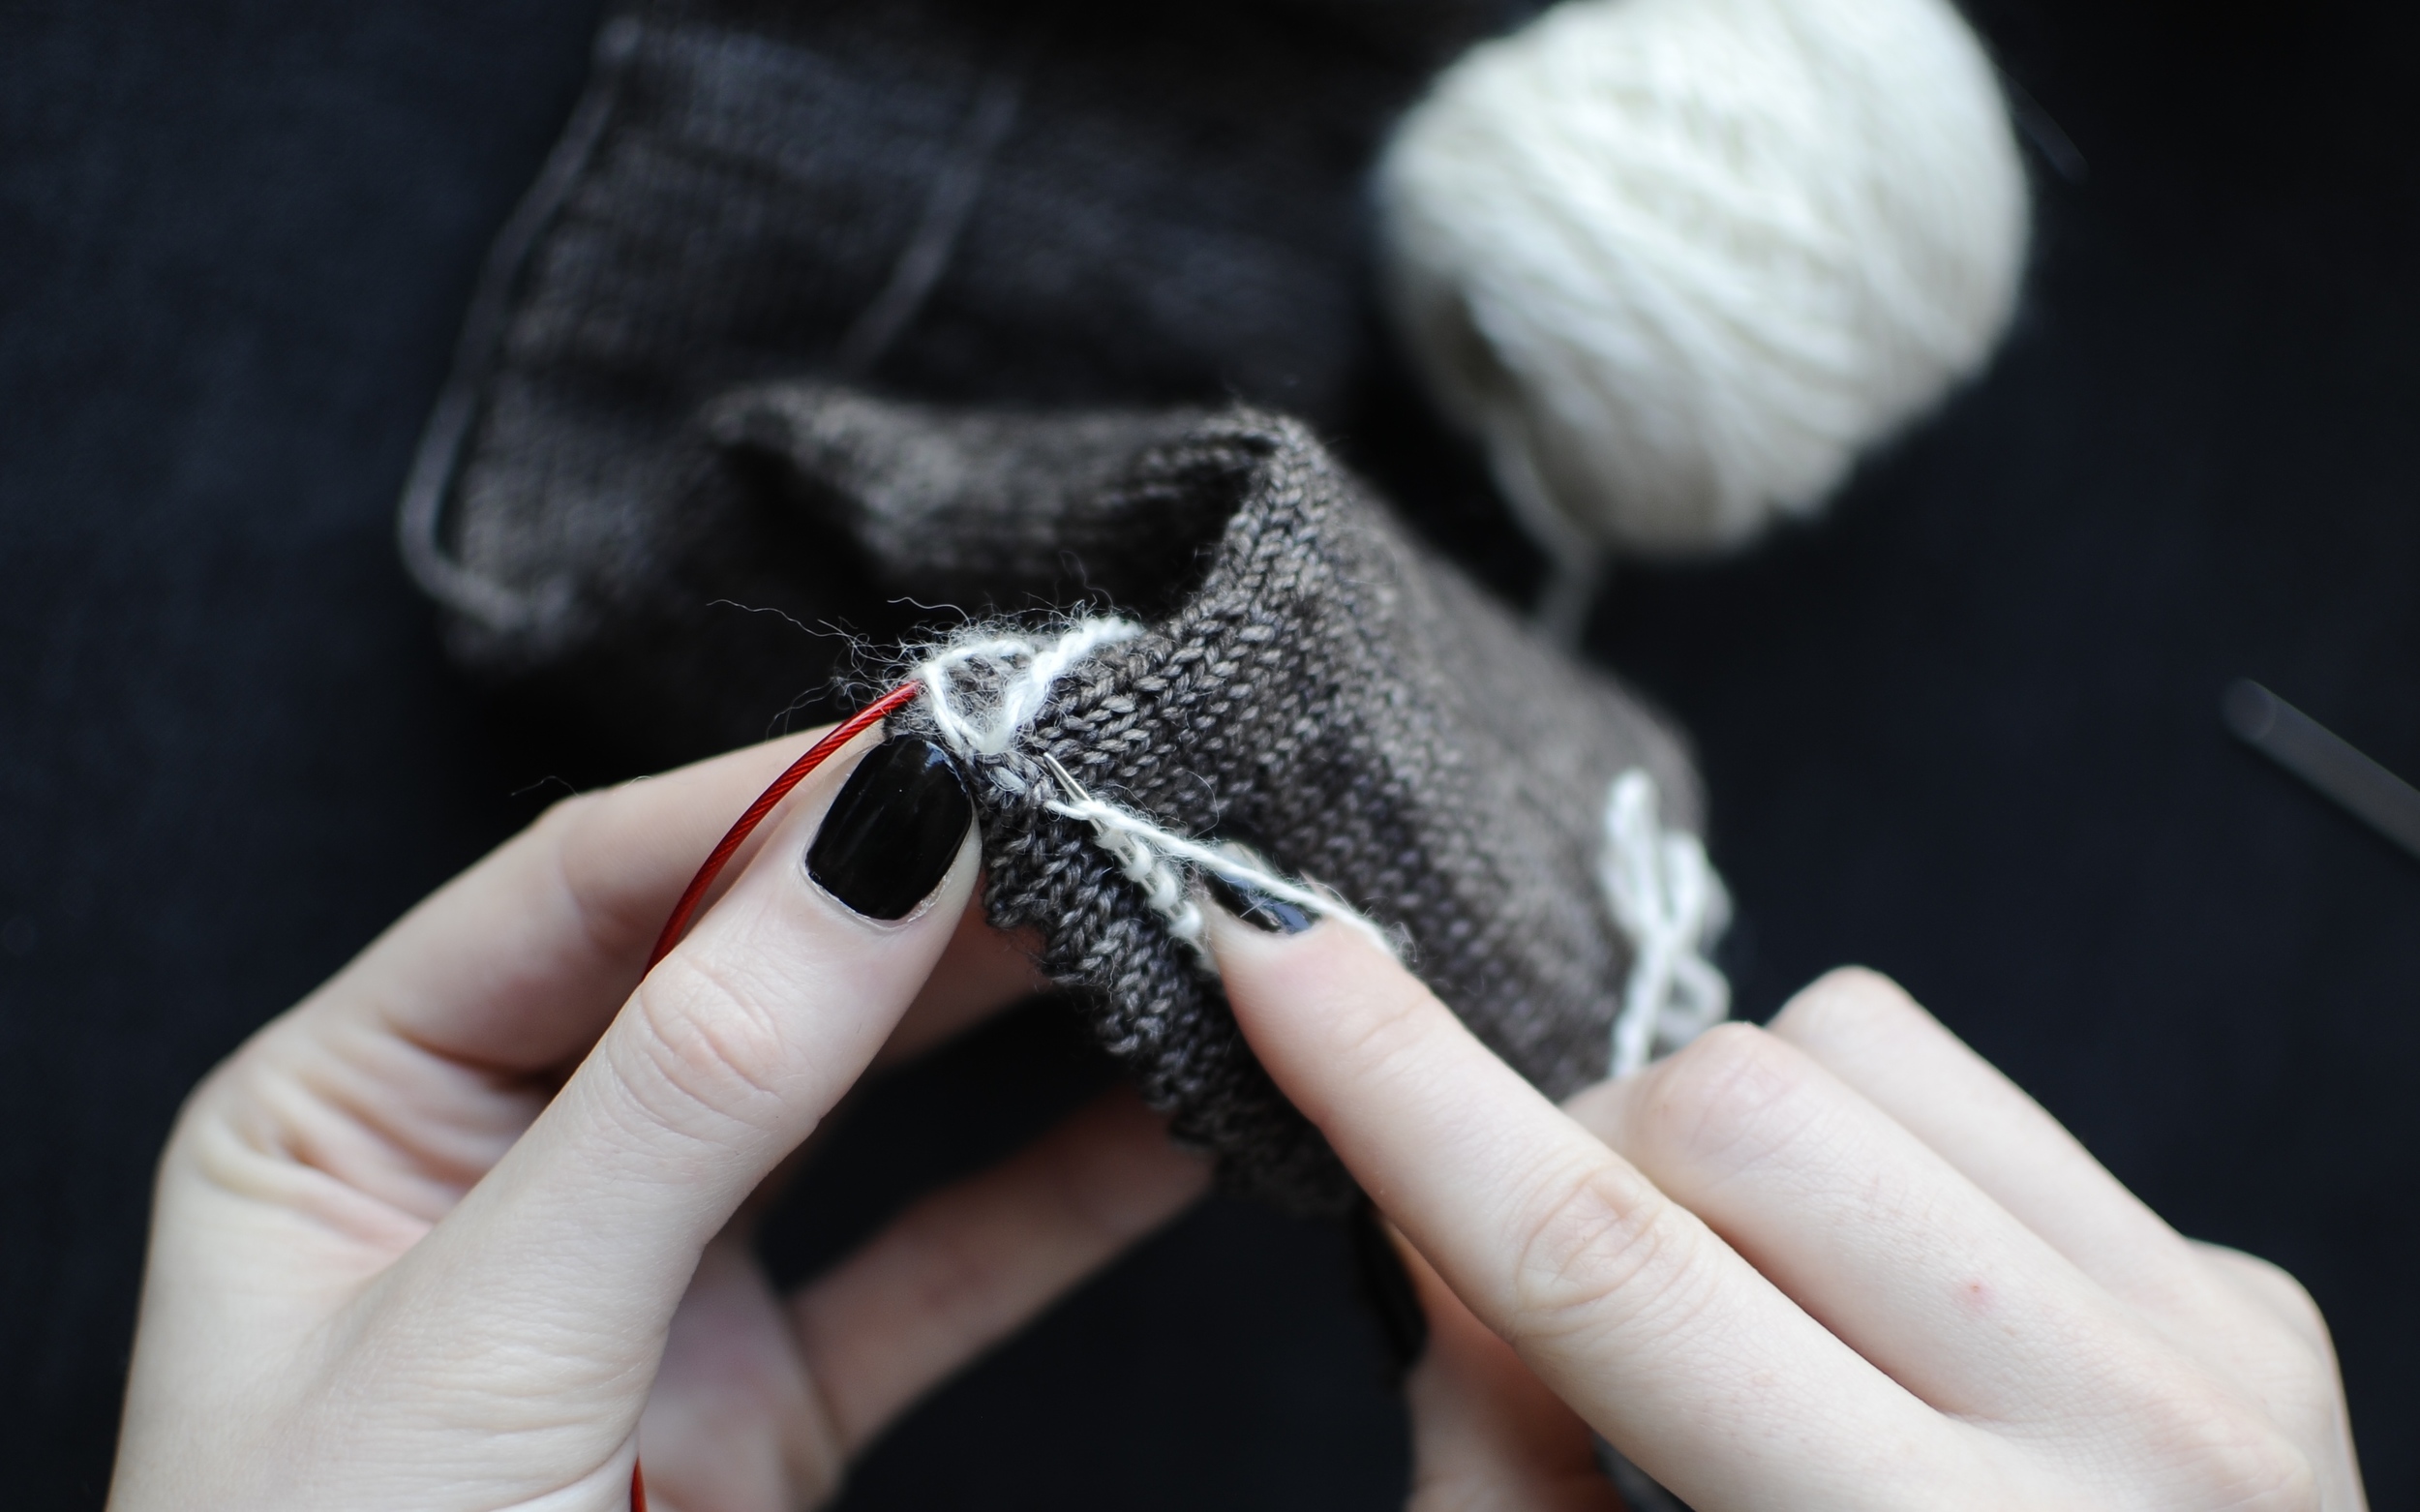
15. With the end of Yarn B, sew up the beginning and end of the lace trim for a nearly seamless finish.

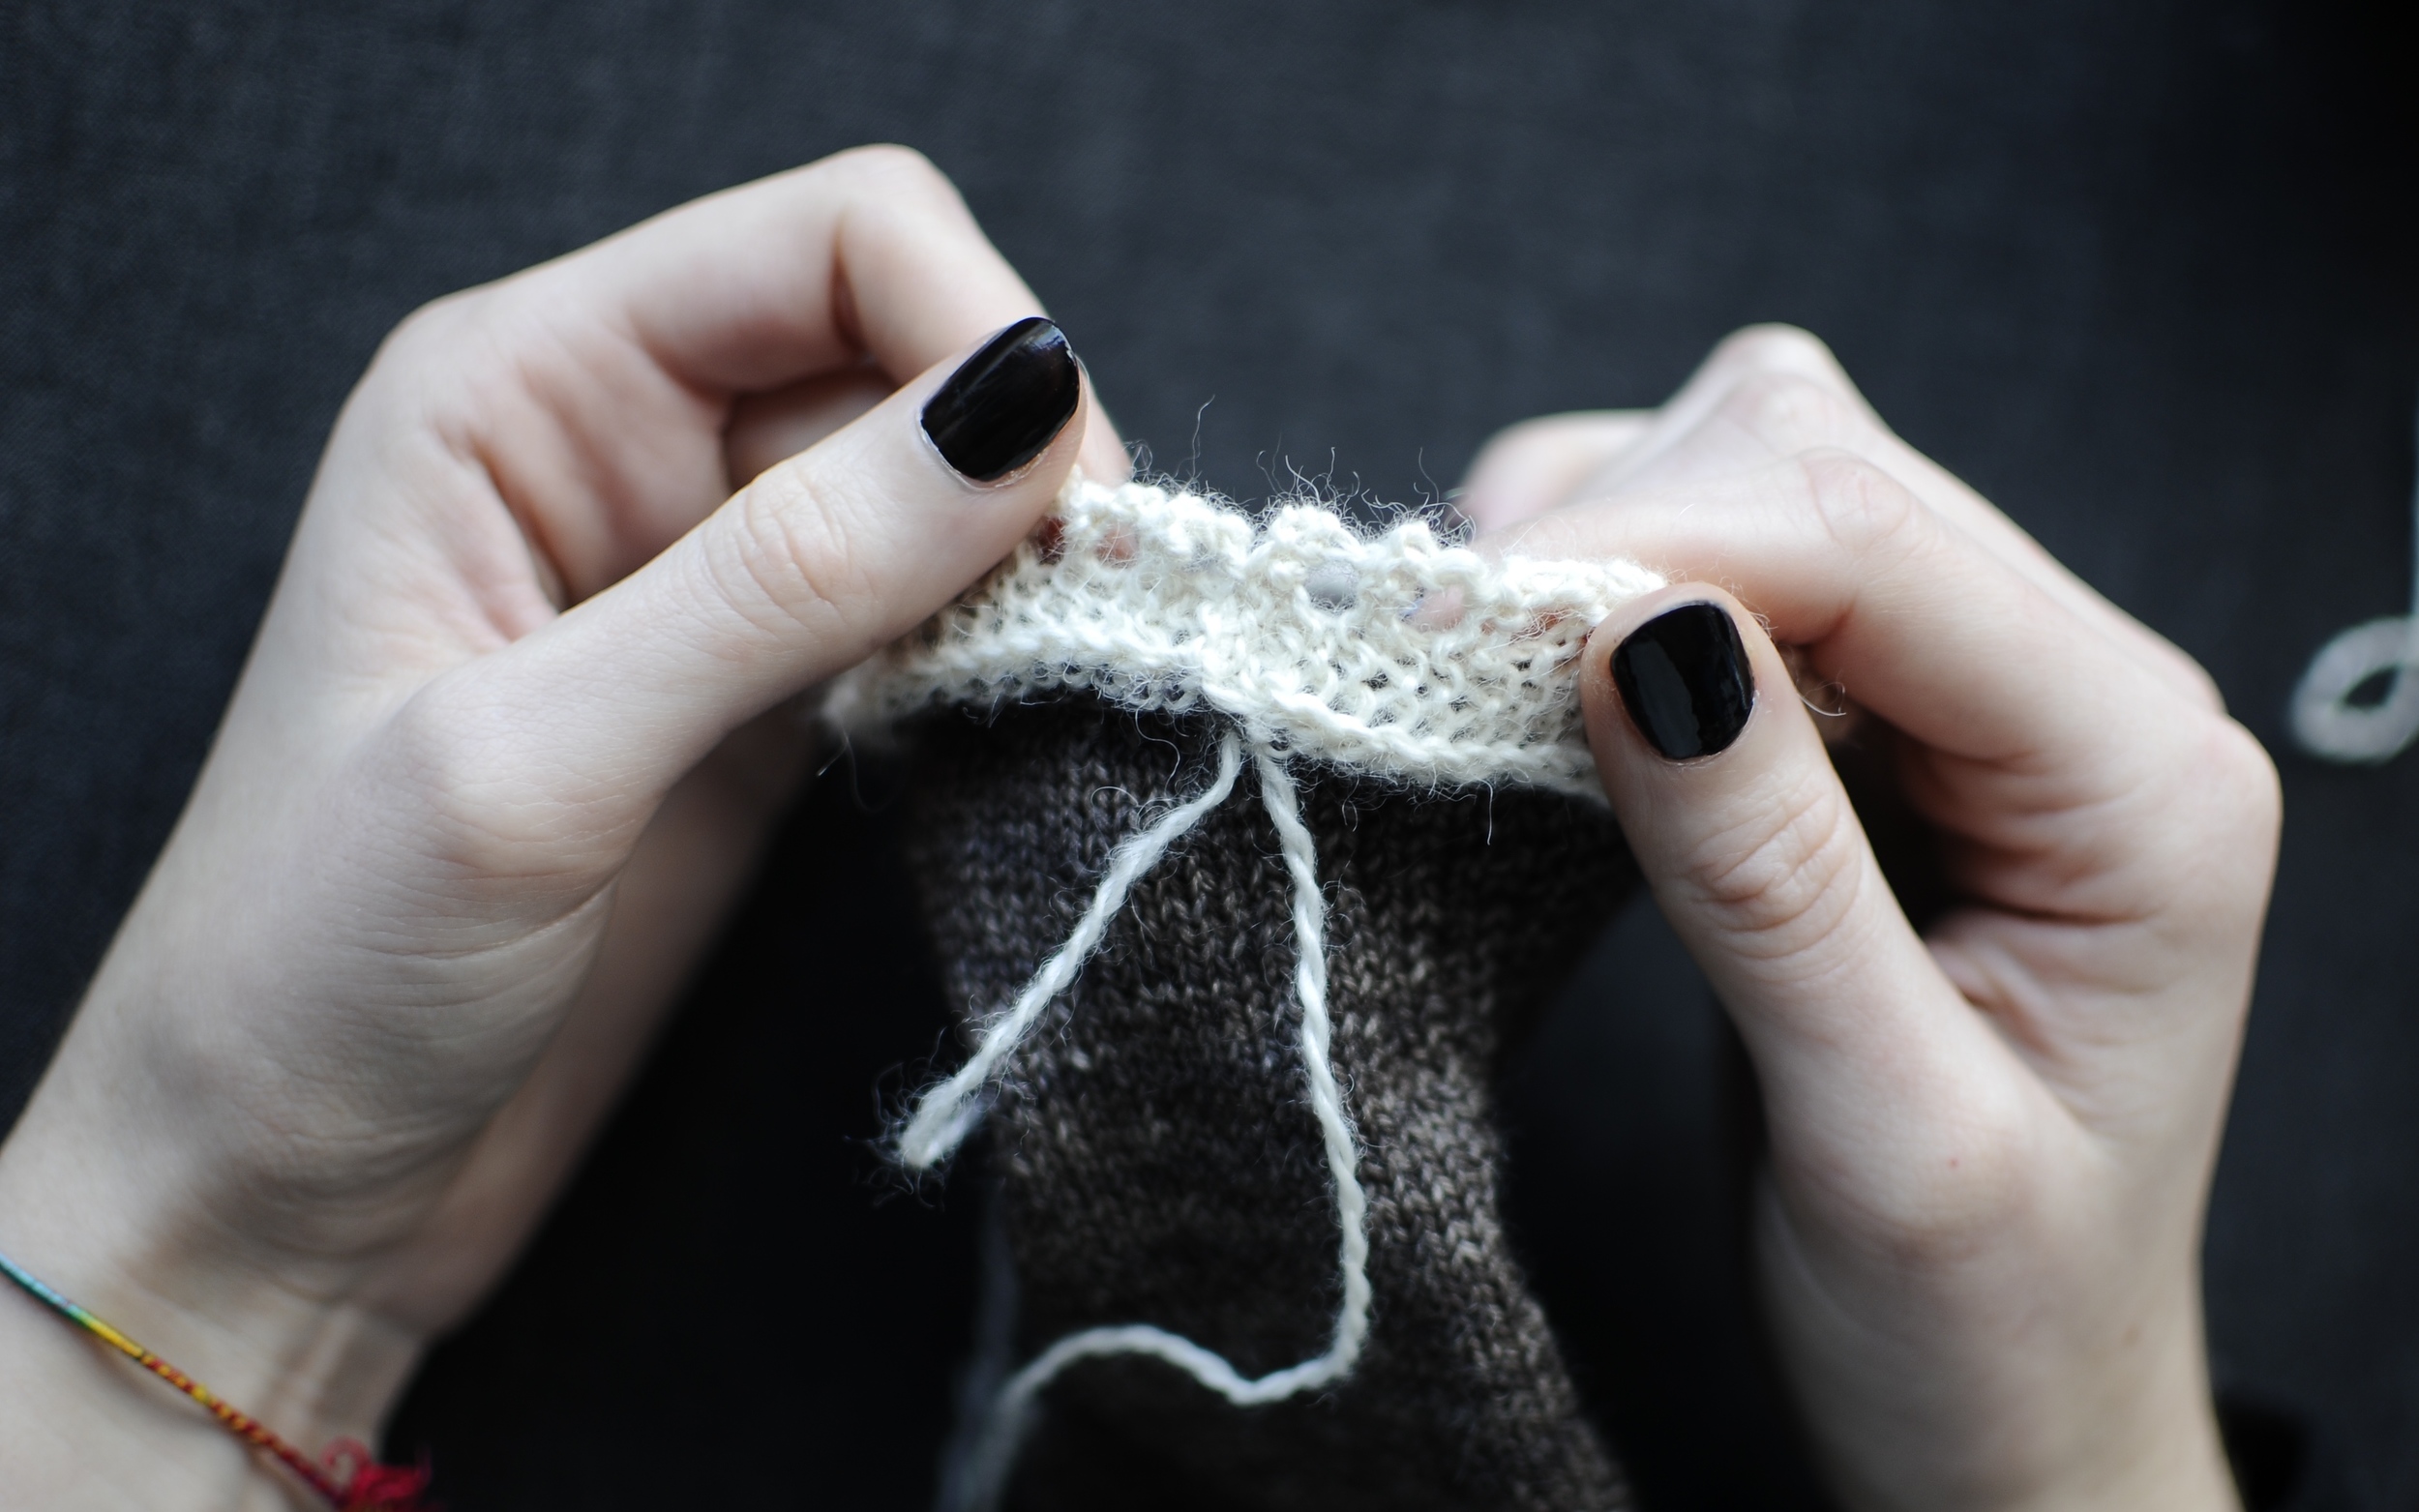
16. Finish by weaving in the rest of your ends.
17. Turn sock right side out again and voila! You should have a double layer of picot and lace trim.
Now the lace trim should be finished! Move on to completing your sock with an after-thought heel. Repeat pattern for second sock. If desired, once after washing the socks, the lace trim can be slightly stretched out and pinned to block as the sock dries.
Once again the erratas for the rest of this sock can be found in my first tutorial here, or on the Pom Pom's Errata page. Also many thanks to Otto Django Masters for the photography help!